
Wallpaper Details
Let’s talk wallpaper! I have 2 (going on 3) rooms in my house covered in wallpaper and it’s a question I get asked about frequently!
Luscious leopards


Lucious Leopards by Love vs Design is a vinyl peel and stick wallpaper in my powder bathroom. We used their “smooth finish” that has a 1inch overlap. If I could go back I would have tried their Glissade or Woven options instead as I found the “smooth” a little hard to work with as it would stretch when you needed to reposition it. This wallpaper can also be customized meaning you can choose any color combination you’d like.
2. forever & always
Forever and Always by Wallblush comes in peel and stick, but I used their luxe traditional. I have found their luxe traditional to be the easiest temporary wallpaper to apply so far. It’s a paste-to-the-wall removable adhesive that has a butted joint (no overlap). Although, it doesn’t call for any overlap, I found it to shrink JUST A SMIDGE when the paste dried causing very thin gaps so I would suggest overlapping by a cm or two. Code LUTZGOHOME saves you 35% off! I also put a photo of the custom green color that I matched from the wallpaper below.


3. Natalia

Natalia by Peel and Paper is the newest wallpaper I added to the house (see here). This is also a peel and stick application and this site also allows you to choose any color combination you’d like. I applied their new matte paper in their “Peel and Stick Wallpaper” paper type (not vinyl) and LOVE it. It has a butted joint (no overlap). Code LUTZGOHOME10 saves you 10%!

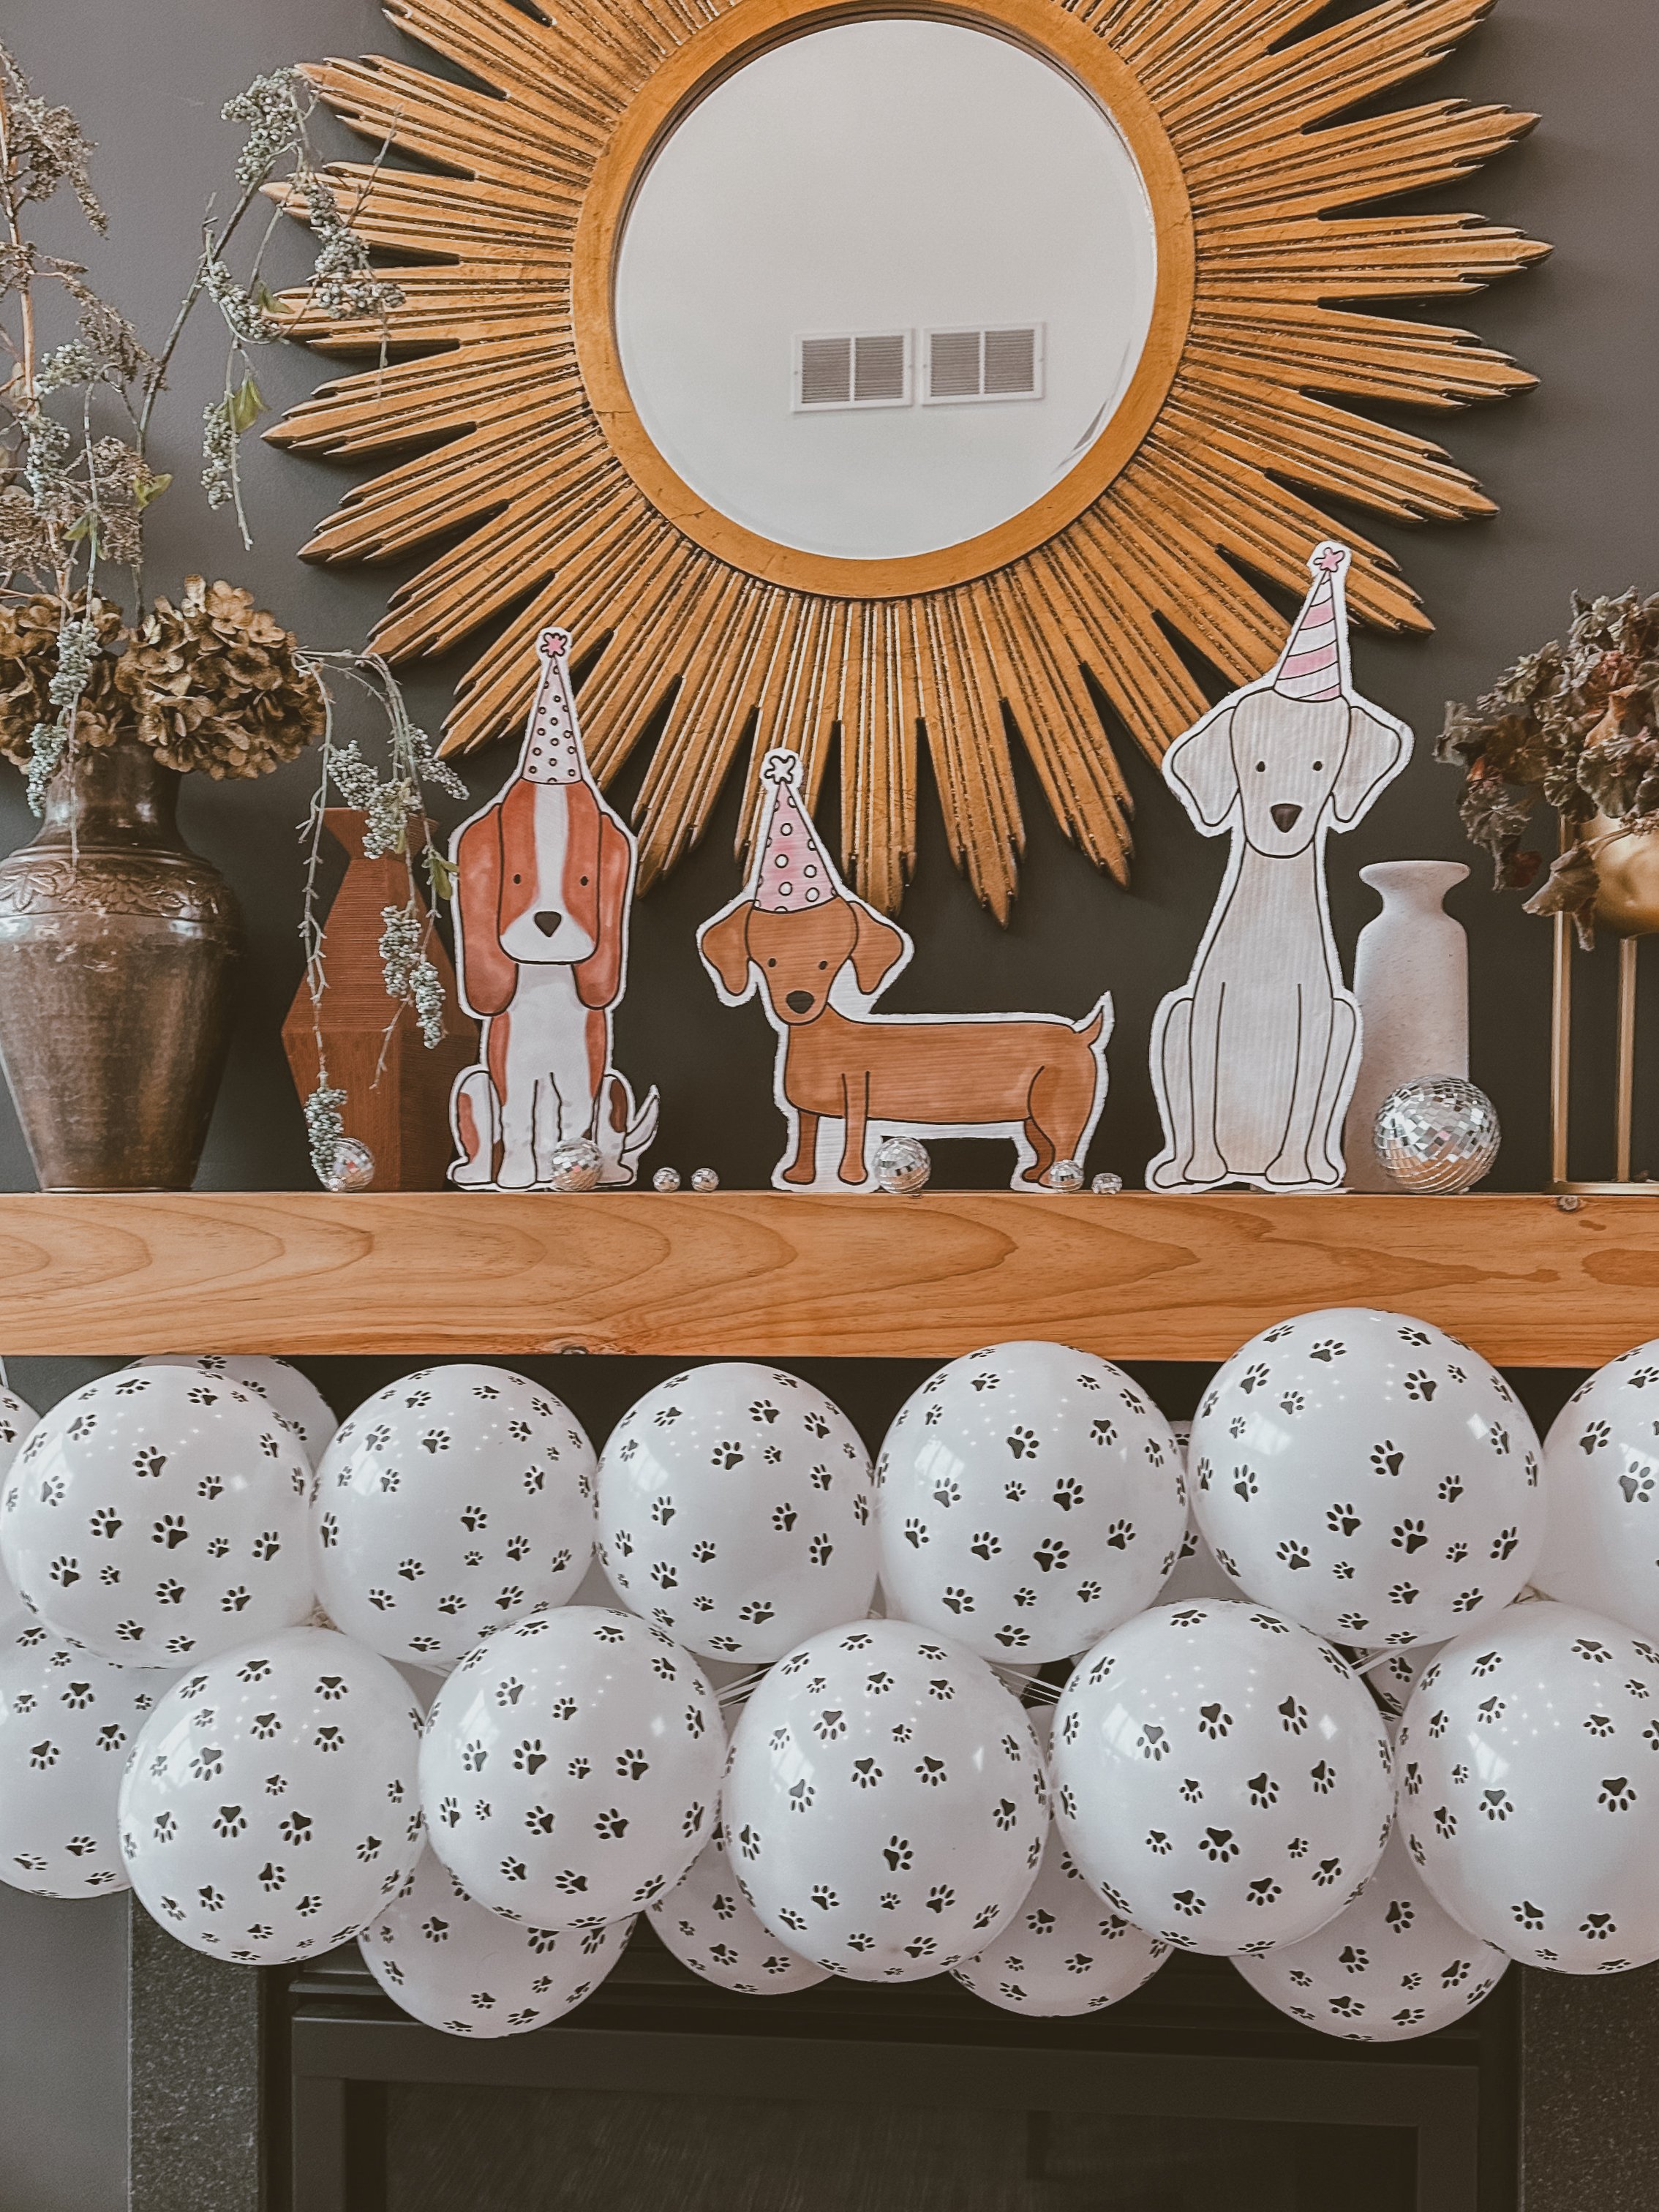
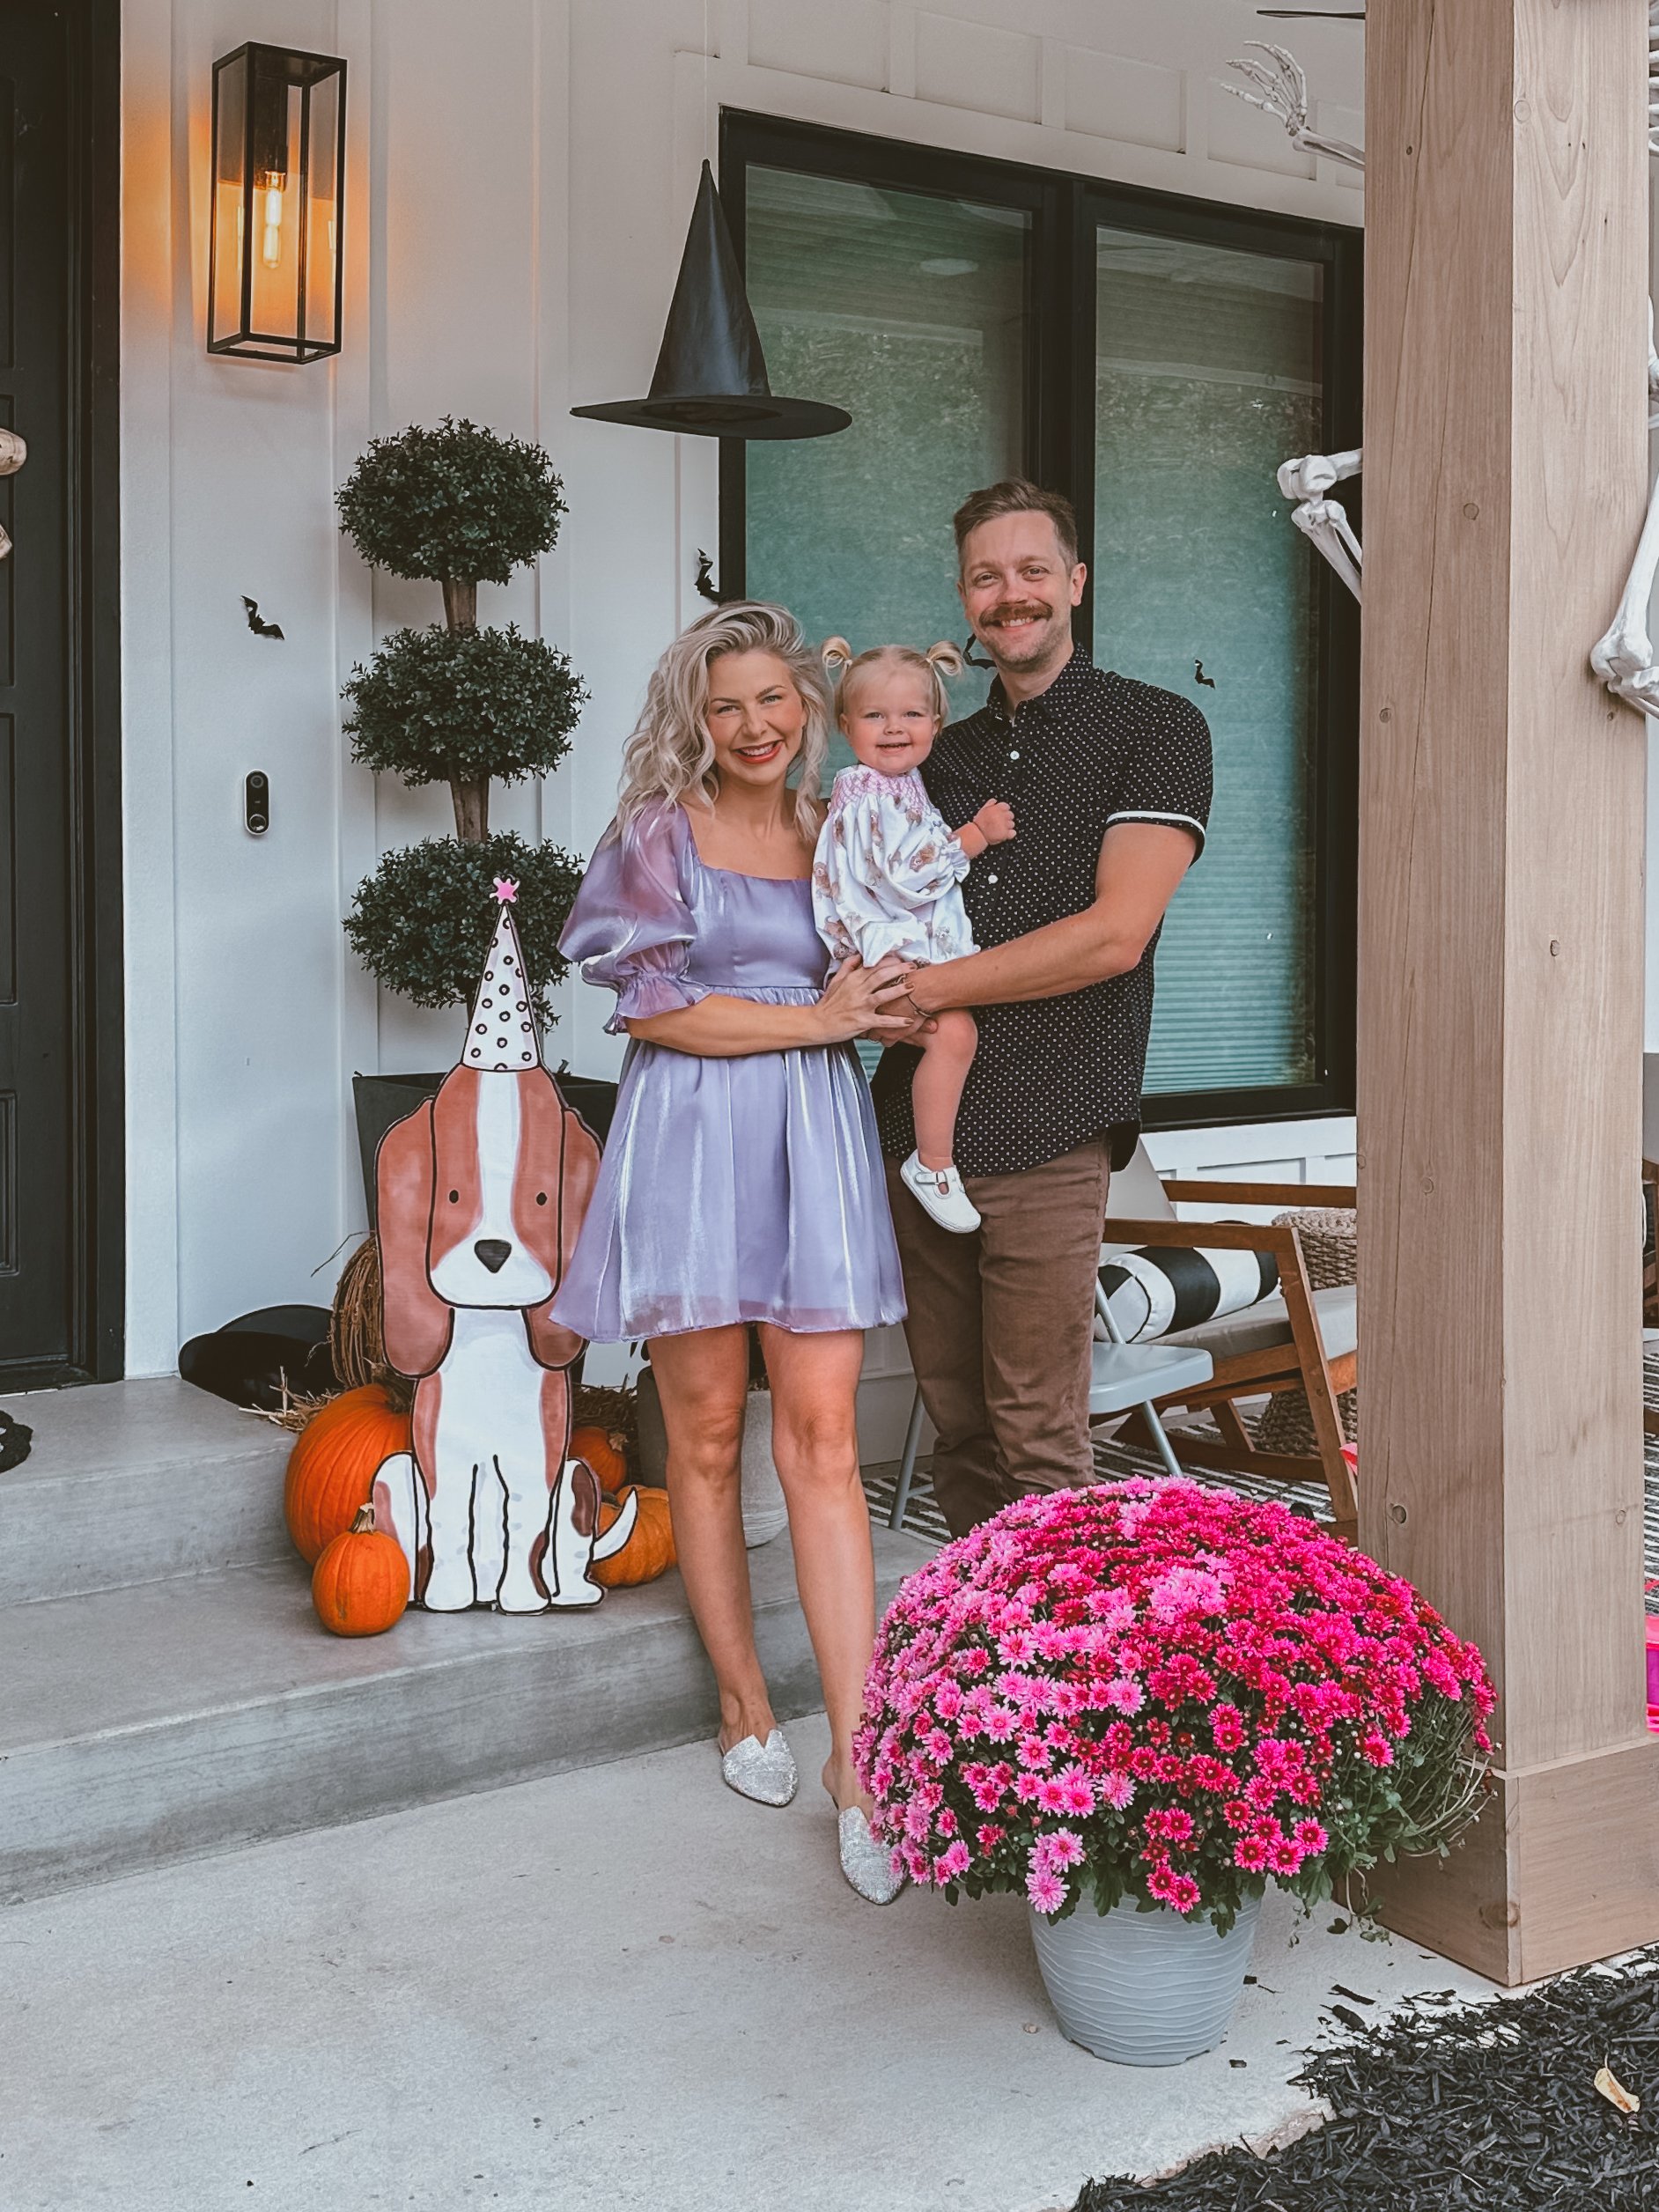
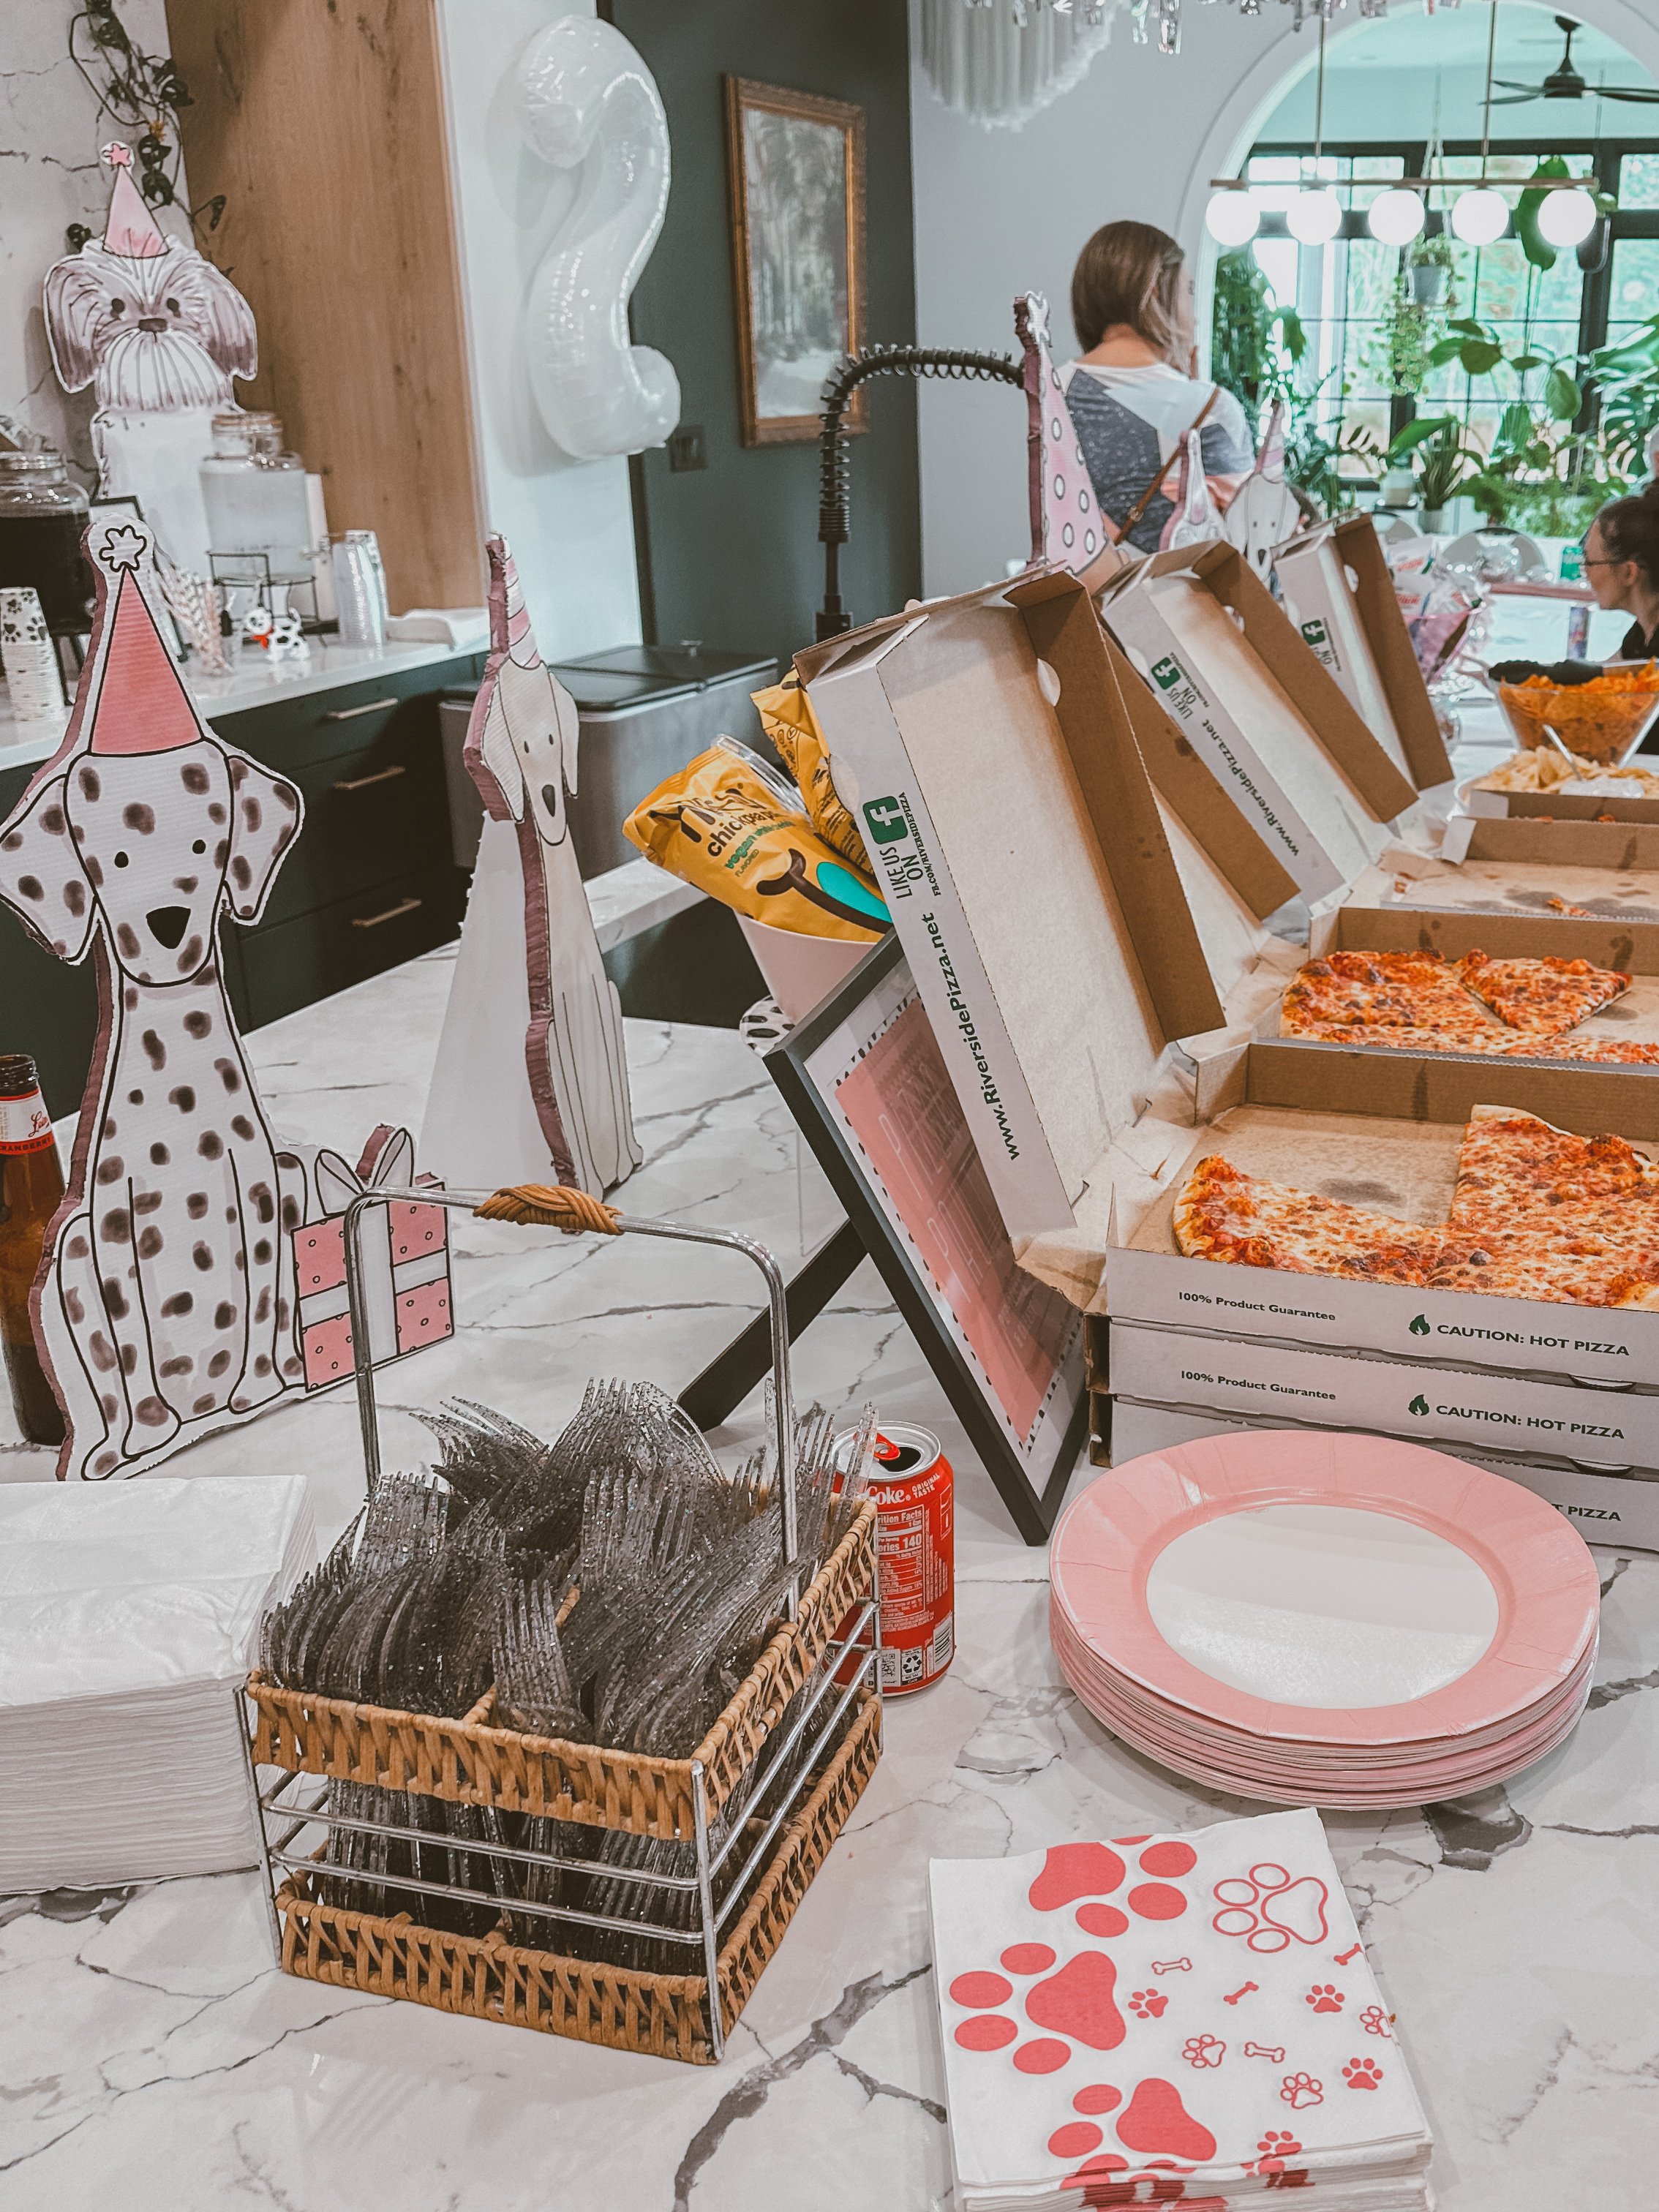
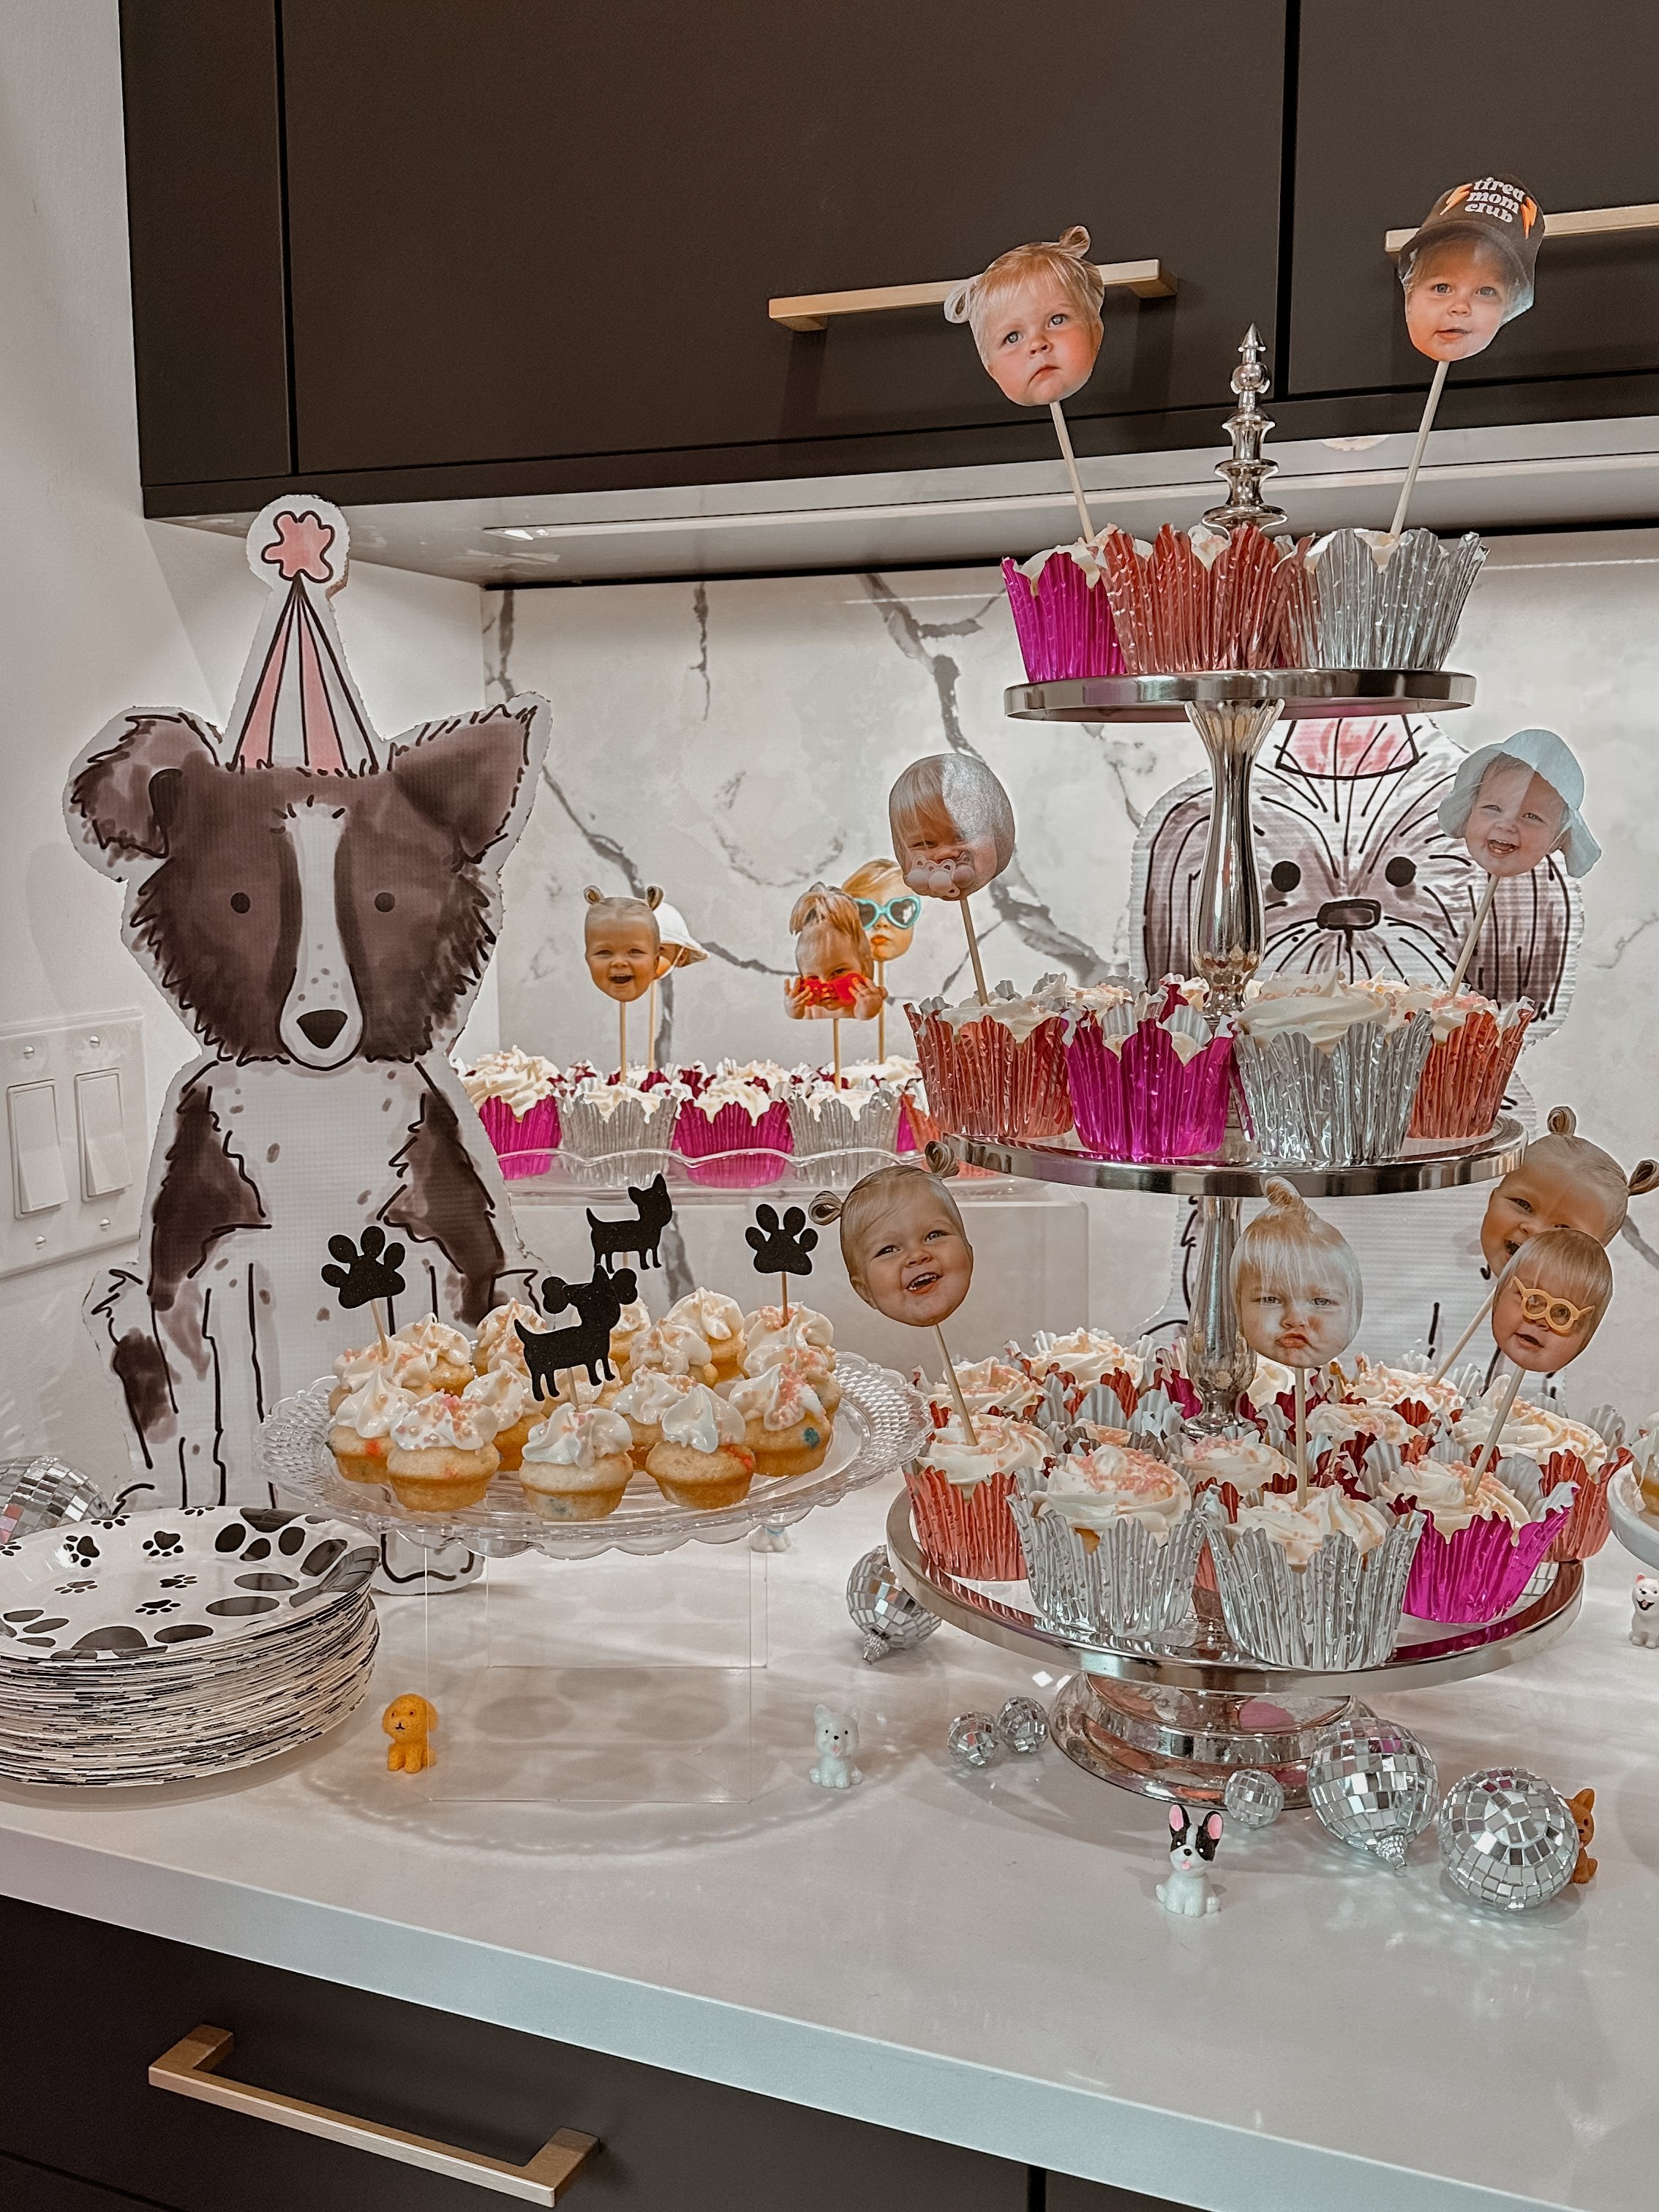
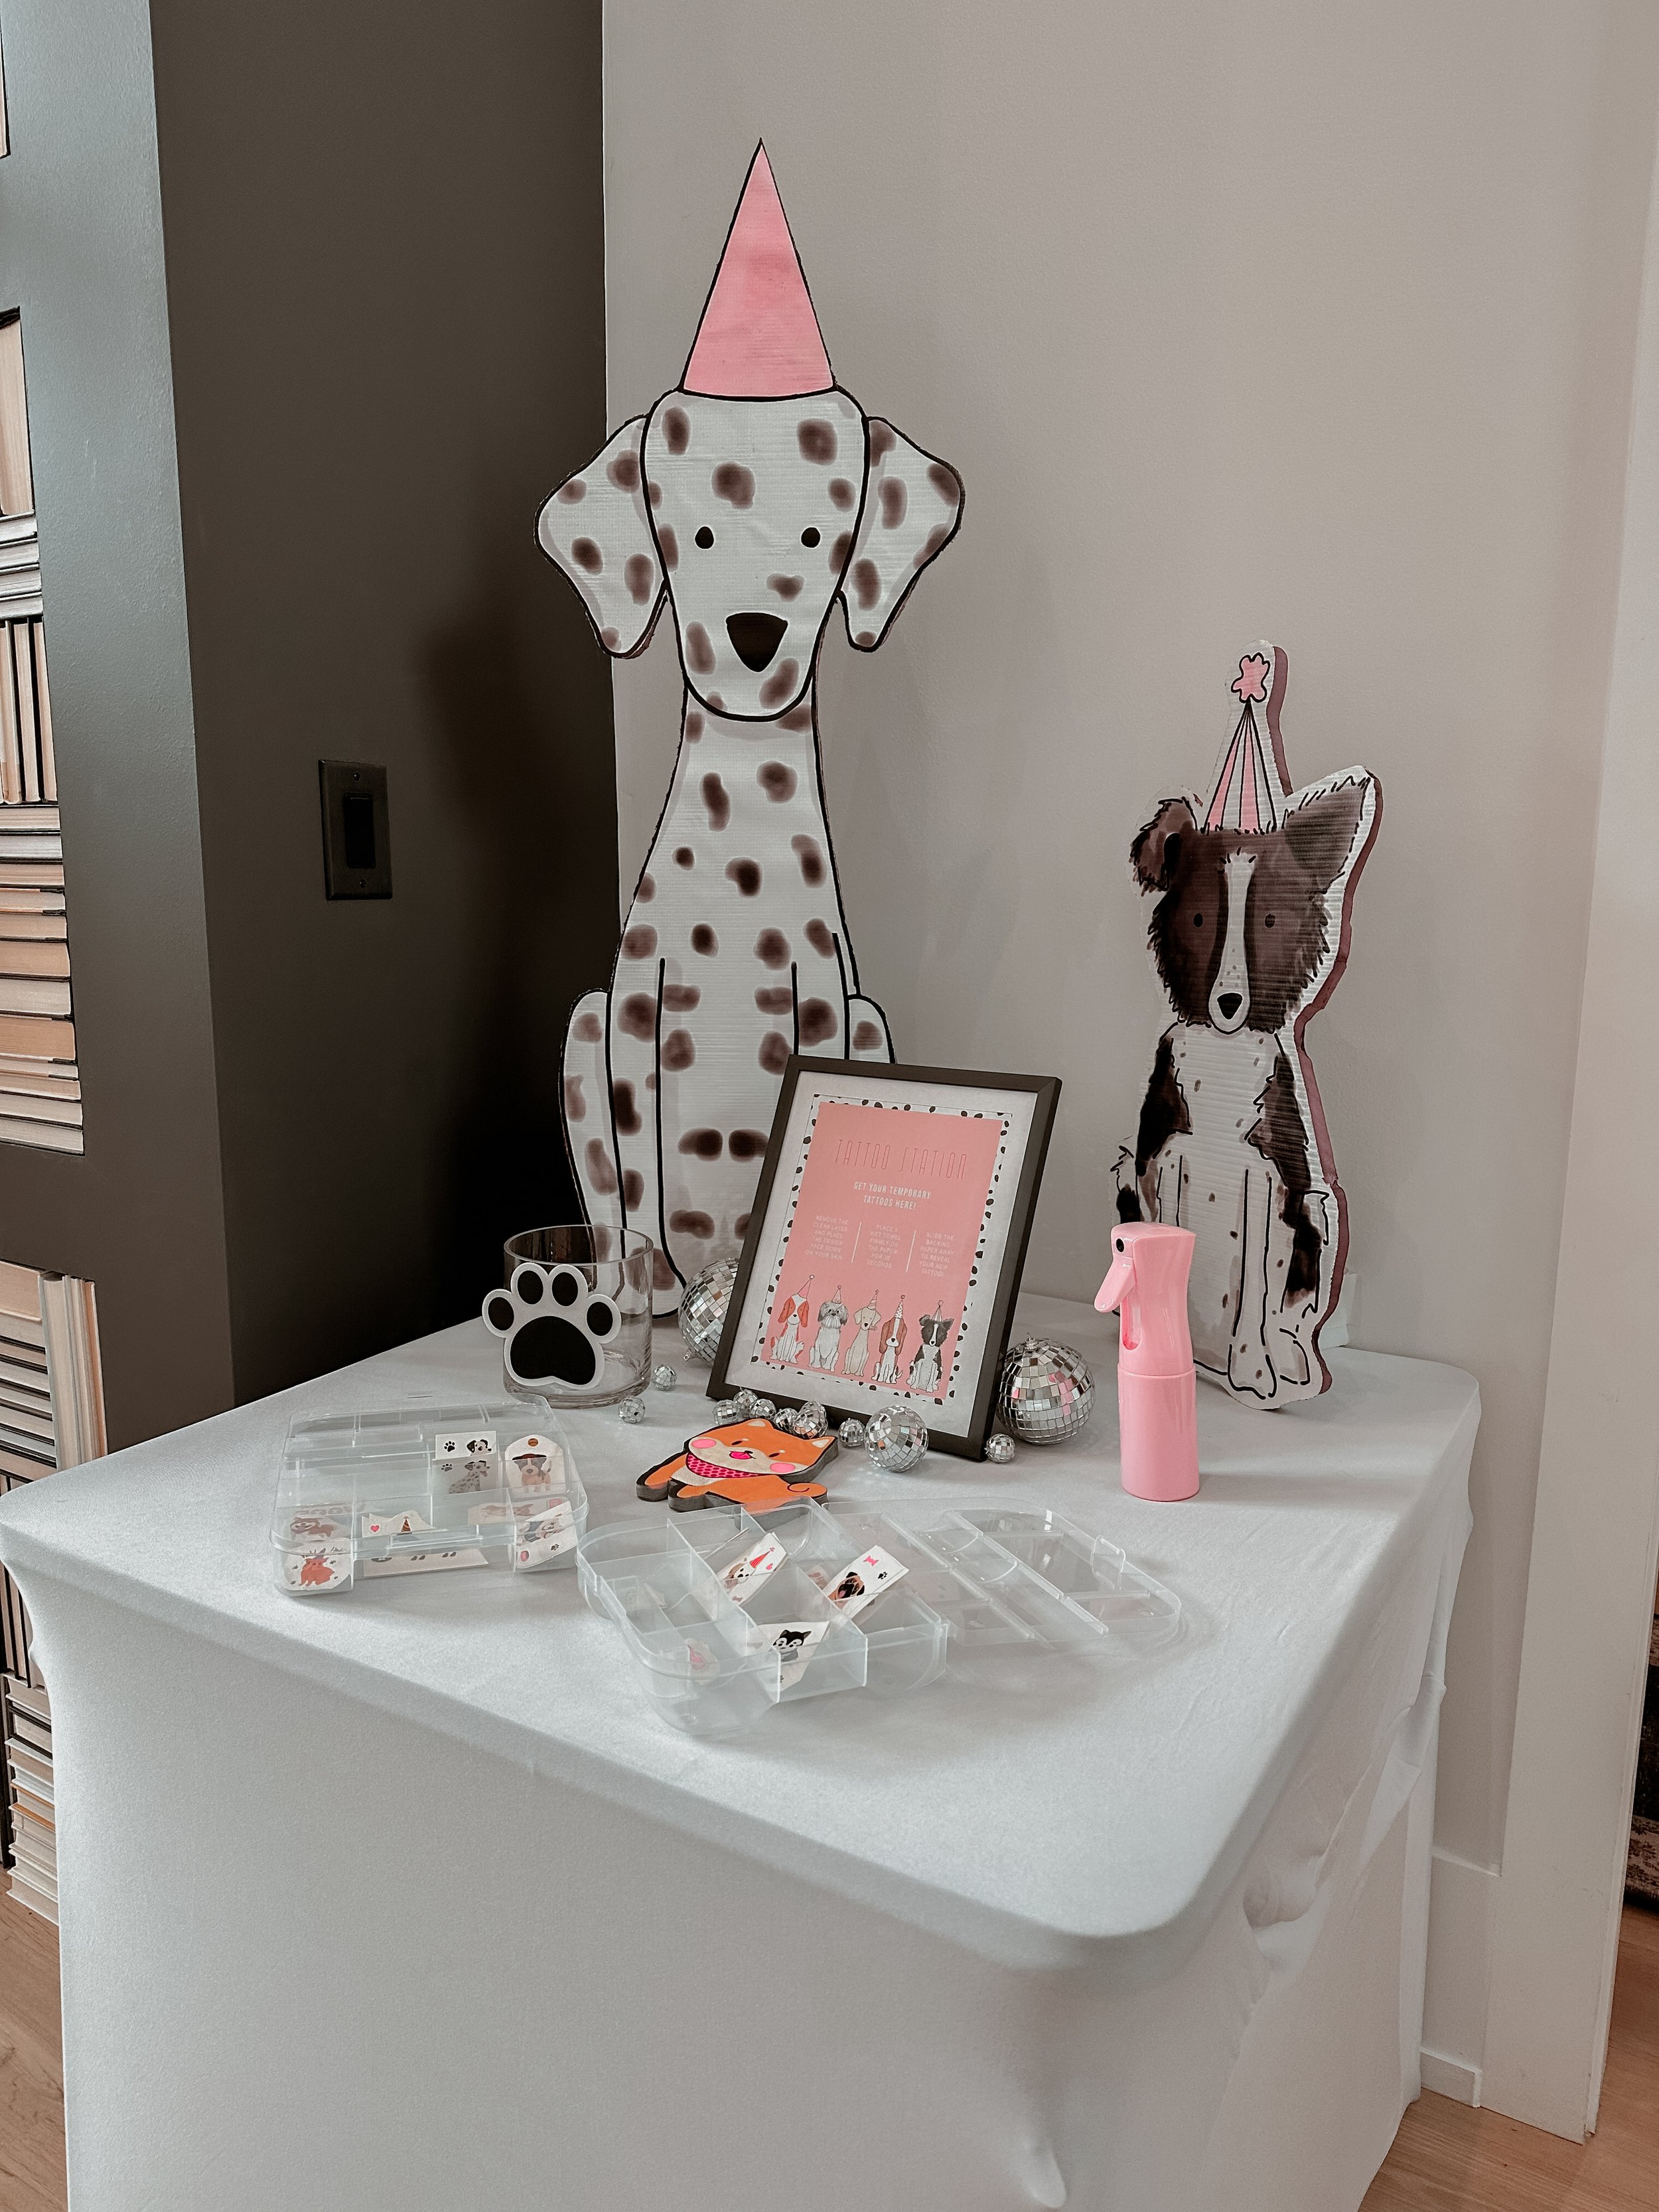
DIY dog cutouts

I custom made dog cut outs for my daughters 2nd Puppy Pawty! Here is the tutorial on how I did it.
SUPPLIES:
8’ x 8’ vinyl banner
2x pieces of 4’ x 8’ insulation board
Foam hot knife and replacement blades
regular white foam board from Dollar Tree
INSTRUCTIONS:
Purchased artwork from Etsy and changed the blue hats to pink in Photoshop. I’m sure for a small fee the seller could do this as well.
Created an 8’ x 8’ TIFF file in photoshop and arranged the dog graphics to fit as many as I needed and in various sizes. TIP: don’t make any small ones or anything that has a lot of detail. The larger ones were MUCH easier to cut out. The biggest dogs are roughly 40” x 18” and they were the easiest and the smaller dogs are roughly 10” x 20” and they were a pain.

3. Ordered an 8’ x 8’ step and repeat banner from https://www.stickersbanners.com/8x8-step-and-repeat.html with no hem, no grommets, no stand, and no carpet. I did local pickup because I live near one of their locations but they also ship.
4. Purchased (2) panels of insulation board that were 4’ x 8’ each and glued the banner to the insulation board using spray adhesive.

5. Cut out the dogs with a foam hot knife. You’ll need to wear a mask because these fumes are so intense and so toxic.


6. Attached a triangular piece of regular foam board from the Dollar Tree to the back of the dogs using white duct tape so that they stand upright on their own.


Here is how they looked at the party!


Free Teacher Survey
My daughter is in school for the first time ever - woohoo! She has some amazing teachers and I’m looking forward to giving them something for the holidays. My daughter didn’t start school at the beginning of the year so I’m unsure if they sent out anything like this to the parents (I’ve heard that some schools do) so I decided to make my own instead. If this one isn’t your style, you can buy similar ones on Etsy. I customized mine to include questions that I thought would be relevant for gifts that I might give throughout the entire school year. For example - scent is helpful if I ever decide to pair a gift card with a candle. Scents can be so polarizing so I didn’t want to give a vanilla scented candle to someone who hates vanilla, ya know?
After asking you guys on IG stories what teachers want most, the overwhelming answer is GIFT CARDS, so I made sure to ask questions that would allow me to choose the right store for each person. I’m also a crafty mom so I asked other things that would allow me to craft a potential future gift basket, personalize something, etc. The music question was purely to find out if anyone was a swiftie - haha!
I also know that a lot of teachers end up using their own money for school supplies so I added a classroom wishlist on there as well.
Lastly, I want to note two more things that I heard from teachers. First off, no more cups lol. Secondly, a hand written card is so meaningful so if dishing out extra money right now isn’t possible, remember the power of words. A simple card letting them know how much you appreciate them goes a long way.

The graphic is 300dpi 8.5” x 11” so perfect for printing on a standard size sheet of paper.
HOW TO DOWNLOAD:
If you’re on your phone, click the “download here” button below. The graphic will pop up. Hold down on the screen and select “save to photos.”
If you’re on a computer, click the “download here” button below. Right click the graphic and select “save image as.”
Cozy Coupe Makeover

Supplies Used:
Orbital Sander (not required)
Sandpaper (220 grit)
1-2 cans of spray primer for plastic
2-3 cans of Vintage Blush Spray Paint
2-3 cans of Smokey Beige Spray Paint
1-2 cans of clear sealer spray paint
Comfort Grip for mess free and more comfortable spray (not required)
Frog tape painters tape
Automotive Trim 1/4”
Construction Adhesive for name plates
I had to order a new steering wheel because mine was broken. You can buy replacement parts here.
INSTRUCTIONS:
Remove any stickers and any removable plastic pieces with a flat head screw driver (gas tank cap, headlights, tail lights, hub caps, etc). If I could go back I would have disassembled the top from the bottom. There are step by step videos on Youtube for assembling the Cozy Coupe. If you don’t want to remove these things then cover them with plastic bags and painters tape.


2. Apply All Purpose Bondo (use directions on container) to any holes left behind from removing unwanted pieces. My cozy coupe was the lady bug so I filled in holes on the top of the car and on the dash where the attenas and eyes were.
3. Sand the All Purpose Bondo and give the entire car a once over with 220 grit Sandpaper.


4. Wash the car with soap and water. Let dry.
5. Cover the wheels, and anything else you don’t want to get paint on, with tape and plastic bags if you didn’t remove them.
6. Give the entire car a coat of spray primer for plastic.

7. Spray the entire car with the colors of your choice. Let dry, remove any tape you may have added. Touch up paint as needed.
8. Seal your masterpiece with several coats of clear sealer spray paint, allowing the car to dry between coats.
9. Remove the plastic bags from anything you were protecting (wheels, steering wheels, etc)


10. Apply automotive trim. This is such a nice touch! Highly recommend. TIP: Measure AND CUT the trim before applying, If you have to lift the trim up to cut it , you’ll peel back the paint.
11. Replace any plastic parts that you removed that you want back on the car like headlights, gas tank cap, etc.
12. Add special touches like VW logo, or in my case, I used custom name plates from Etsy using construction adhesive.


It's all in the details - bedroom makeover

Embarking on my bedroom makeover, I anticipated a few weeks of work to transform the plain white box into my vision of a green and moody retreat. However, as the days turned into months, I realized that creating the perfect space required more time and attention to detail than I initially expected. But let me tell you, every moment spent was worth it. From the dark green walls to the carefully selected furnishings, every choice was made with intention. And it was the incorporation of gold unlacquered brass Nostalgic Warehouse doorknobs, switch plate covers, and door hinges that truly brought the room together, elevating it to a whole new level of elegance.

I've always been captivated by the allure of a dark green and moody bedroom, but have been a little afraid of going bold. The idea of transforming my room into a sanctuary of tranquility seemed worth it seeing how we have had all white walls in this room since we moved in and we were ready for a change. To achieve this desired ambiance, I knew that paying attention to even the smallest details would be crucial. That's why I chose to incorporate gold unlacquered brass hardware into my bedroom makeover. Its timeless elegance effortlessly blends with the dark green surroundings, infusing the space with a warm and inviting atmosphere. These intricate elements have truly brought my entire room together, creating a visually captivating and cohesive aesthetic.


When I stumbled upon Nostalgic Warehouse's collection, I was instantly captivated by their commitment to craftsmanship and attention to detail. The gold unlacquered brass doorknobs, switch plate covers, and door hinges exuded a sense of sophistication that perfectly aligned with my vision. Each piece showcased the dedication and artistry of the brand, reflecting a time when quality and beauty were paramount. By incorporating Nostalgic Warehouse hardware into my bedroom makeover, I've not only added a touch of luxury but also embraced the essence of timeless elegance, turning my space into a true sanctuary of style.


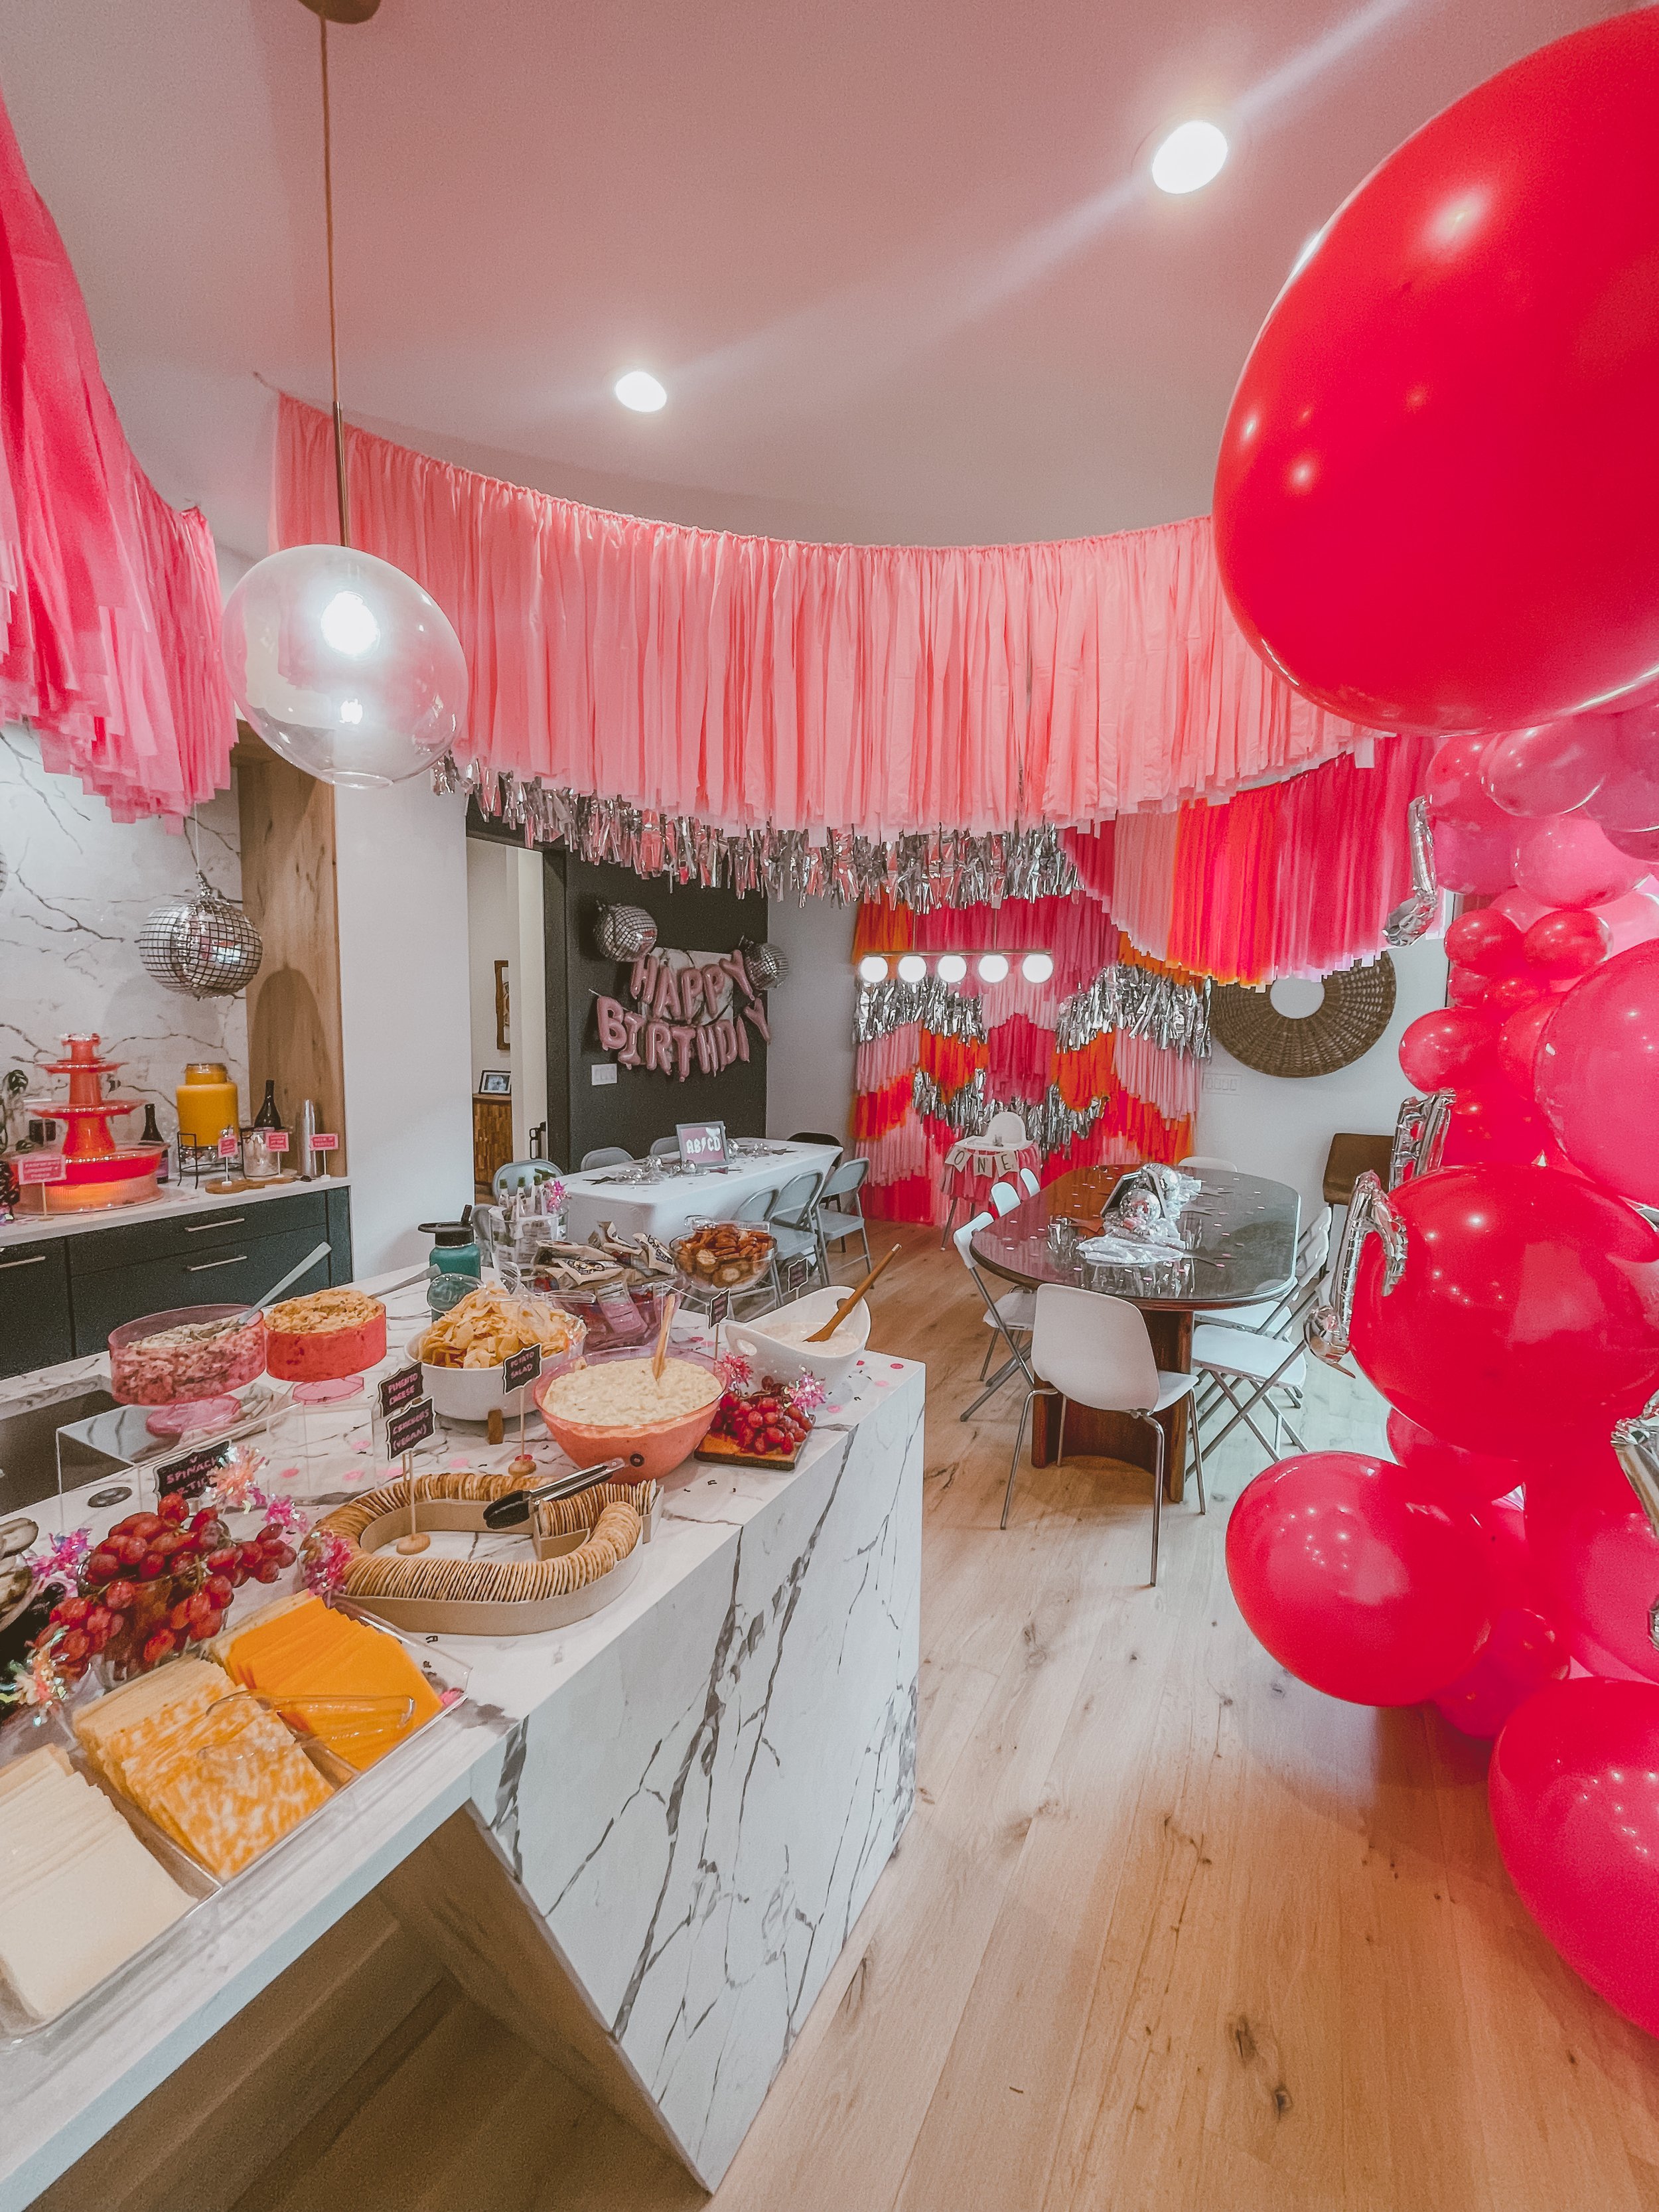
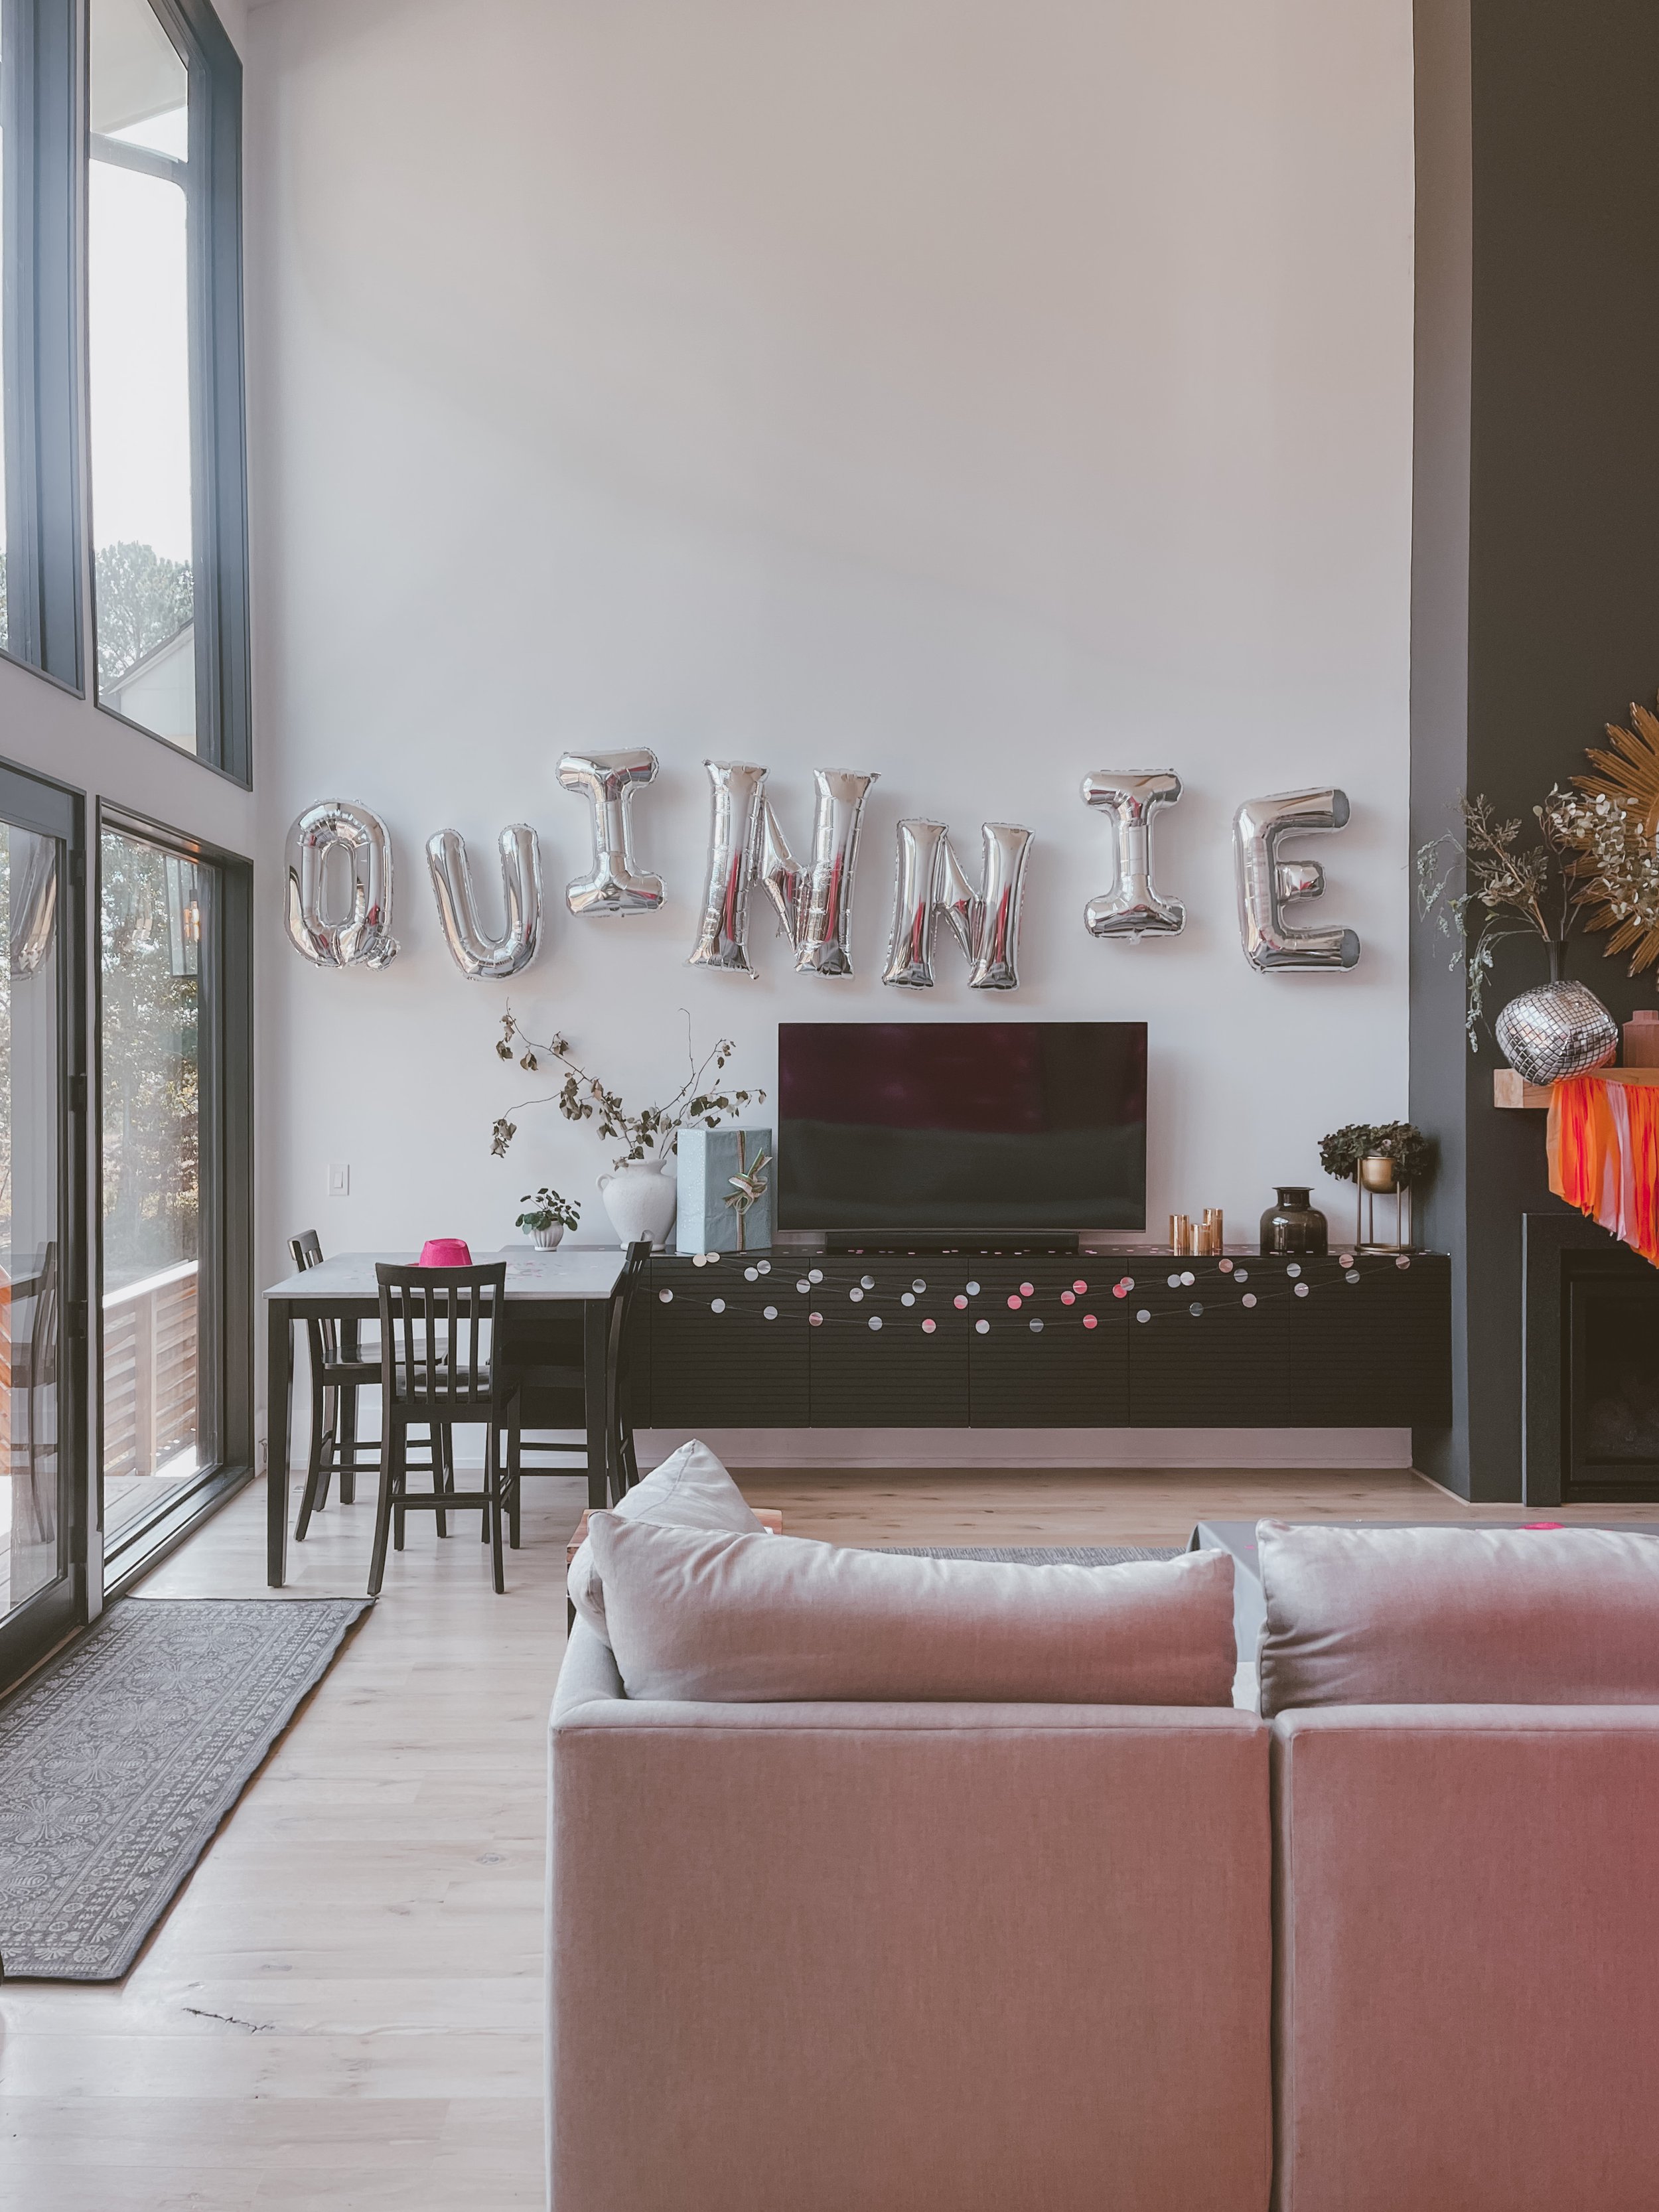
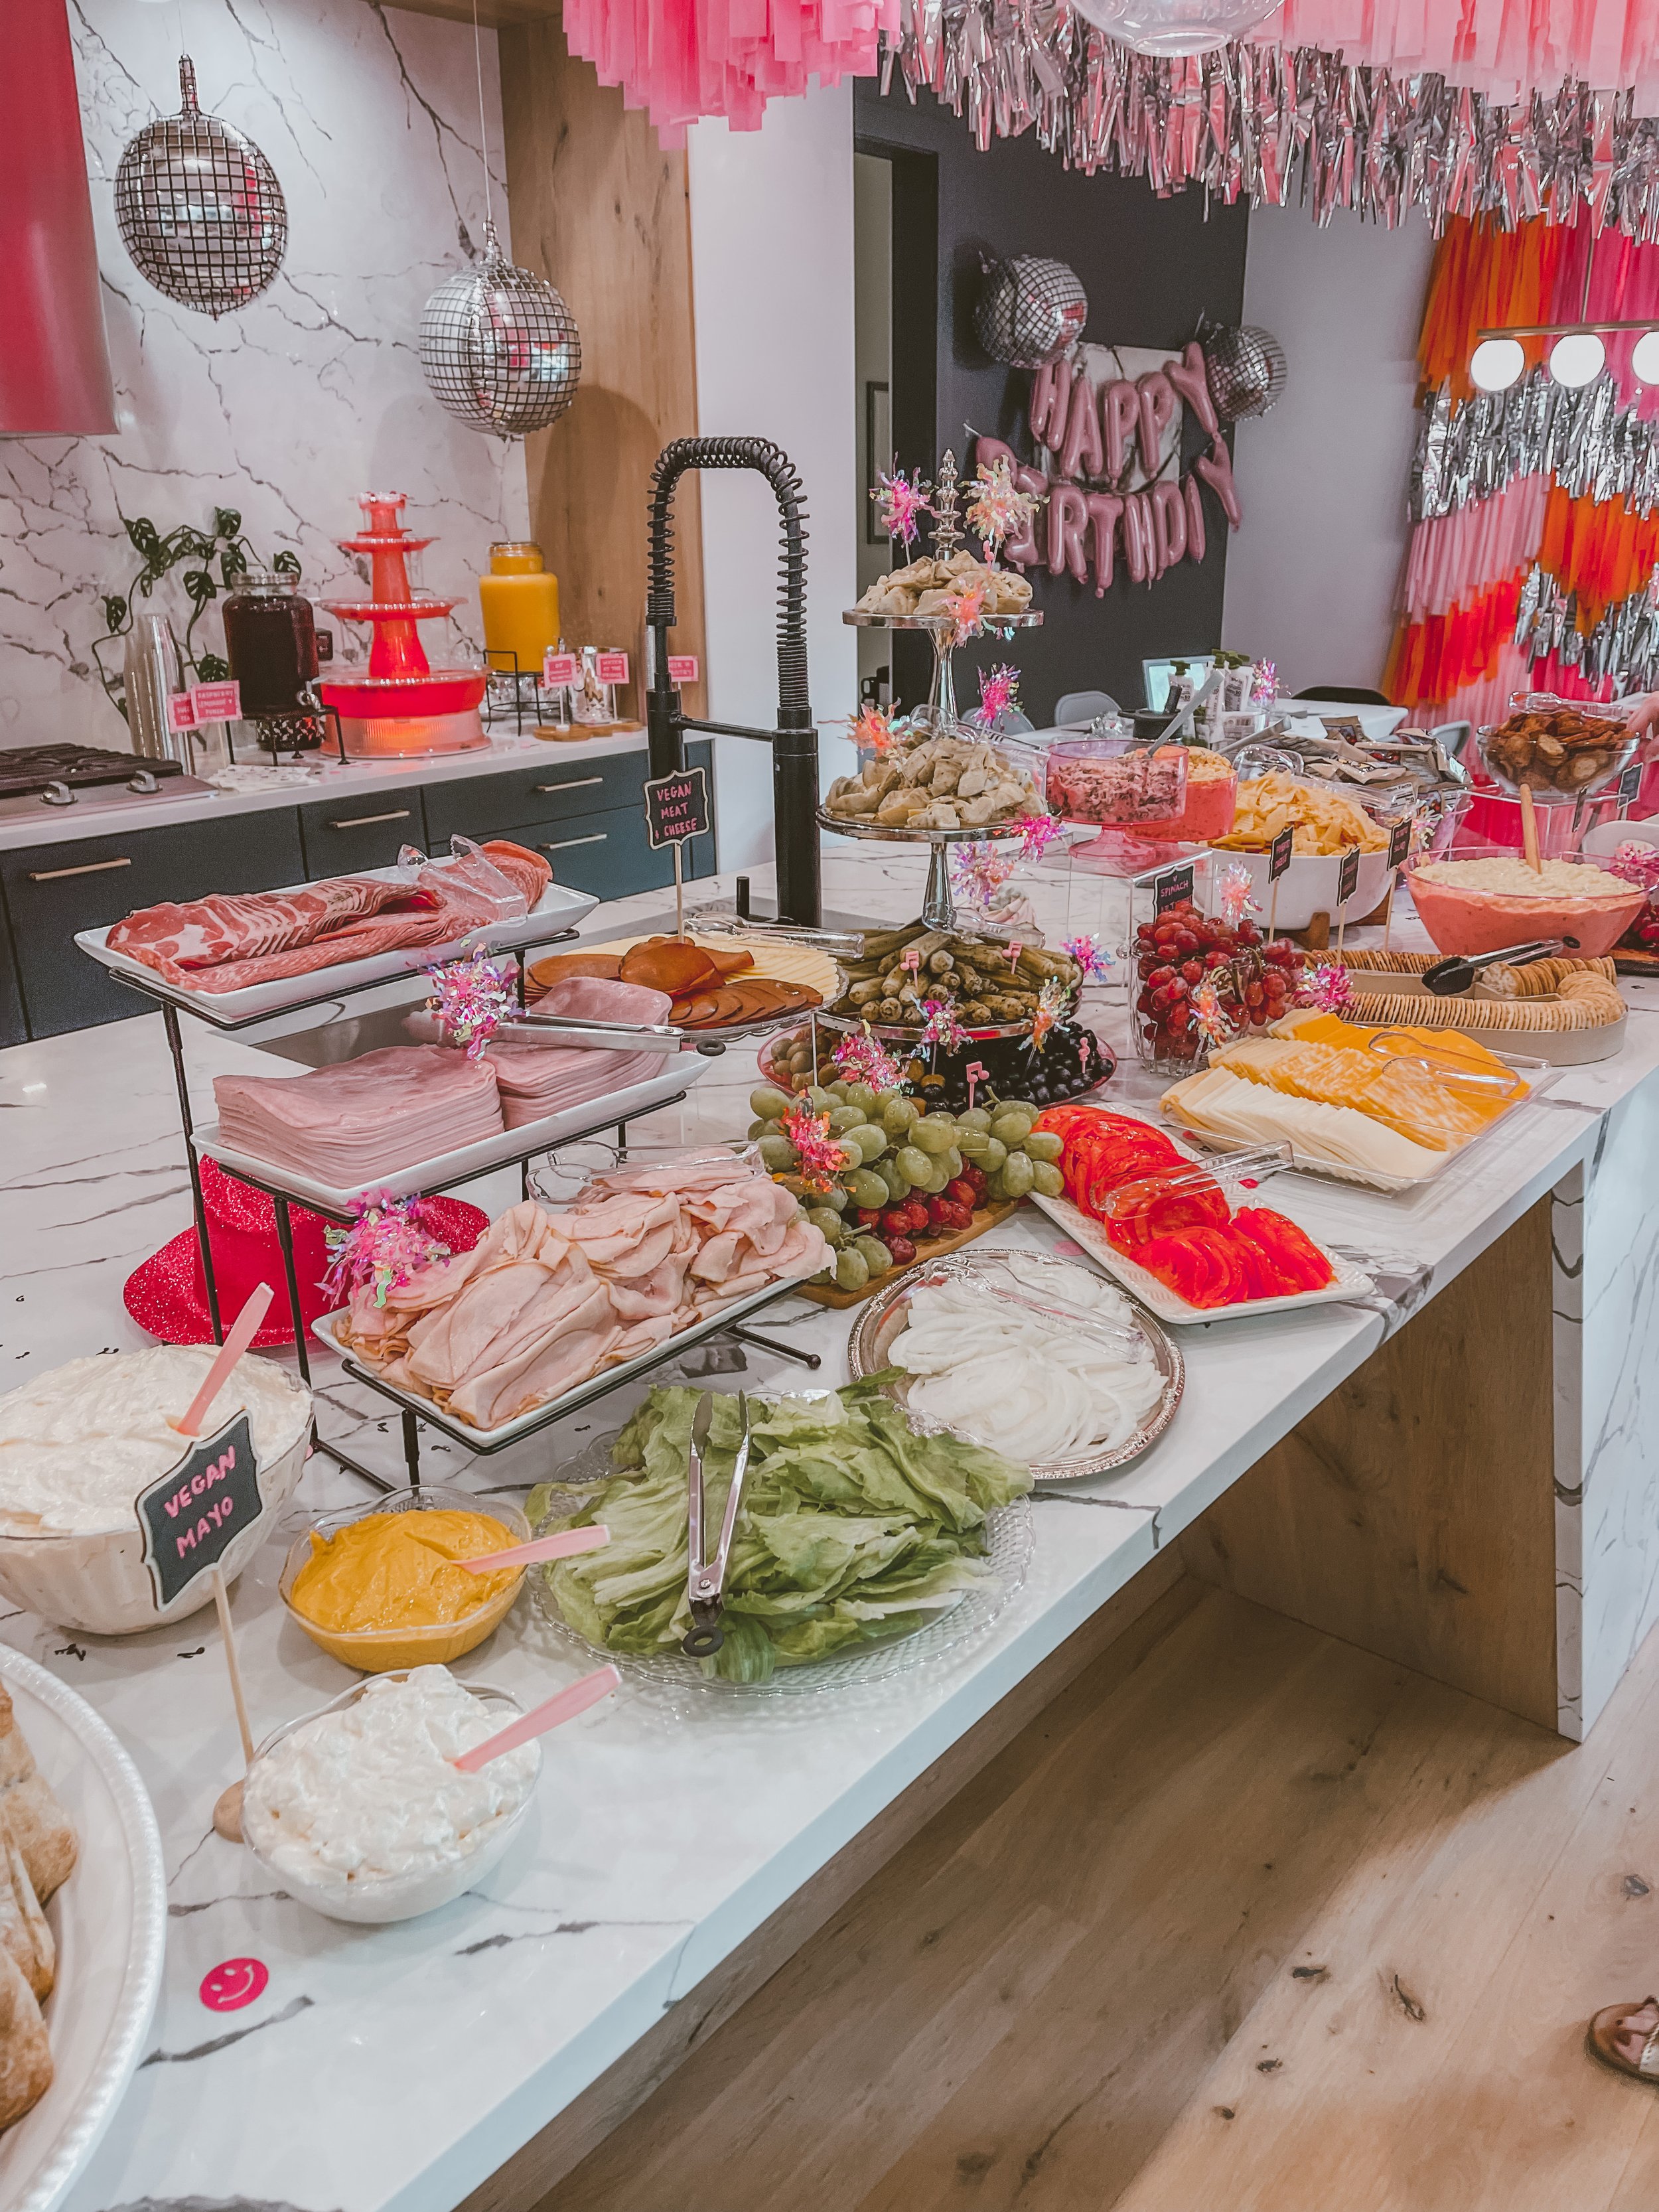
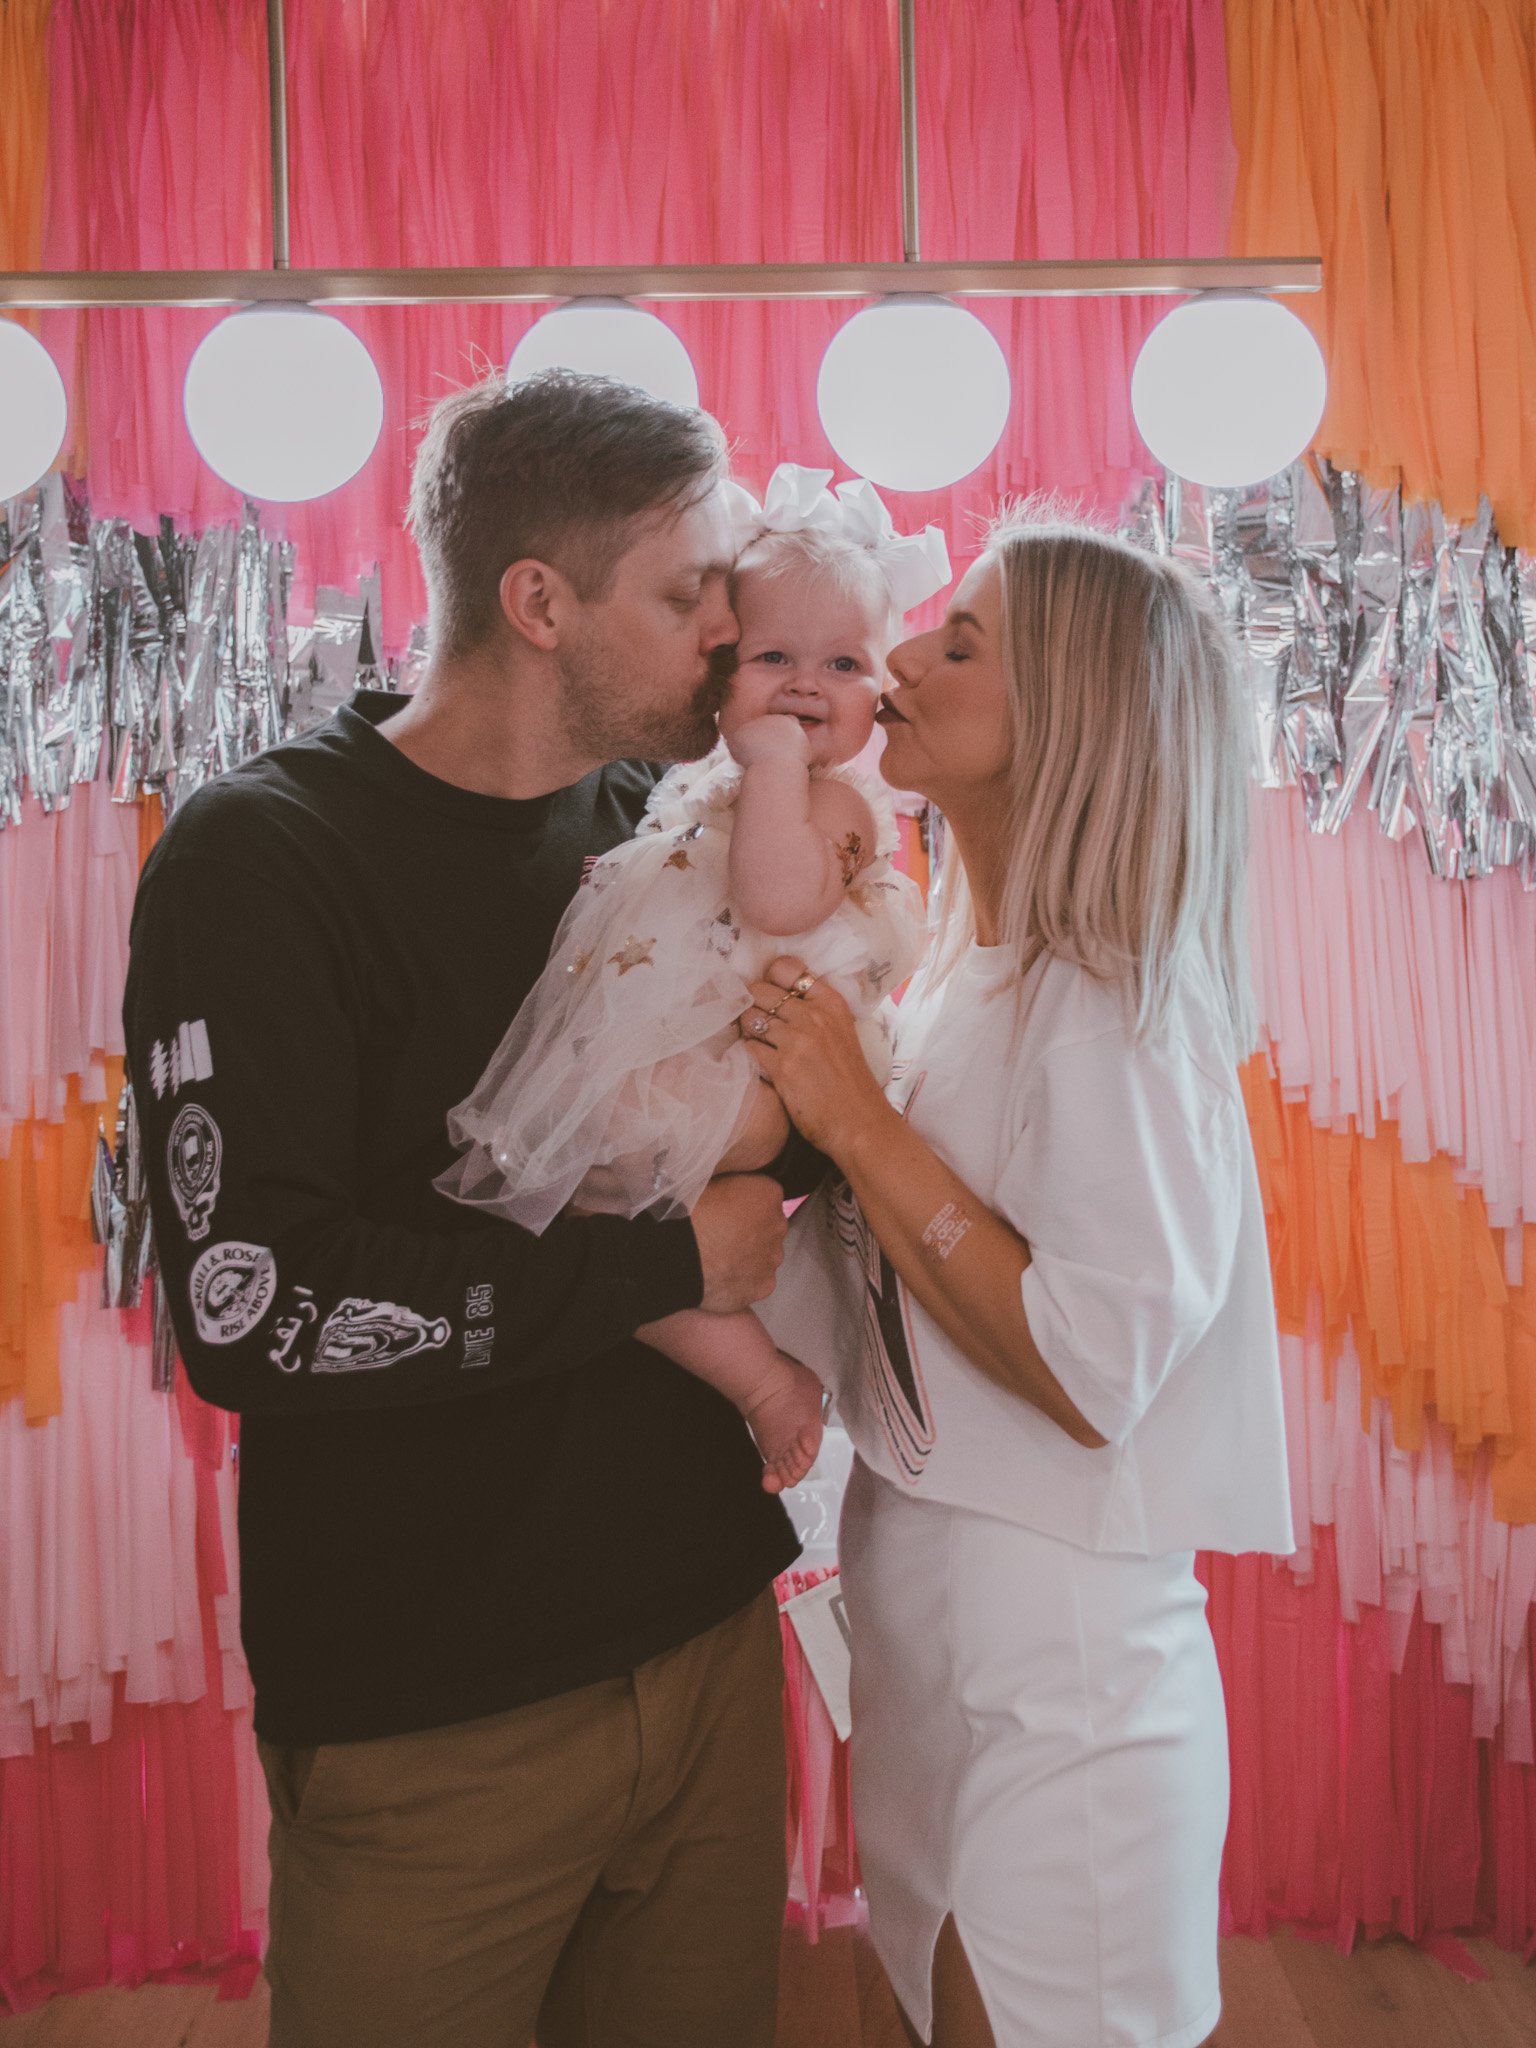
MUSIC THEMED FIRST BIRTHDAY PARTY

I had a blast hosting family and friends for Quinnies first birthday party! It was by far the biggest group of people I’ve hosted and the most decor I’ve ever made. I DIY’d a bunch of items since I wanted a music themed party with pink, silver and orange. Every time I tried to find music party decor it was always in black and red so I had to make my own!
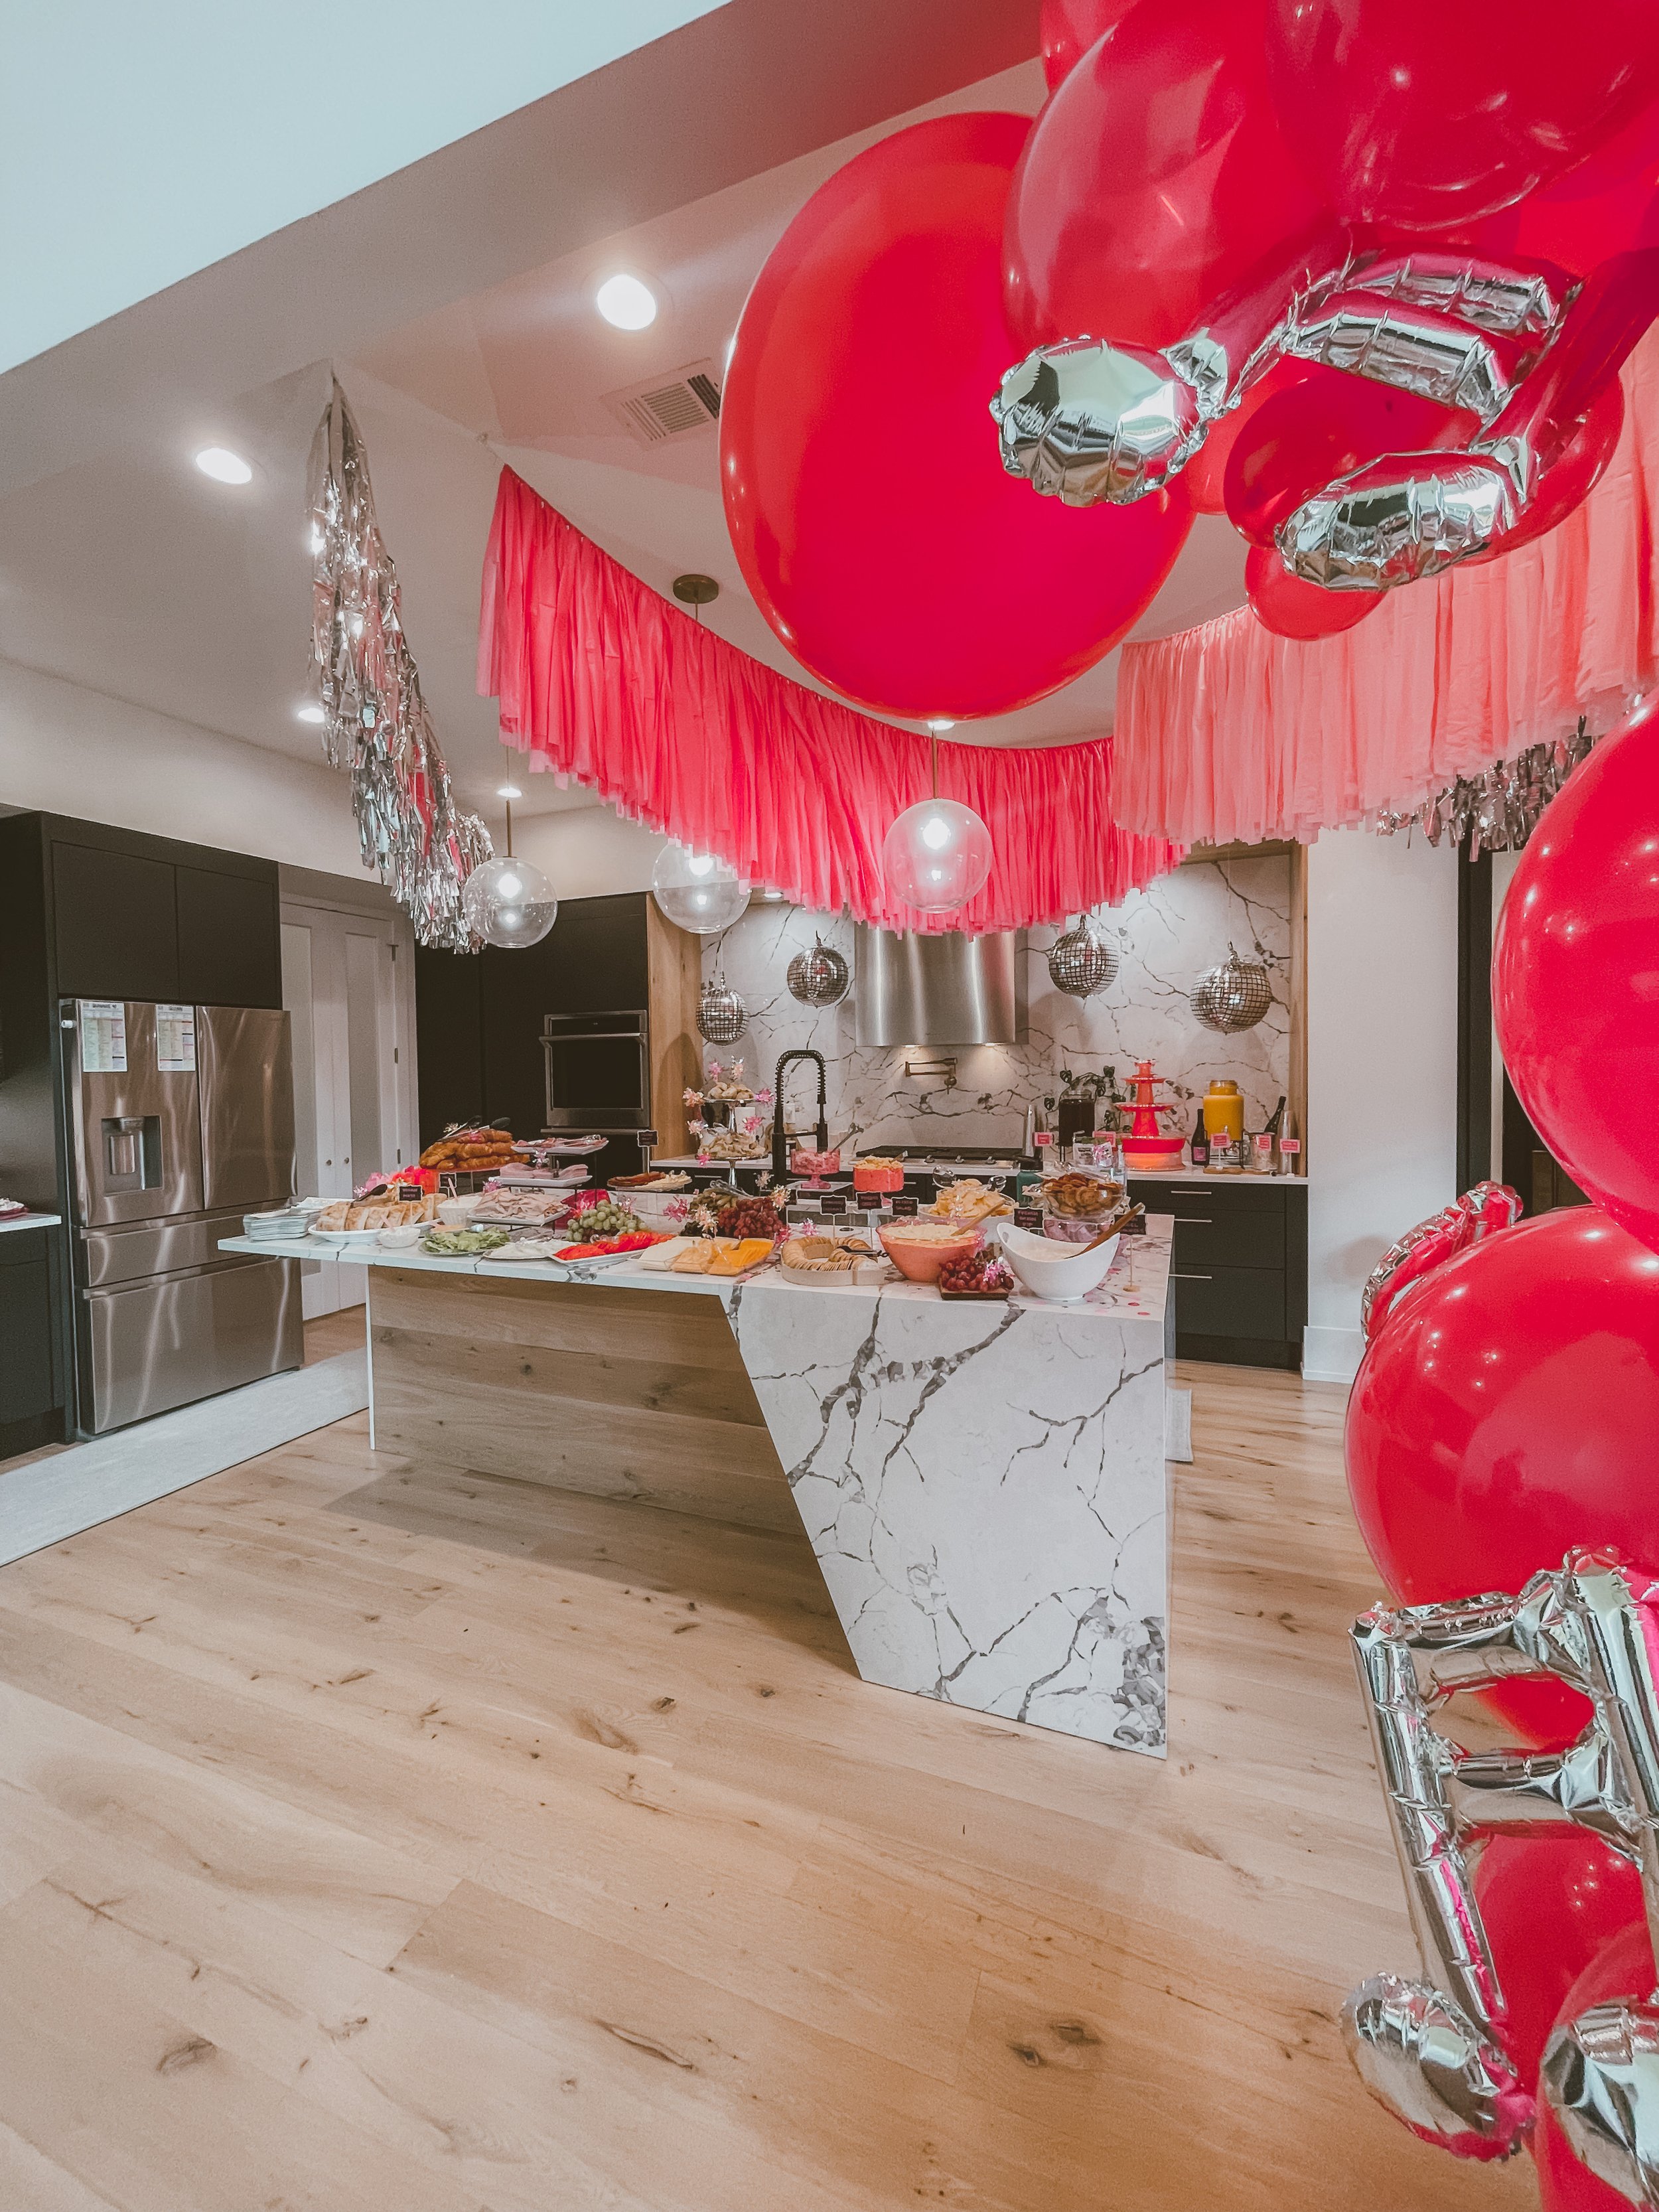
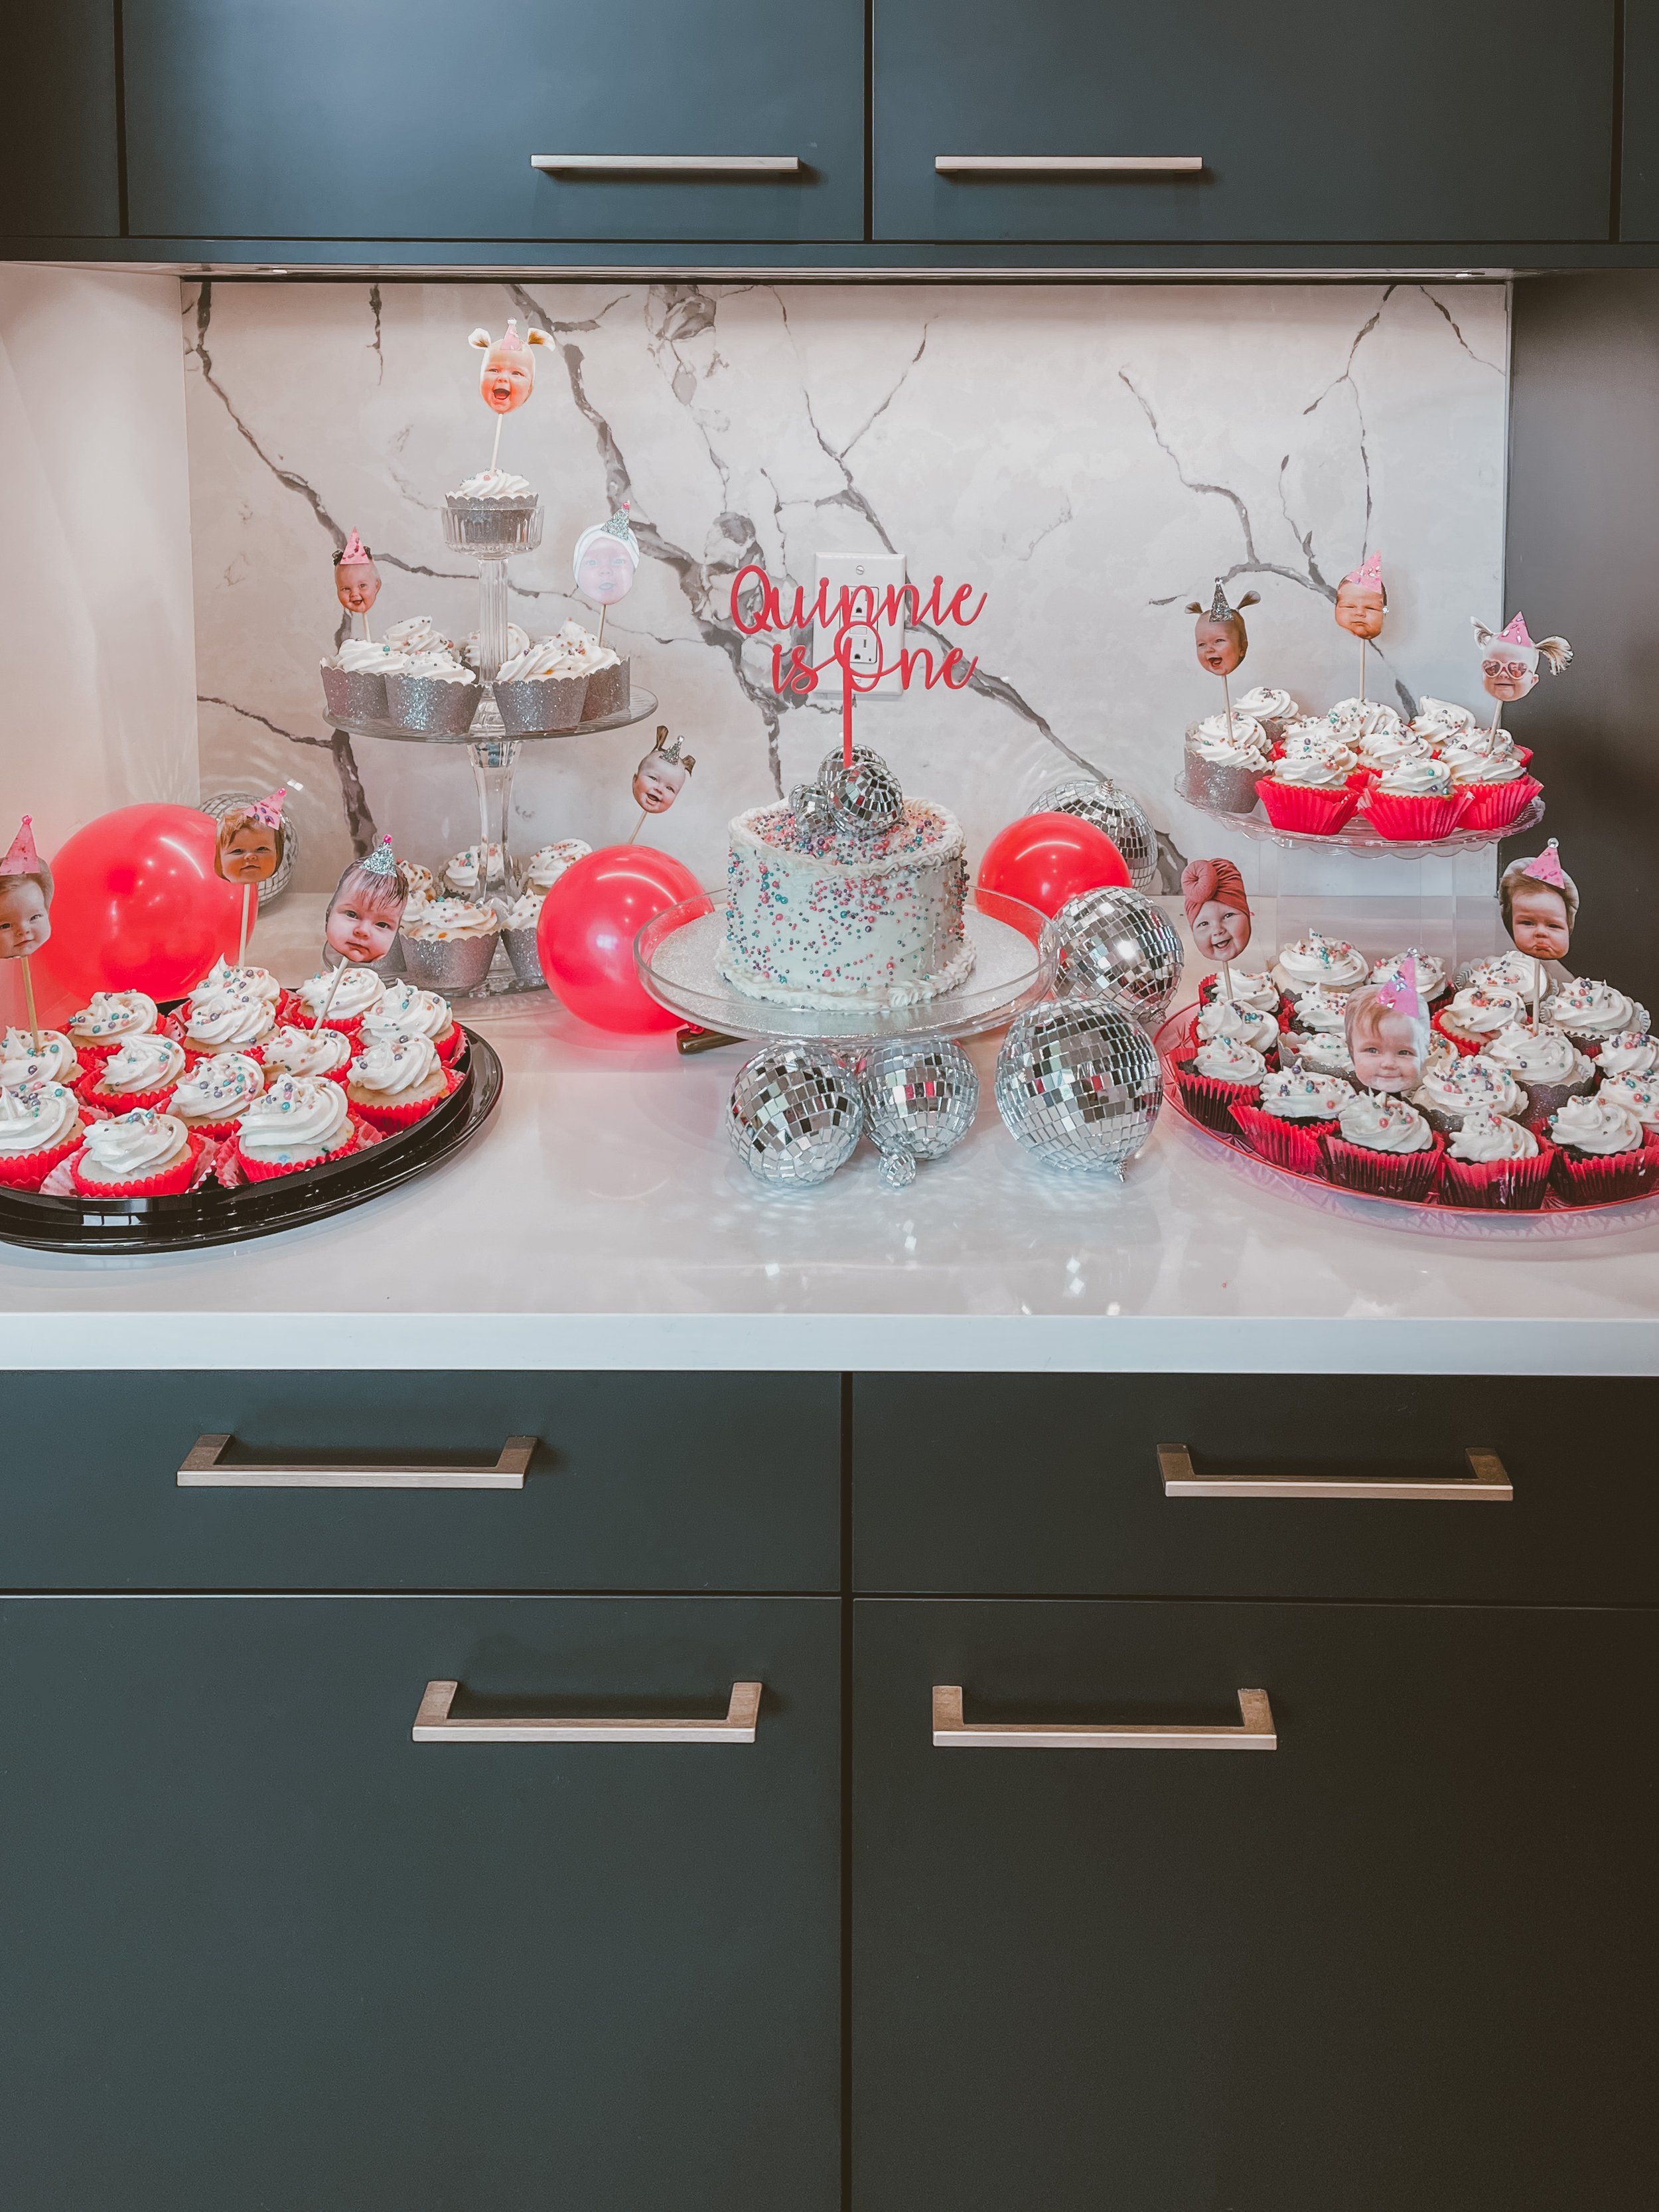
I kept the food super simple since I was spending the majority of my time prepping the house with decor. For food I didn’t want anything that had to stay hot or cold and I needed to accommodate both meat eaters and vegans. Because of this, I did a make your own sandwich bar with vegan and regular meat, cheese, and condiment options. I also had a relish tray, fruit, pre-made dips, and potato salad. For drinks I had sweet tea, OJ, Processco, Beer, water, and punch. For dessert I made two kinds of cupcakes - this box funfetti cake with vanilla icing, and this recipe for an AMAZING vegan chocolate cake.
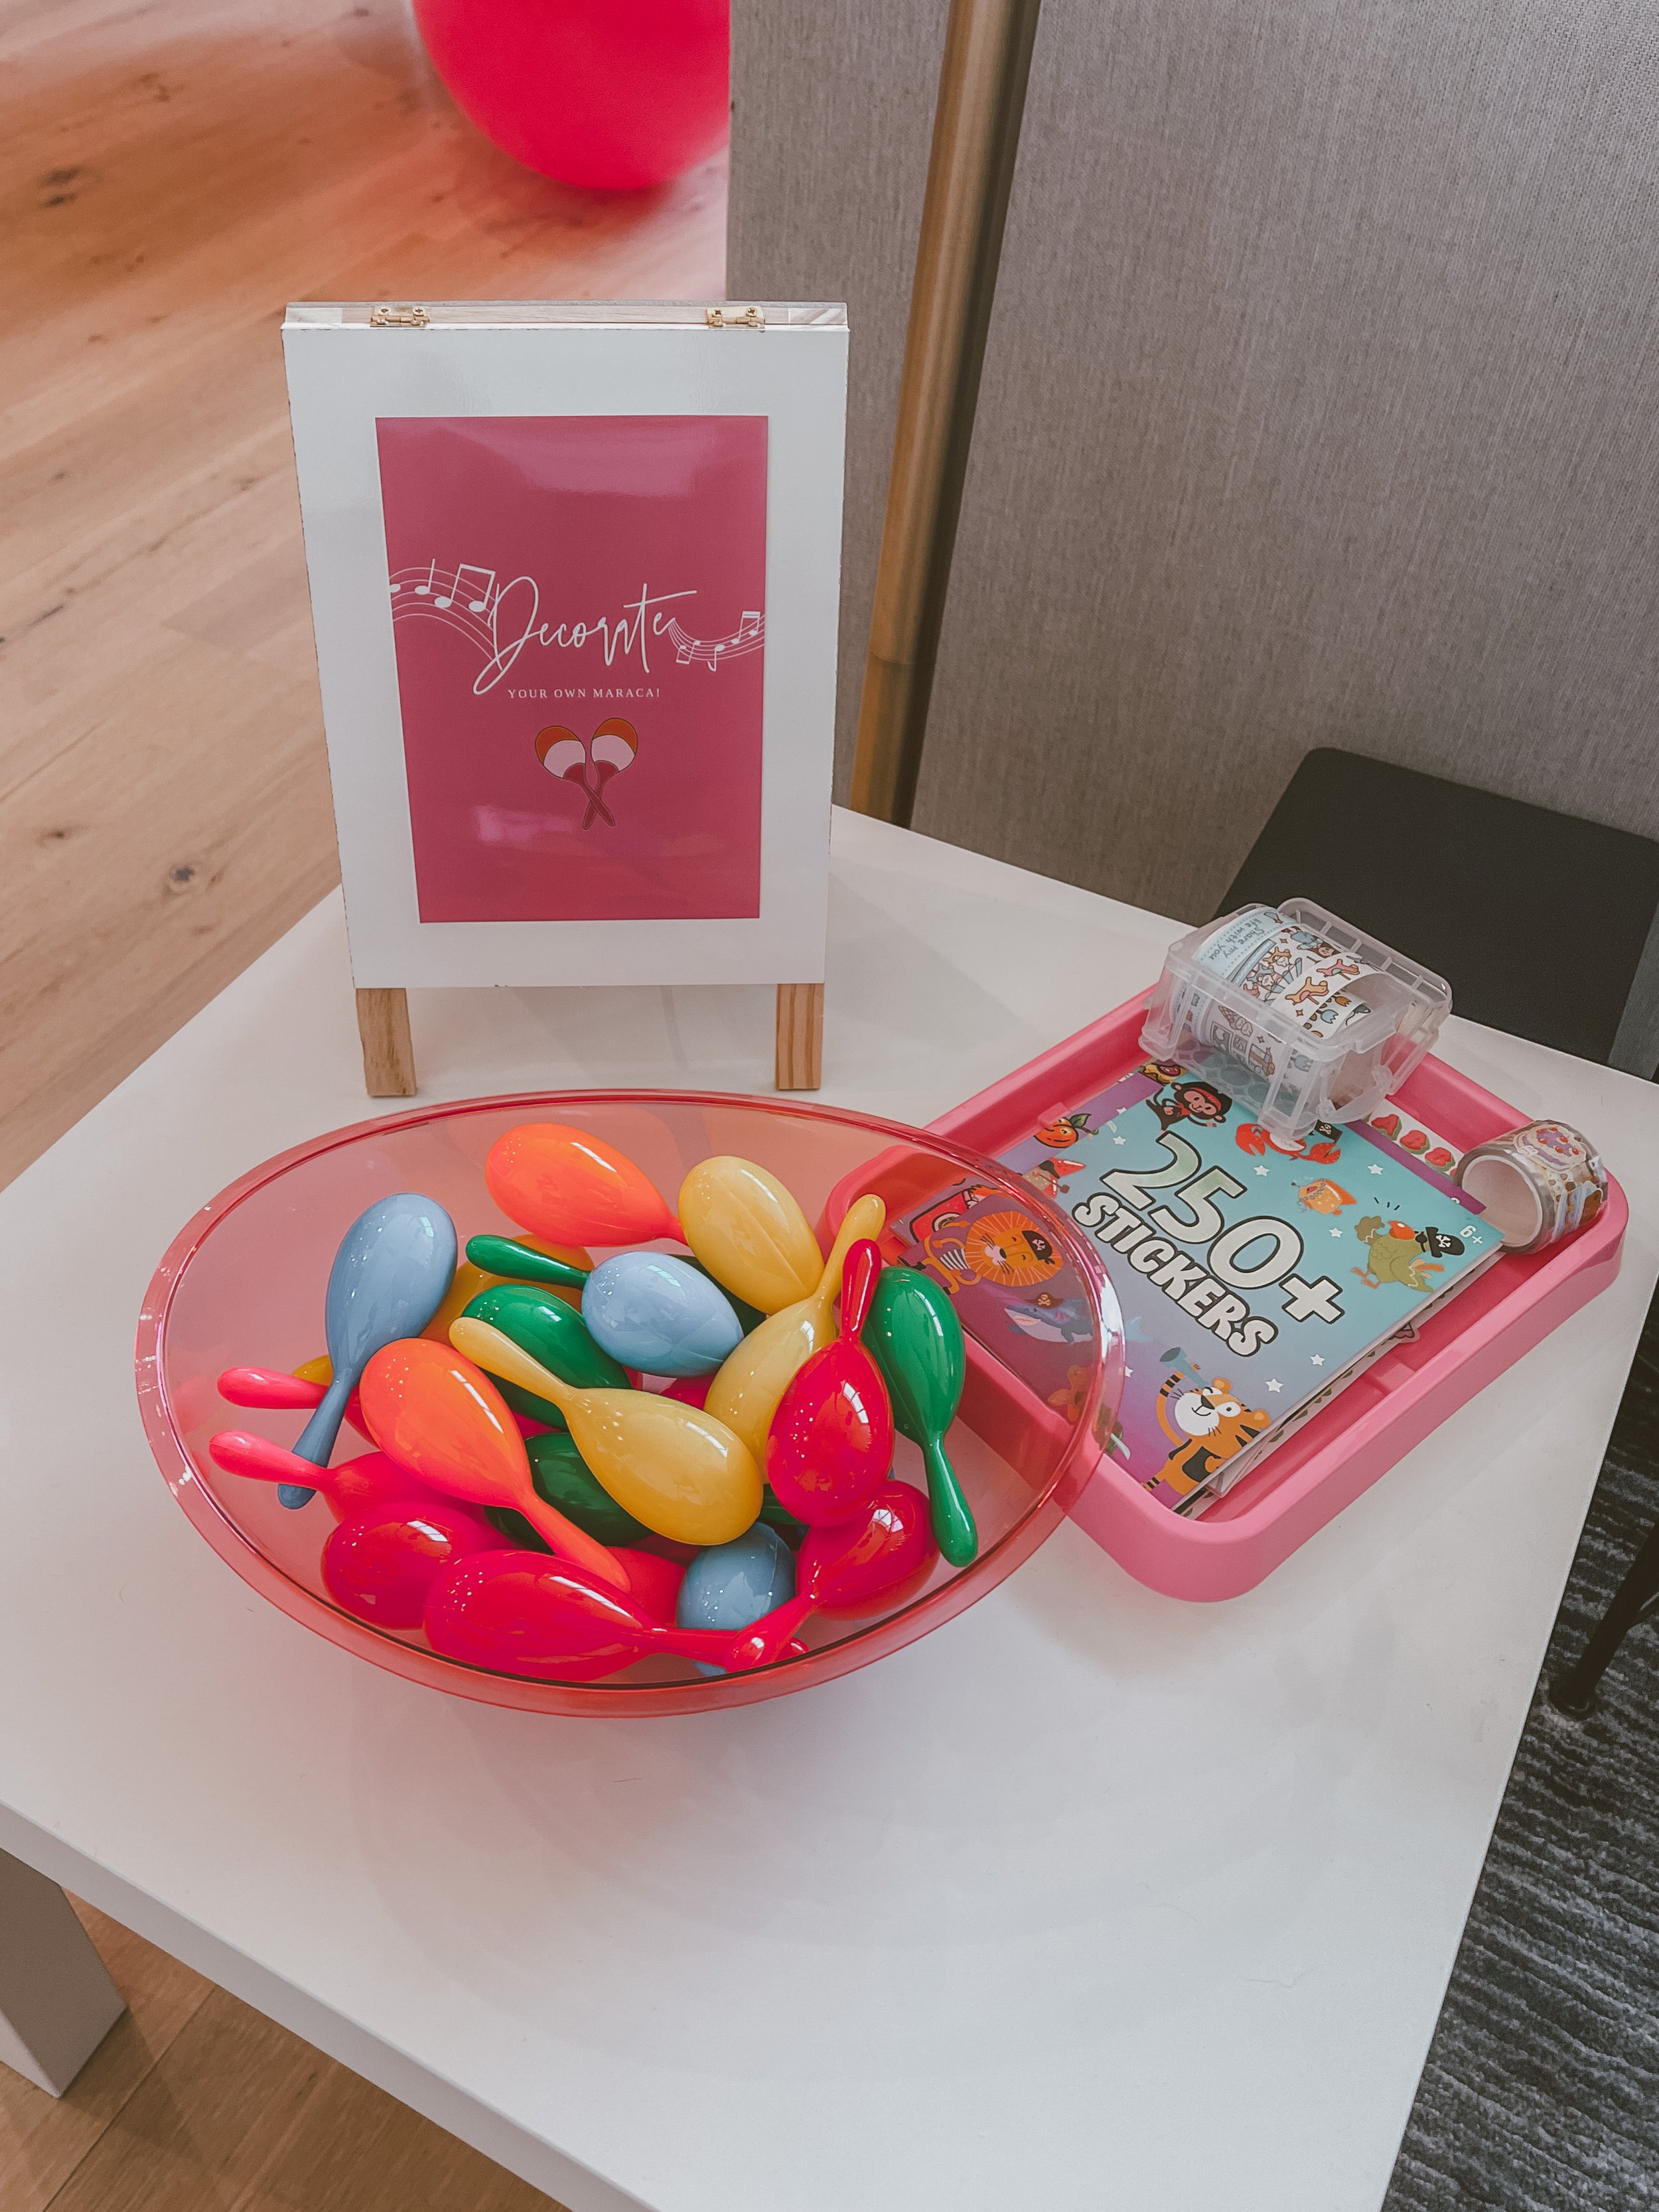
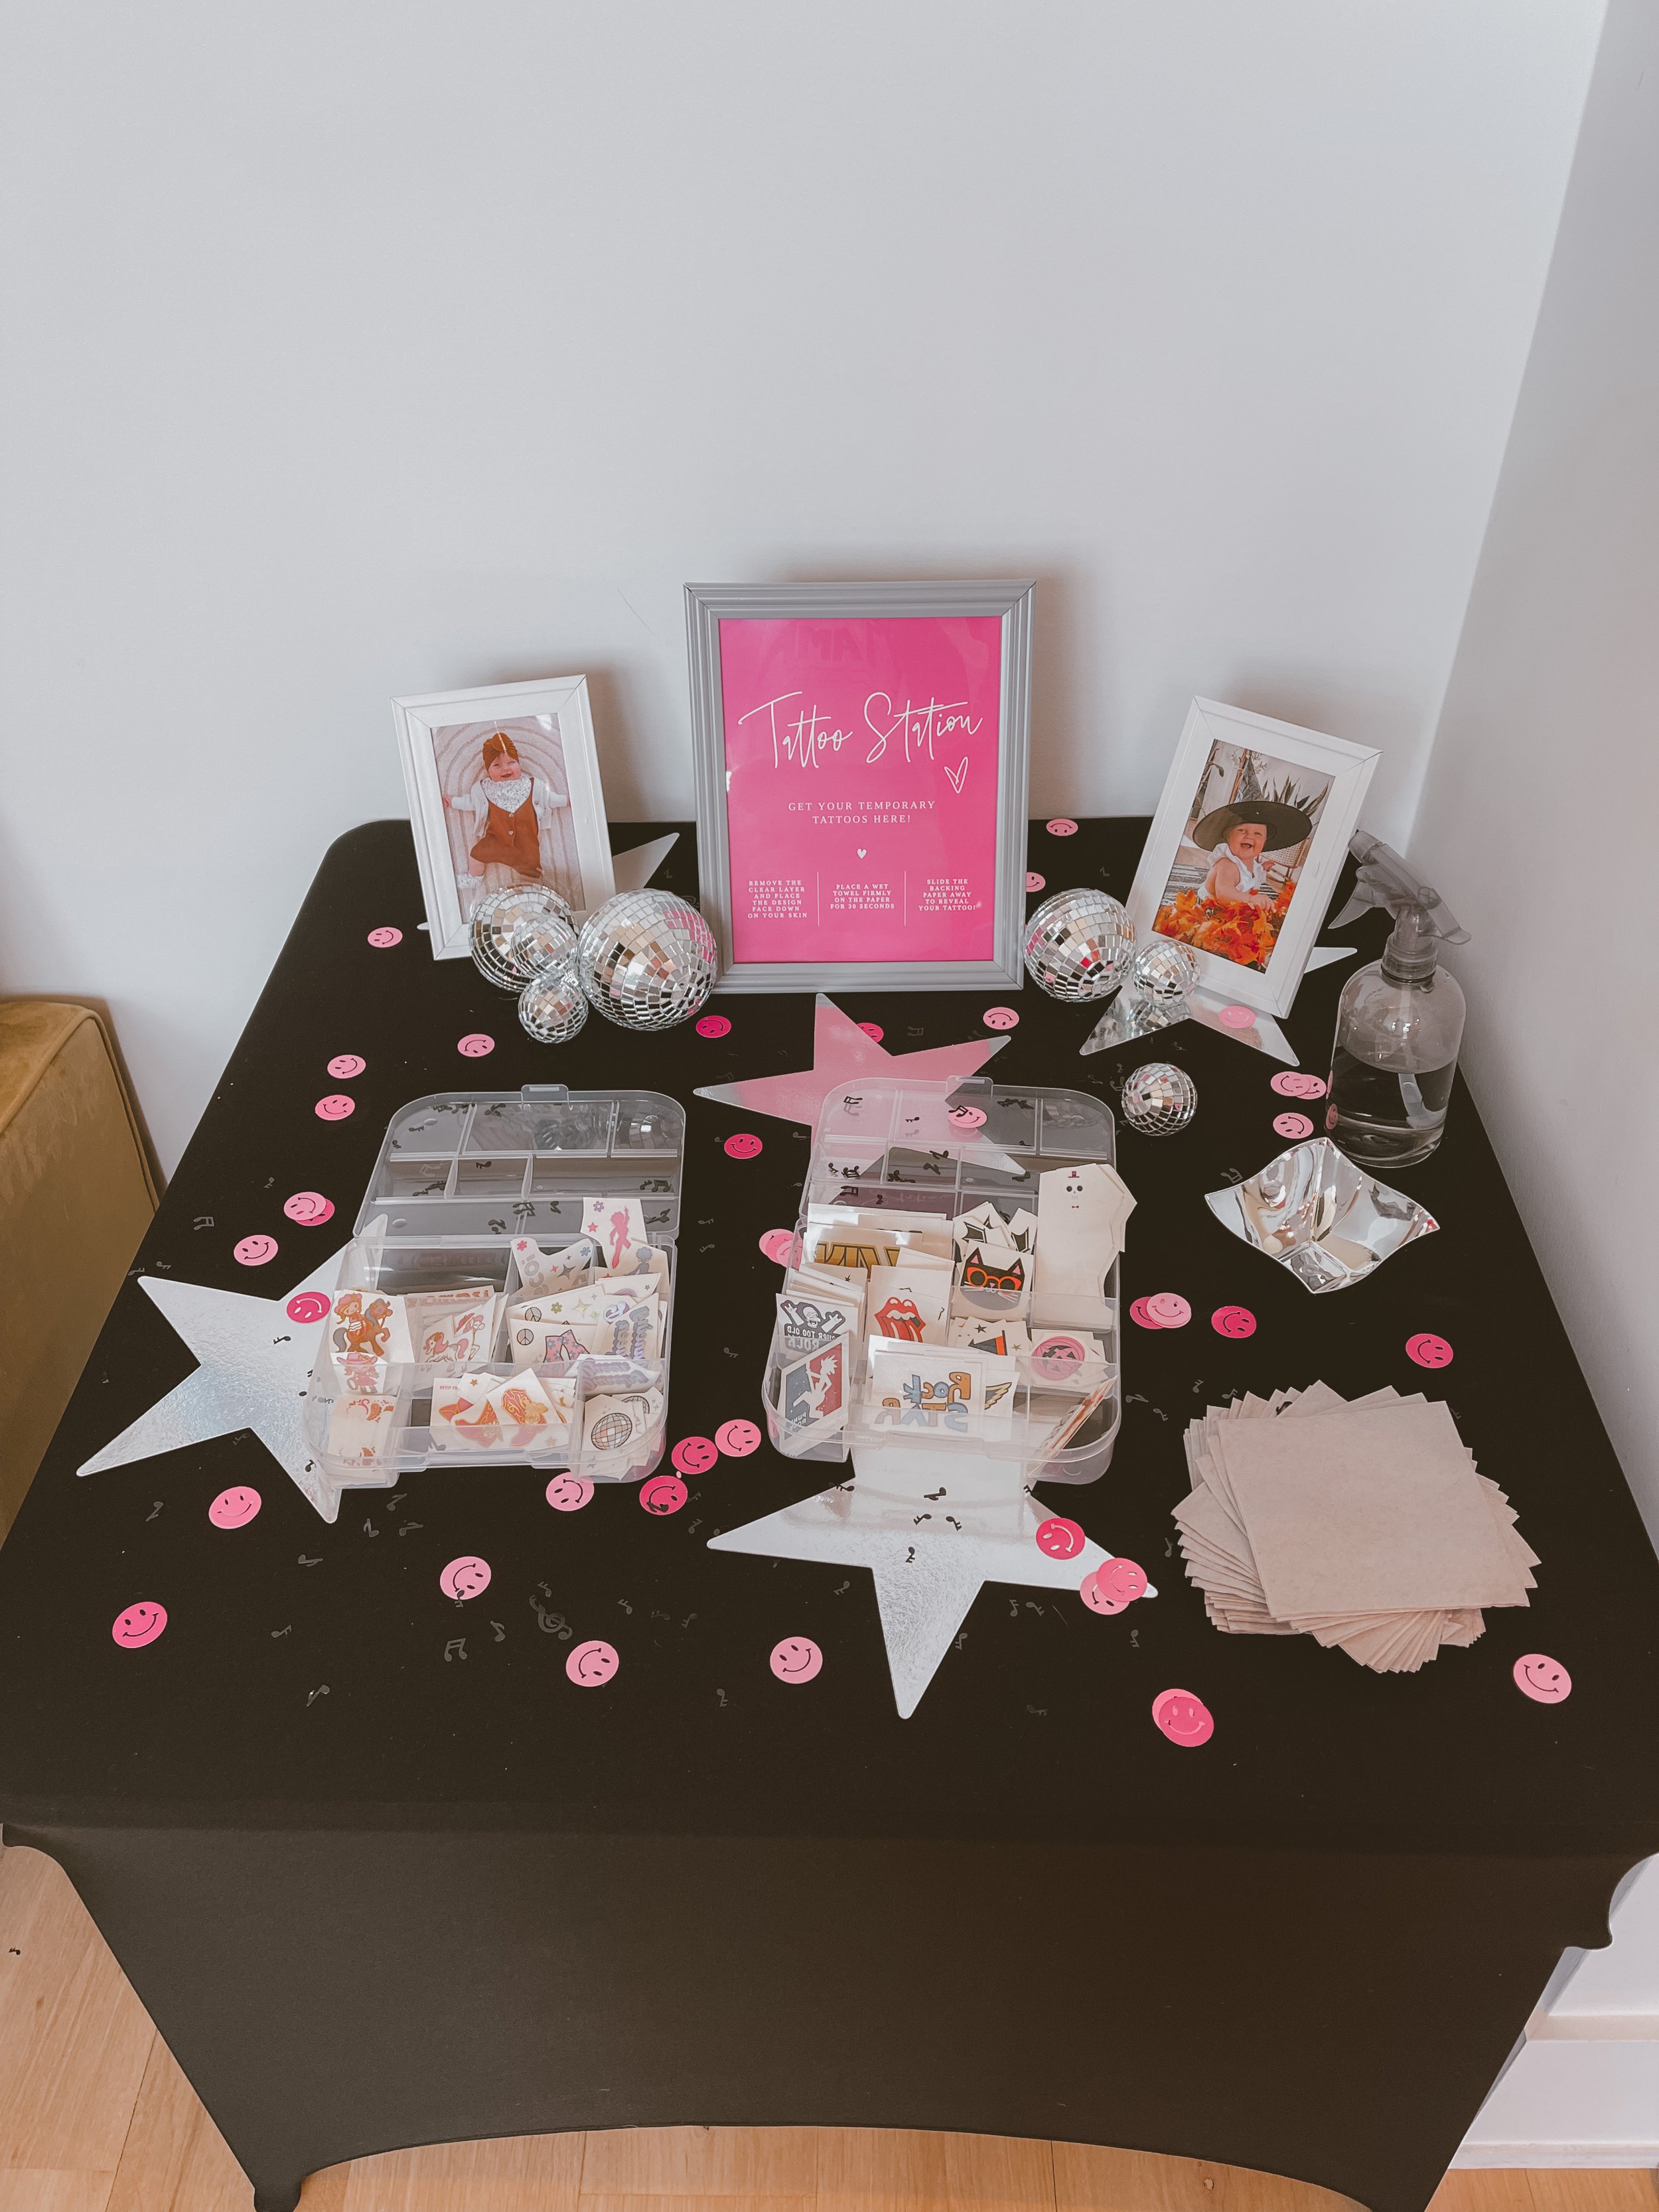
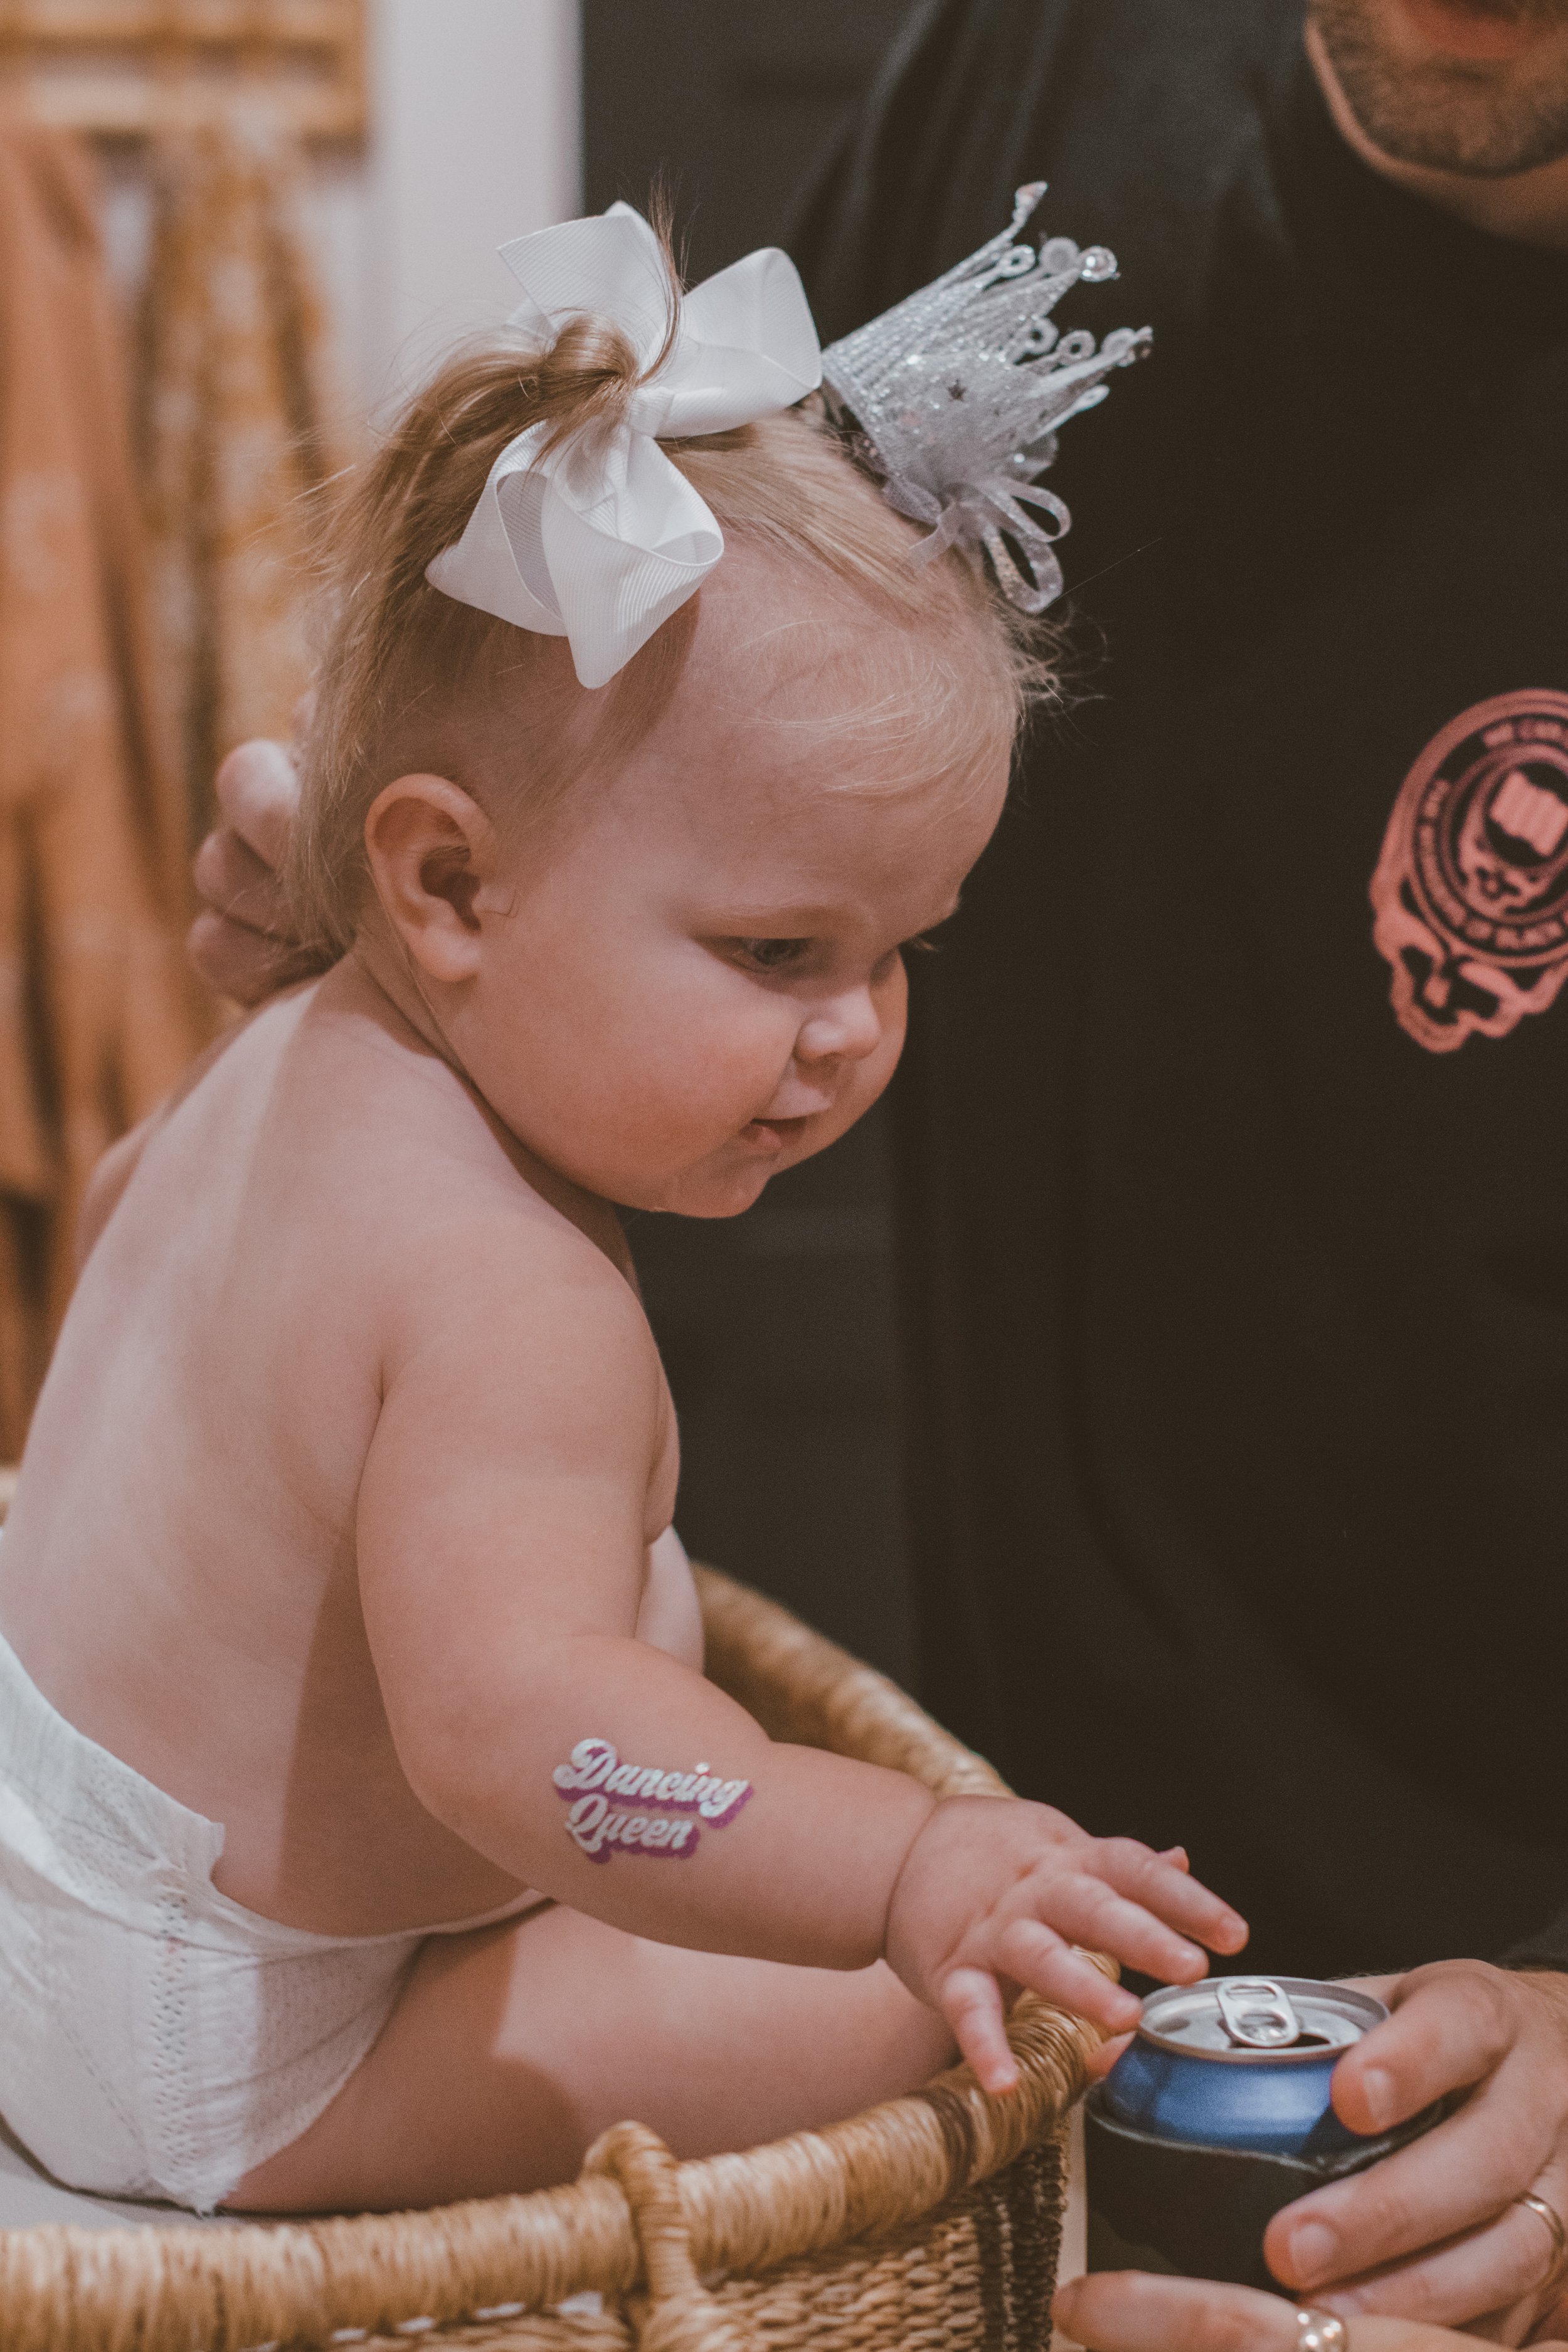
I always want to have activities for everyone to do so we had a “decorate your own maraca station” with stickers, a temporary tattoo station with music themed tattoos, a bounce house in the front yard, and our playroom was open to use as well.
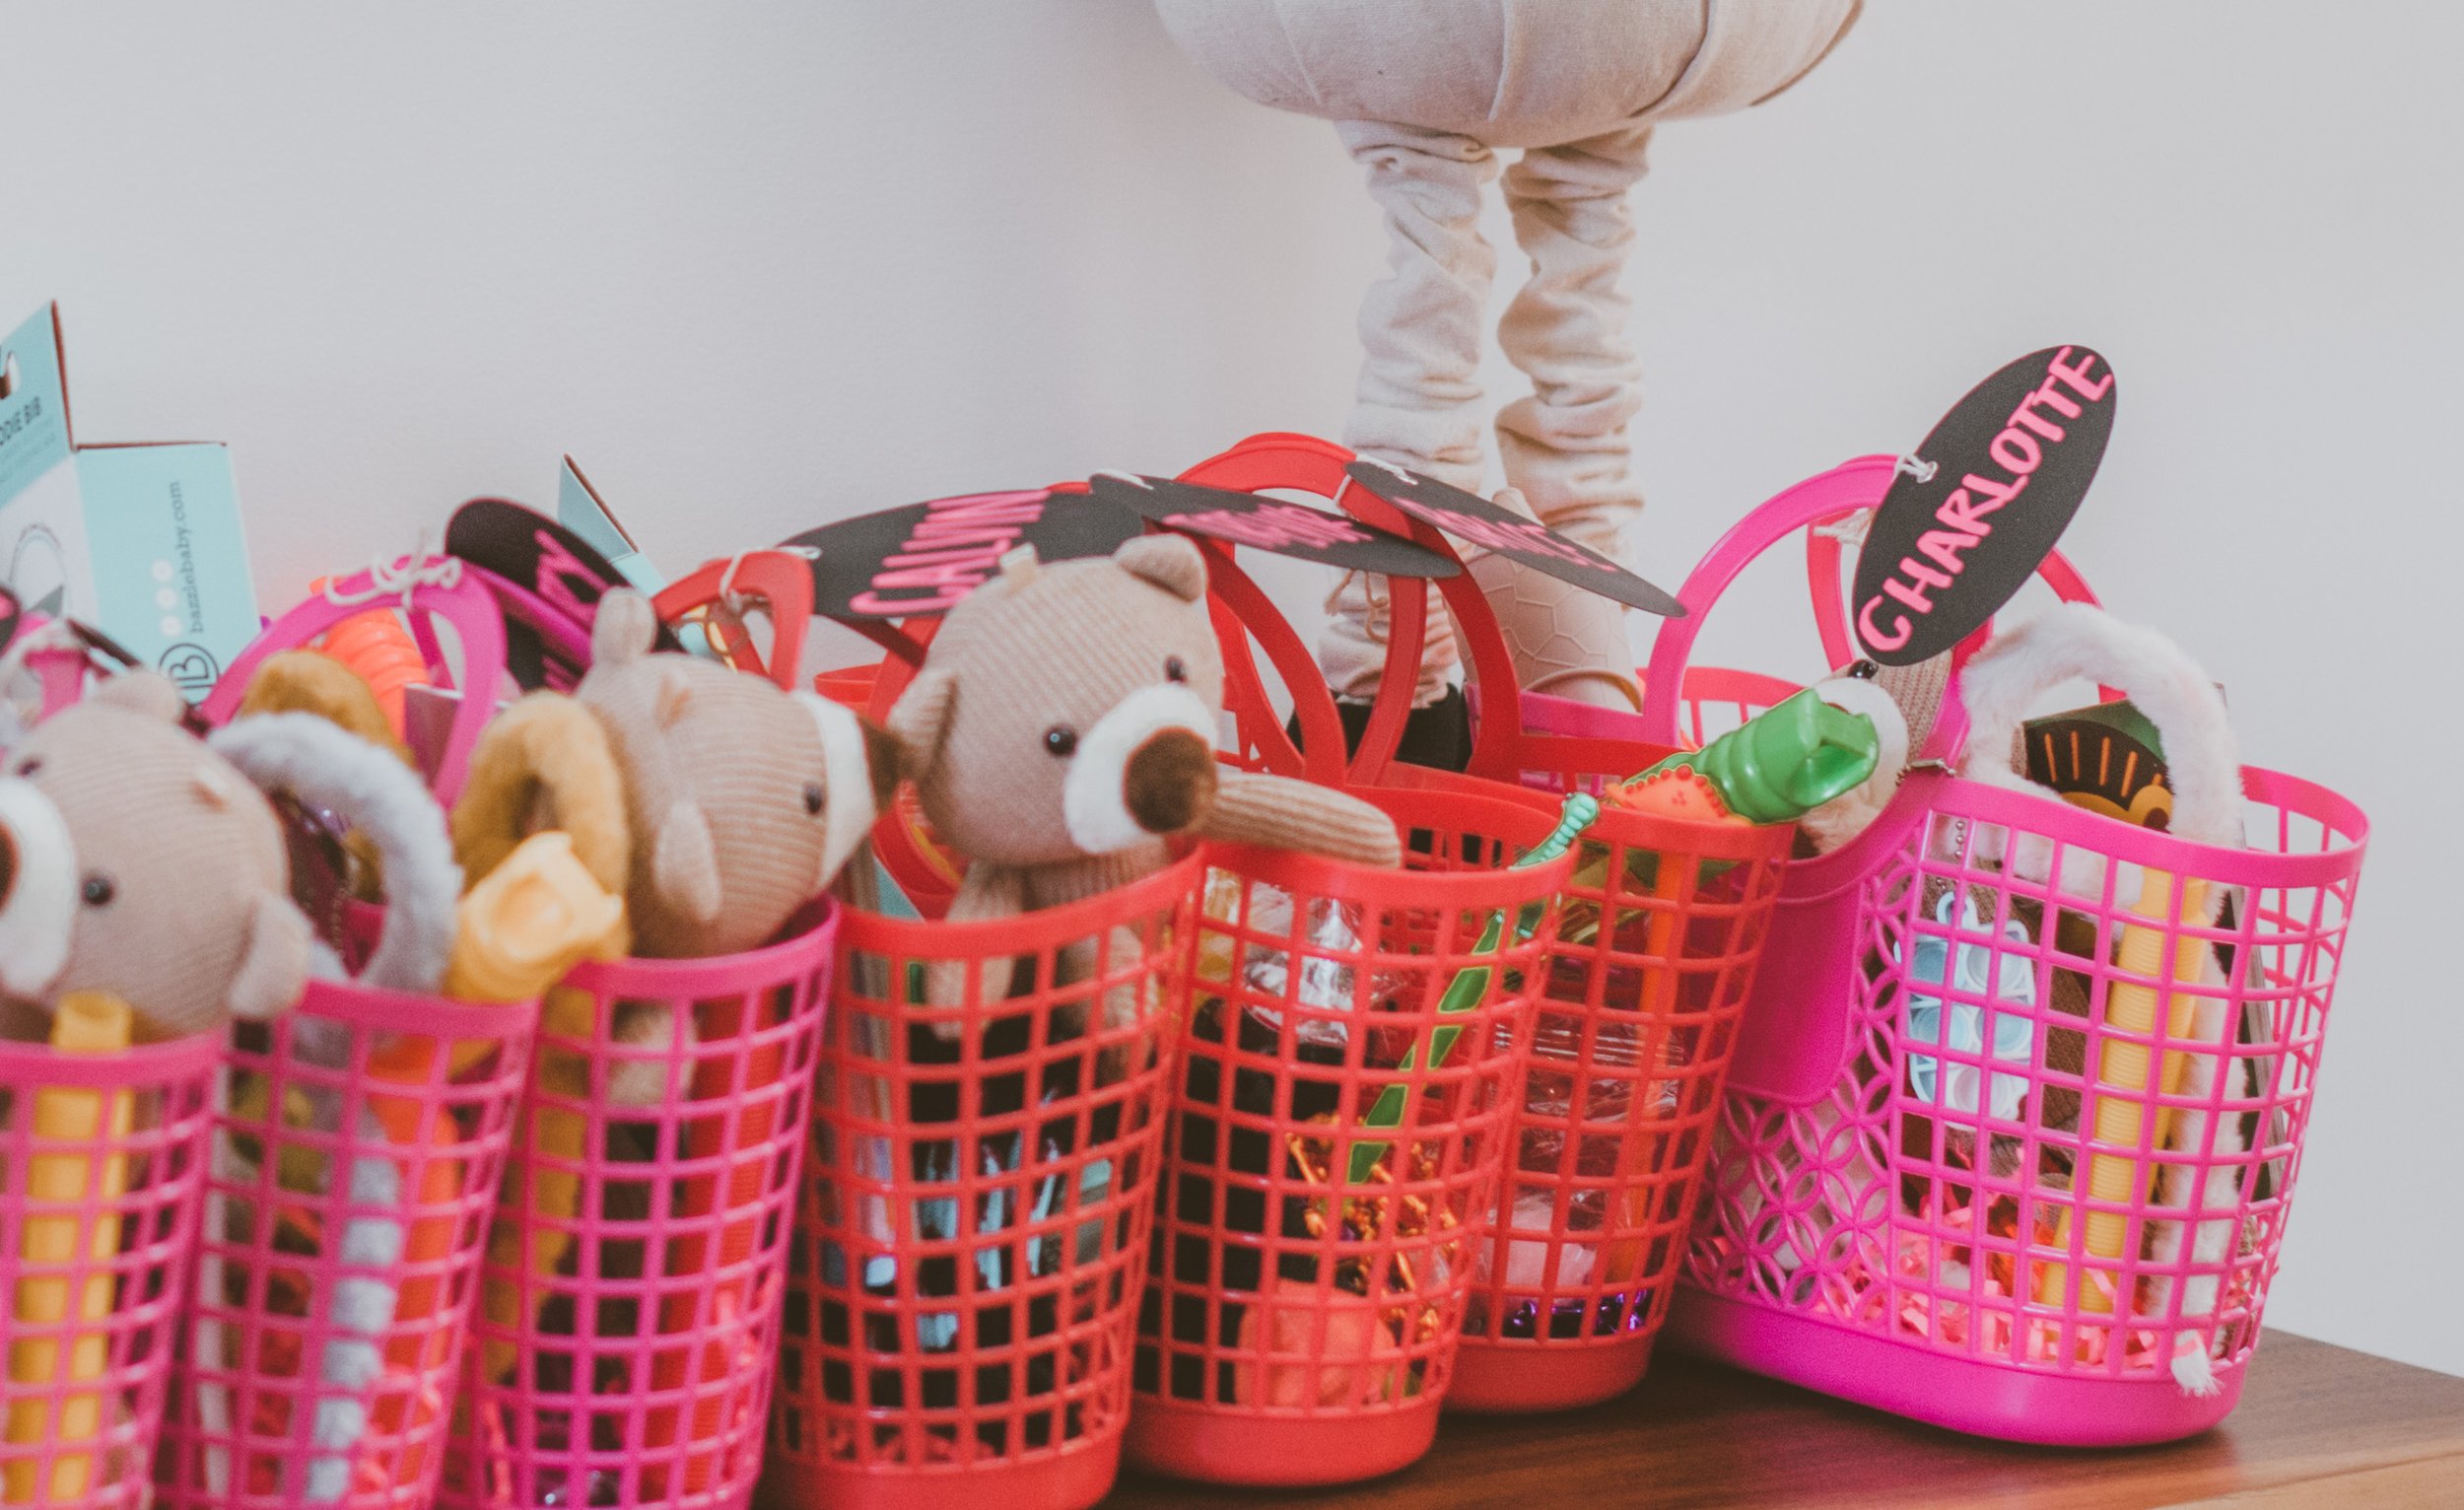
The goody bags were tailored to each child because some kids were older, some were toddlers, and we even had some infants. I collected packs of stuff here and there for MONTHS, always popped into the Dollar Tree every time they changed seasons, and bought stuff all over the internet. I had SO much fun making each bag for each child.
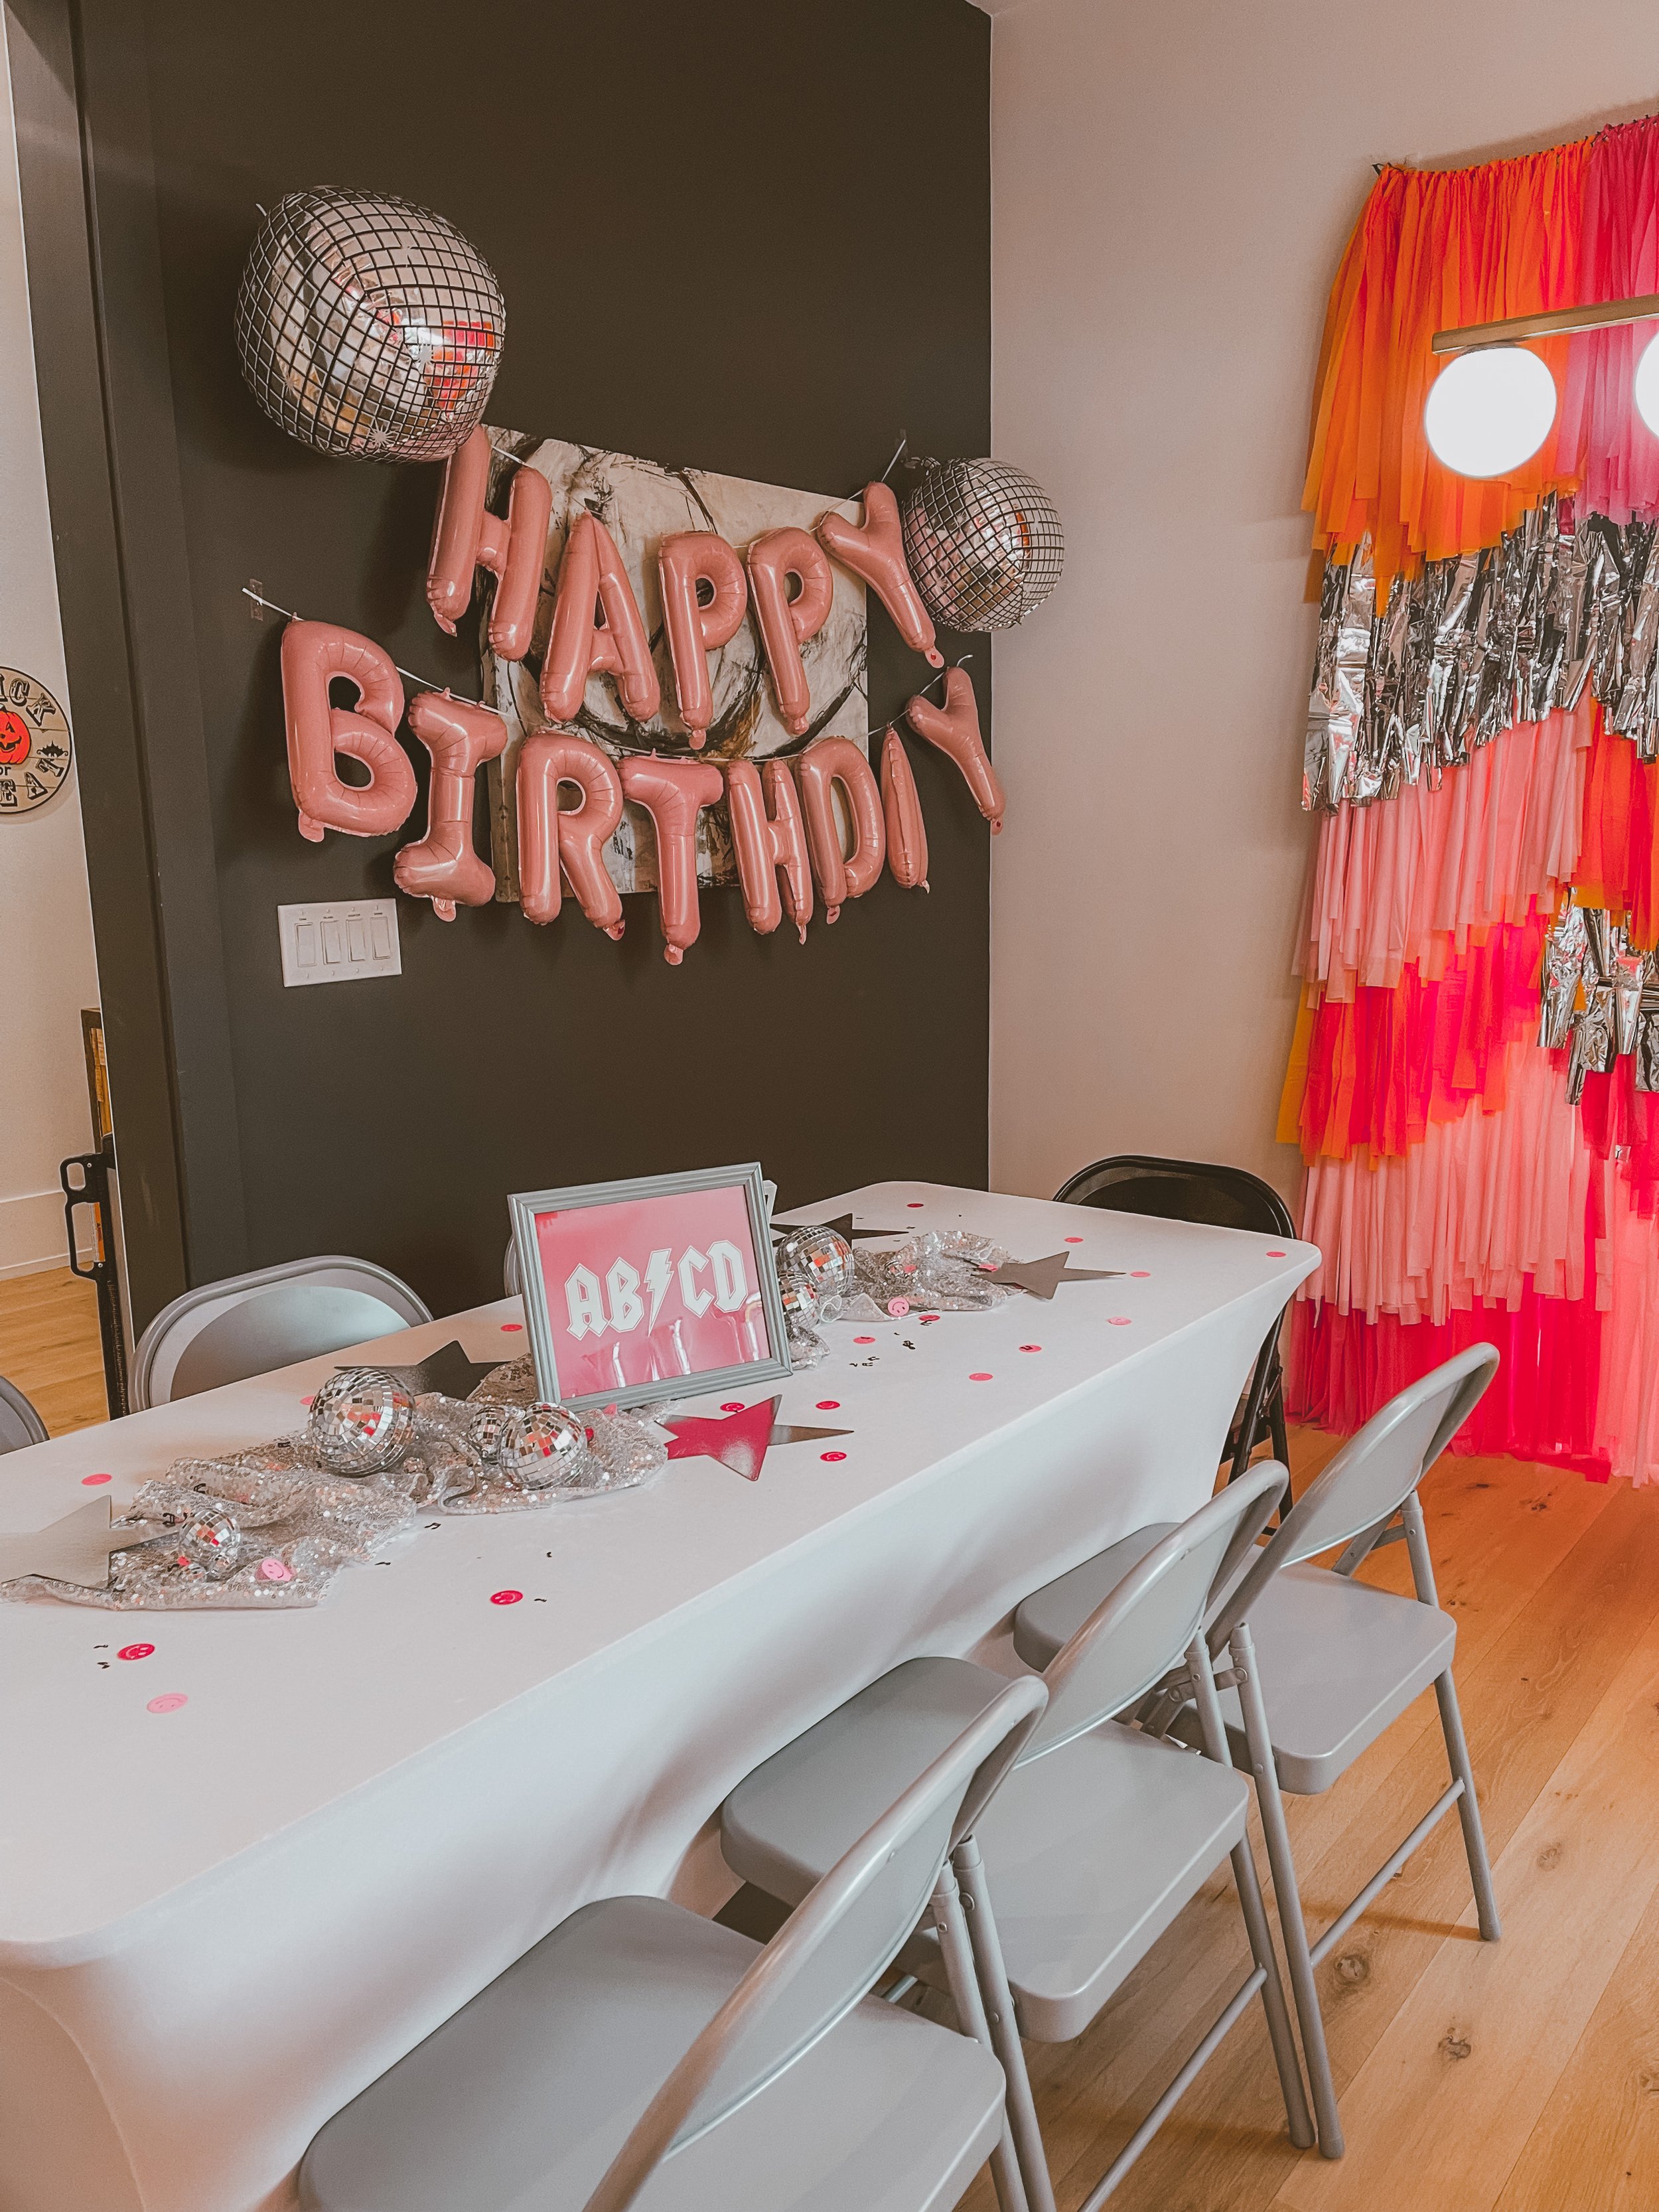
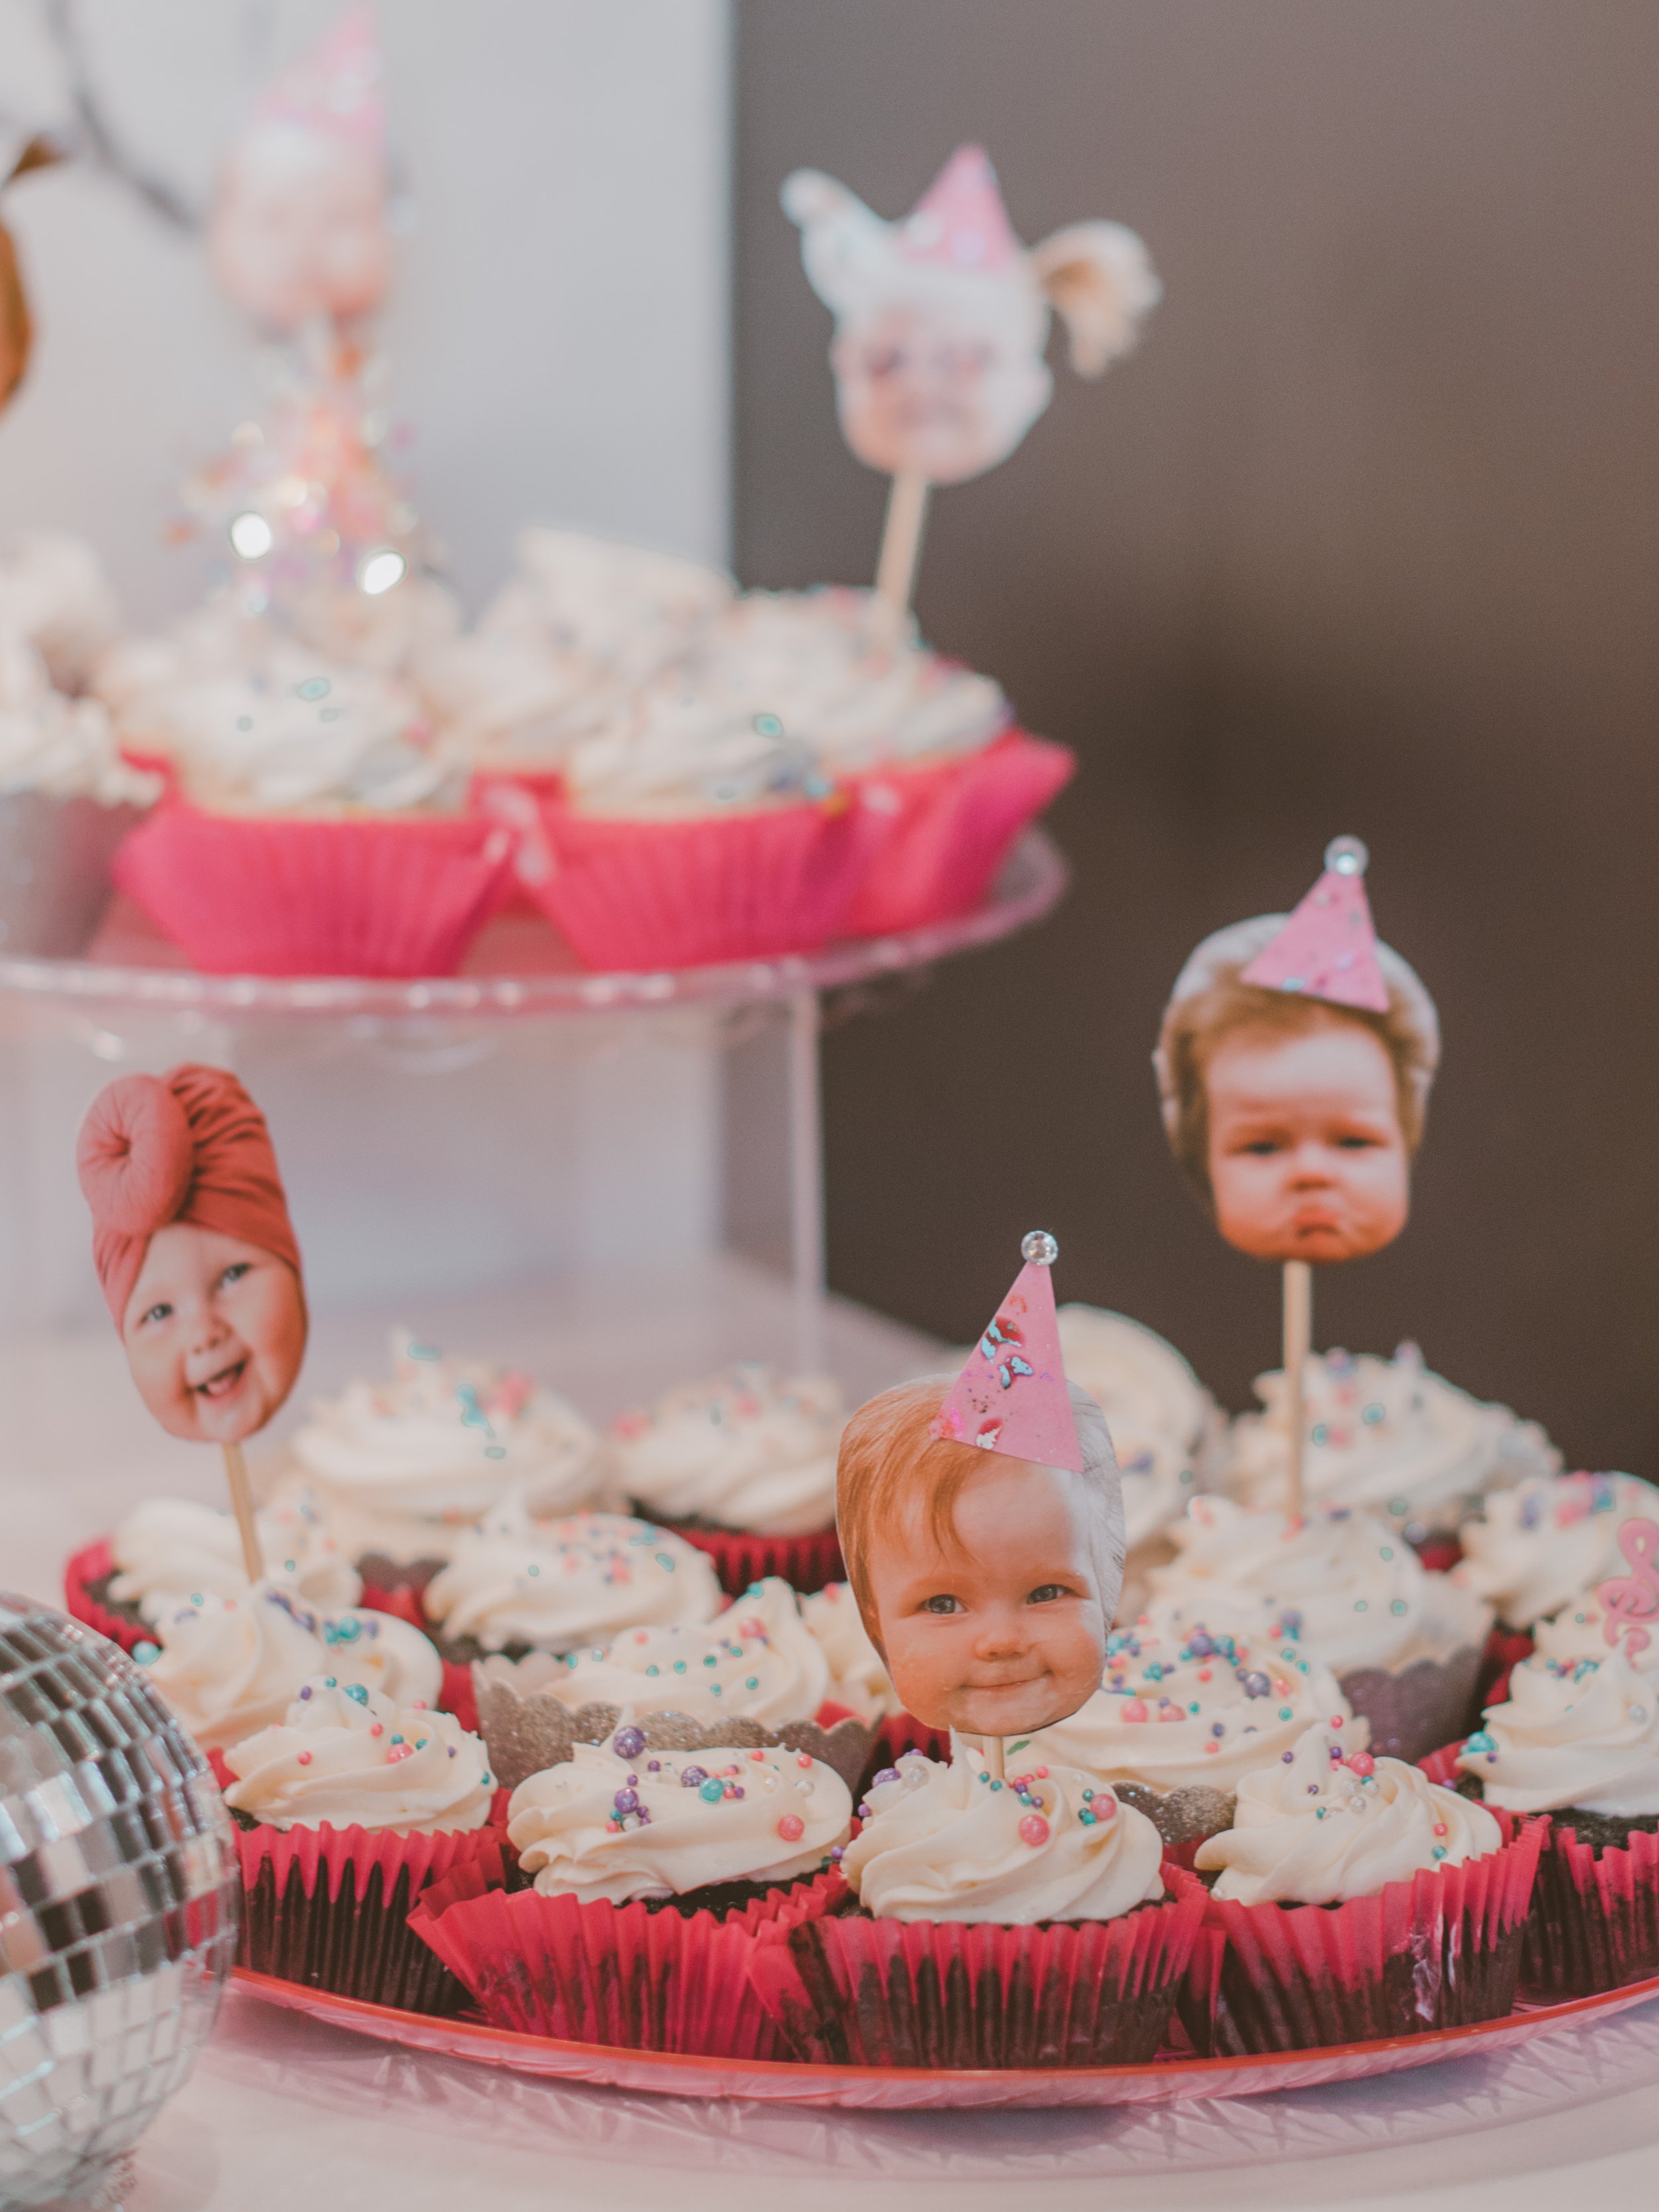
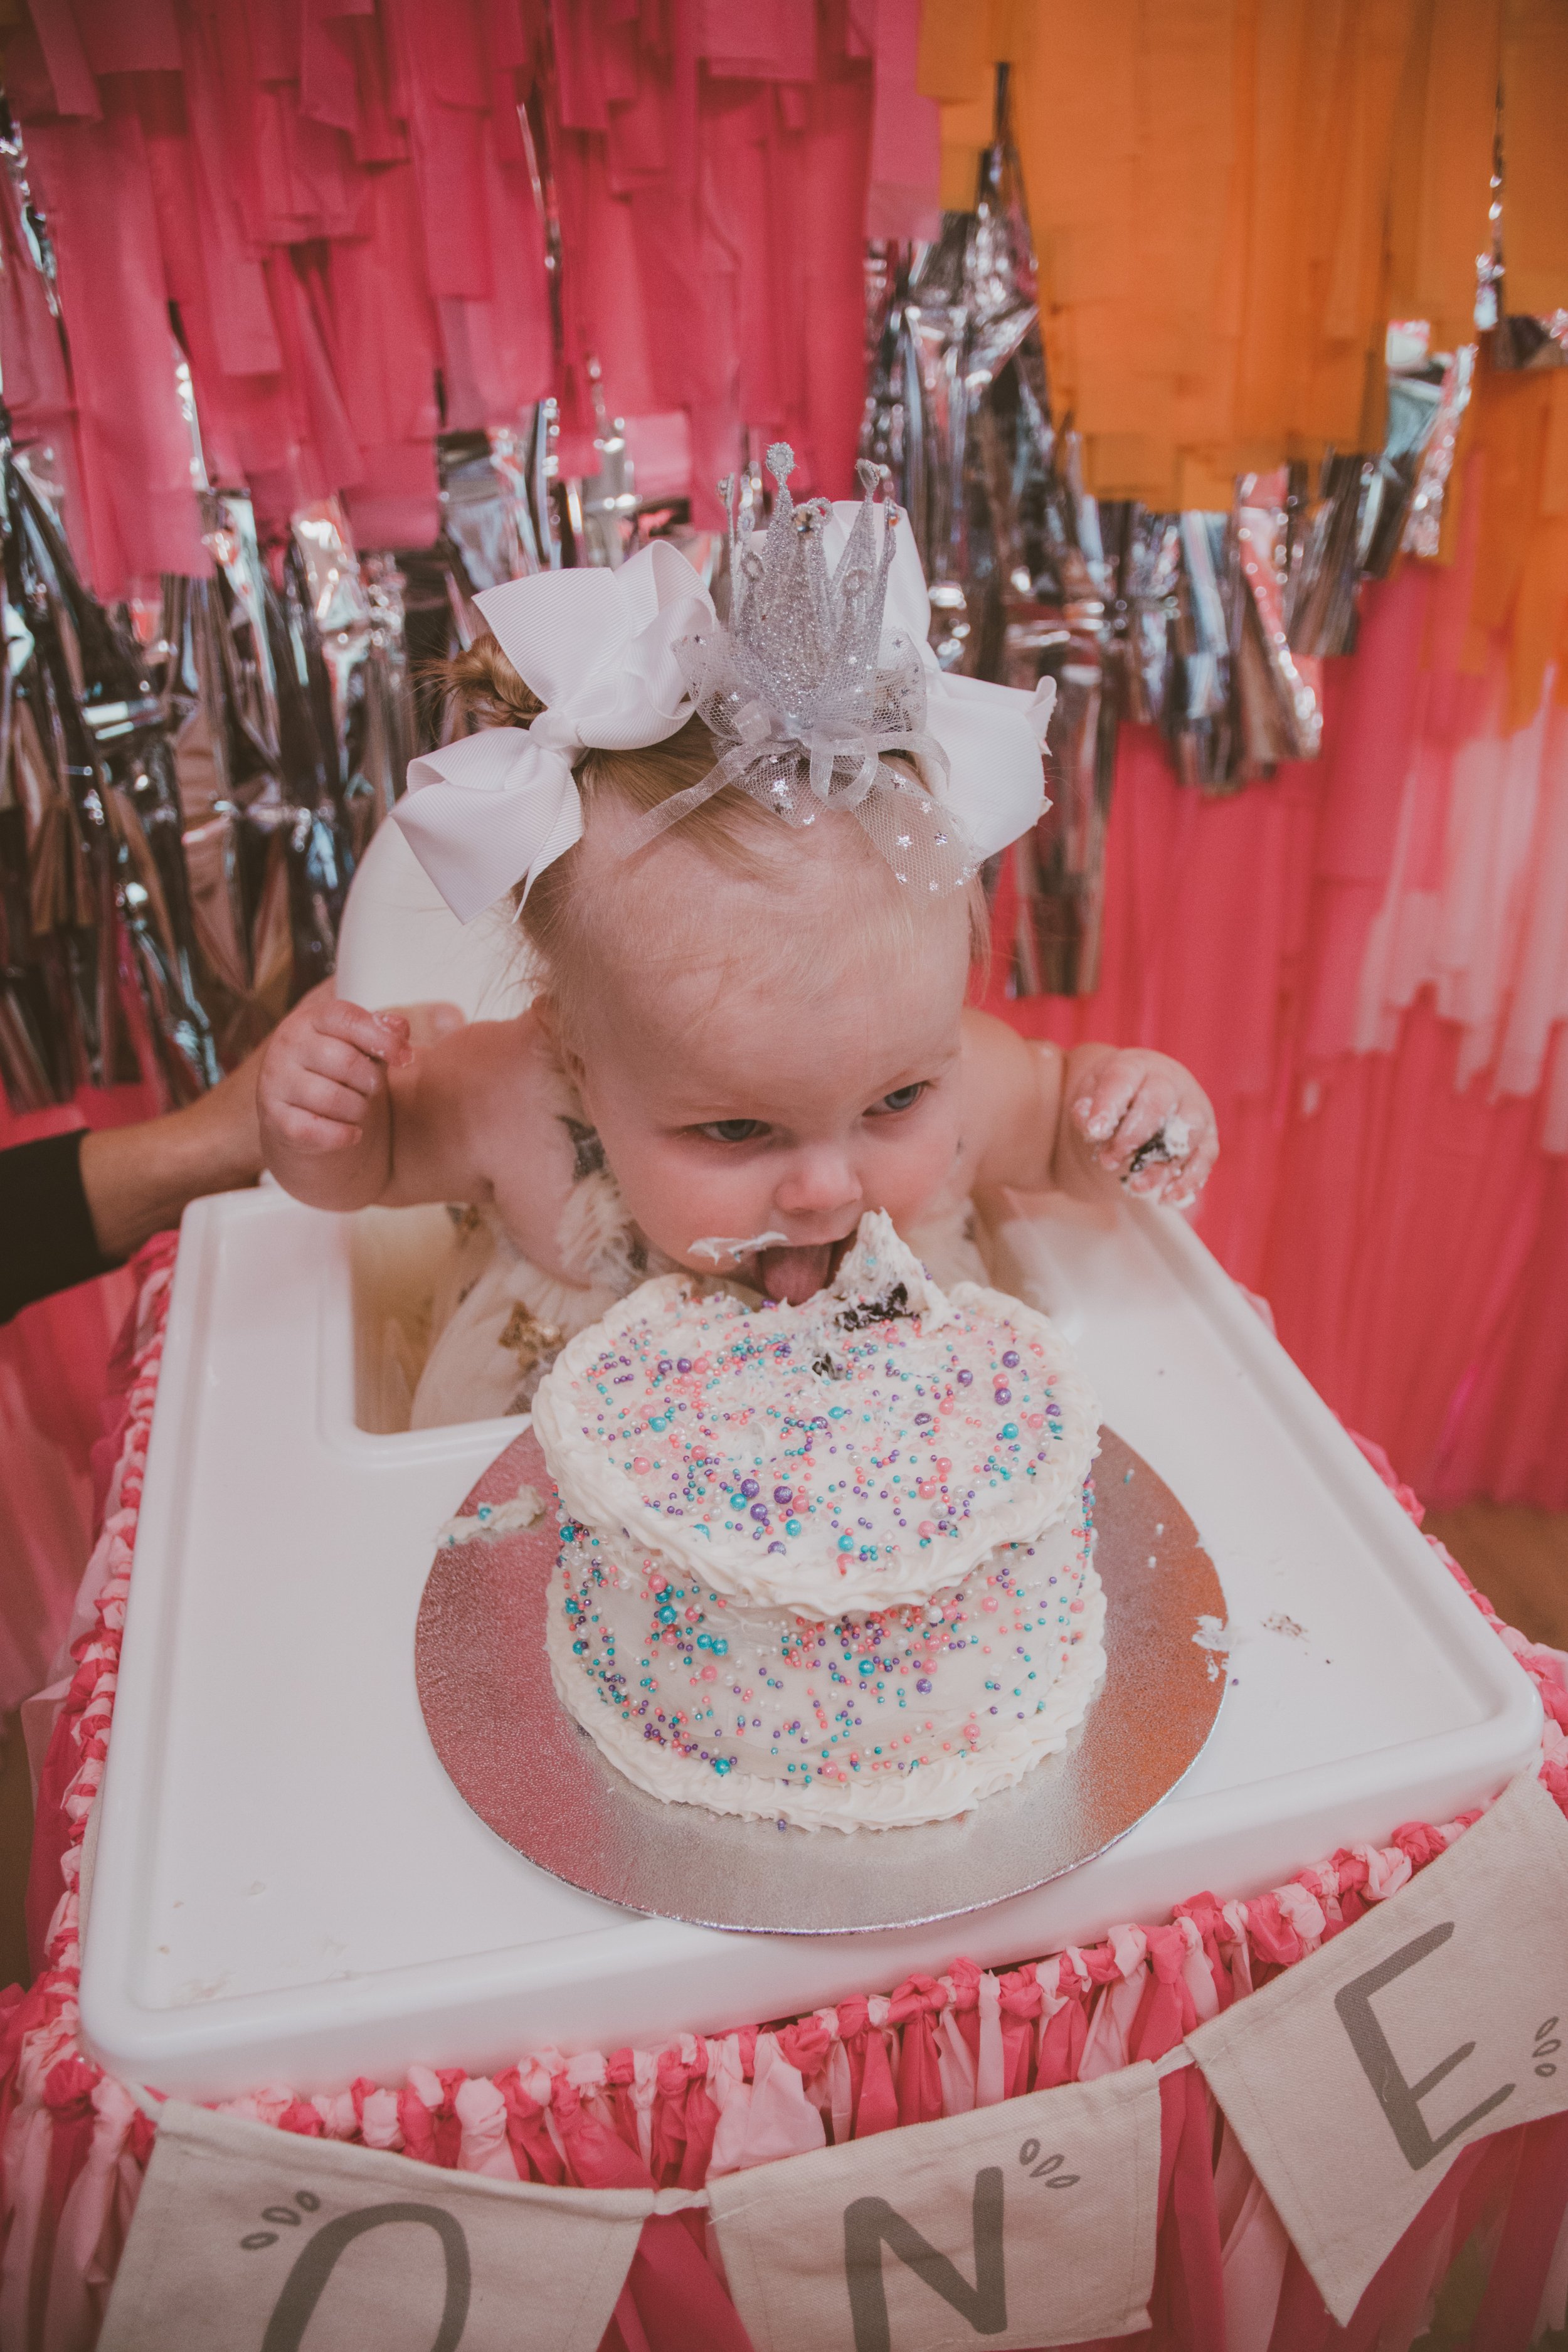
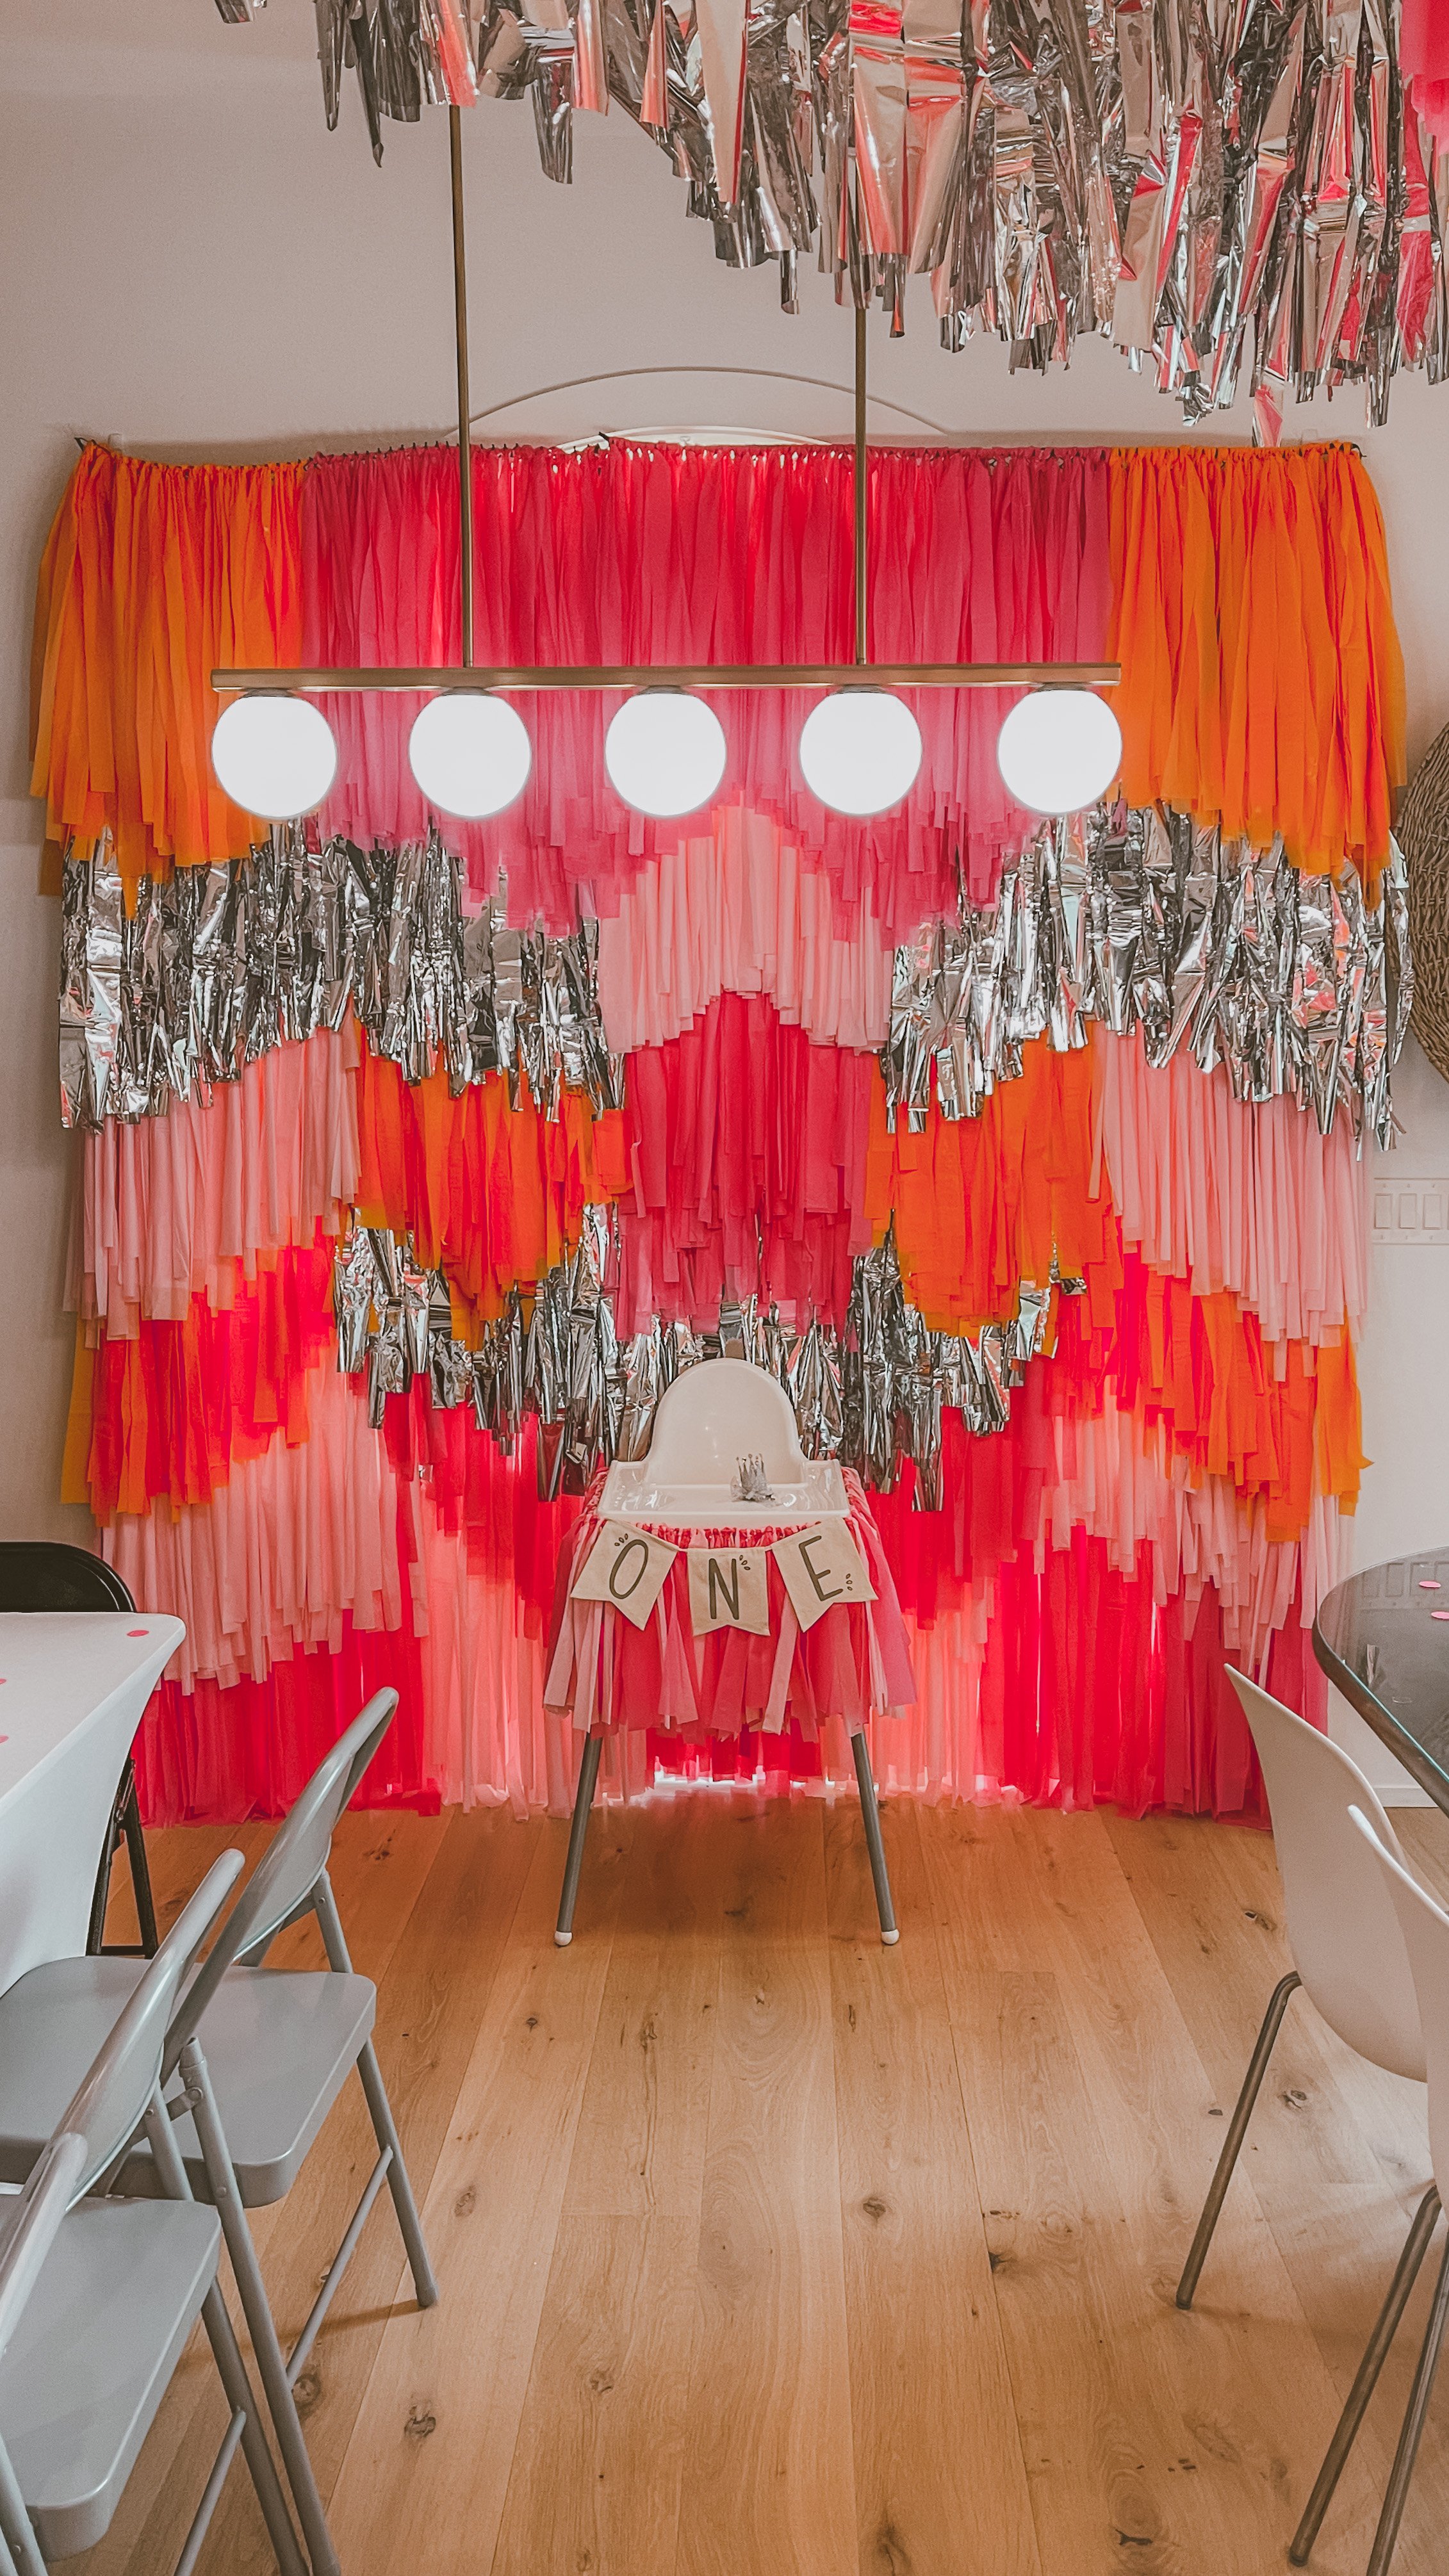
Let’s be honest, decor was my main focus! I spent months making the ceiling streamers, the backdrop, the highchair streamers, the custom cupcake face toppers, and shopping around collecting items that matched the theme.
To see how I made the fringe backdrop from plastic tablecloths, click here.
To see how I made the ceiling streamers, click here.
Everything I could find is linked here:
Stickers to decorate maracas from Dollar Tree, similar linked here
Temporary Tattoos (here, here, and here) I removed any that weren’t age/theme appropriate.
Party favor bags, similar linked her
Pastel Sprinkles, similar linked here
Smiley Face Confetti - Dollar Tree but similar linked here


Gift Guide - 12-18 months (and beyond)
Whether you’re buying for a birthday or holiday, these are our go-to toys for 1 years old that won’t disappoint.
Want to skip the post and go straight to my Amazon list? Click here.

PLAY KITCHEN & ACCESSORIES:
Play kitchens can range from small to large and the price points vary. We have the IKEA kitchen that I revamped here, but Target and Amazon both sell several options.
Cooking sets are a must! Here are a few of my favorites. Here, here, and here.
What would a kitchen be without food and appliances? Sure you can buy a big bag of plastic food, but why do that when you can have an ice cream set, a lemonade set, baked goods, a toaster, a stand mixer, a kettle, cuttable fruits and veg, and so much more.
disclaimer: Some toys need parental supervision and/or items from these sets may need to be removed to make some of these toys age appropriate. Use your best judgment on what is safe or not safe for your family.

LOVEVERY KITS:
We have used the Lovevery Play Kits for months now and absolutely love them! This is absolutely a gift that keeps on giving. Each kit is tailored to the age of the child and includes several toys that are incredibly well made. We are currently using The Babbler Play Kit and Quinn LOVES it!

BALL PIT :
Dare I say this is the most used toy we have? I think it might be. In fact, I’m prettttty sure it is. We have this ball pit and four packs of these balls.

WALKER BIKE:
Quinn has been using this walker bike for months already and has just started to use her feet all by herself. It’s a must! It comes in six different colorways. We also have the Strider bike that is currently on the rocking base.

JEEP WITH PARENTAL CONTROL REMOTE
This is a splurge, but SO fun! We have this exact Jeep and Quinn loves it! She’s too small to steer so we use the parental remote to control it for her. It works like a charm in our hilly lawn over grass and concrete. Highly recommend!
Need more toddler gift ideas? Click here!


DIY Fringe Backdrop

Ready for a super easy and super cheap DIY that will take FOREVER?! haha! This is definitely one of those show stopper pieces for a party, but you will spend many nights tying lots and lots of knots!
SUPPLIES:
$1 plastic table cloths. I got mine from the Dollar Tree and Walmart.
Cutting mat and rotary cutter with extra blades (you can use scissors, but wow it will take a lot longer)
Optional : something to hang the backdrop on until you’re ready to install it. I used an old backdrop stand, but I would assume you could work directly on the wall using Command Hooks.
DIRECTIONS
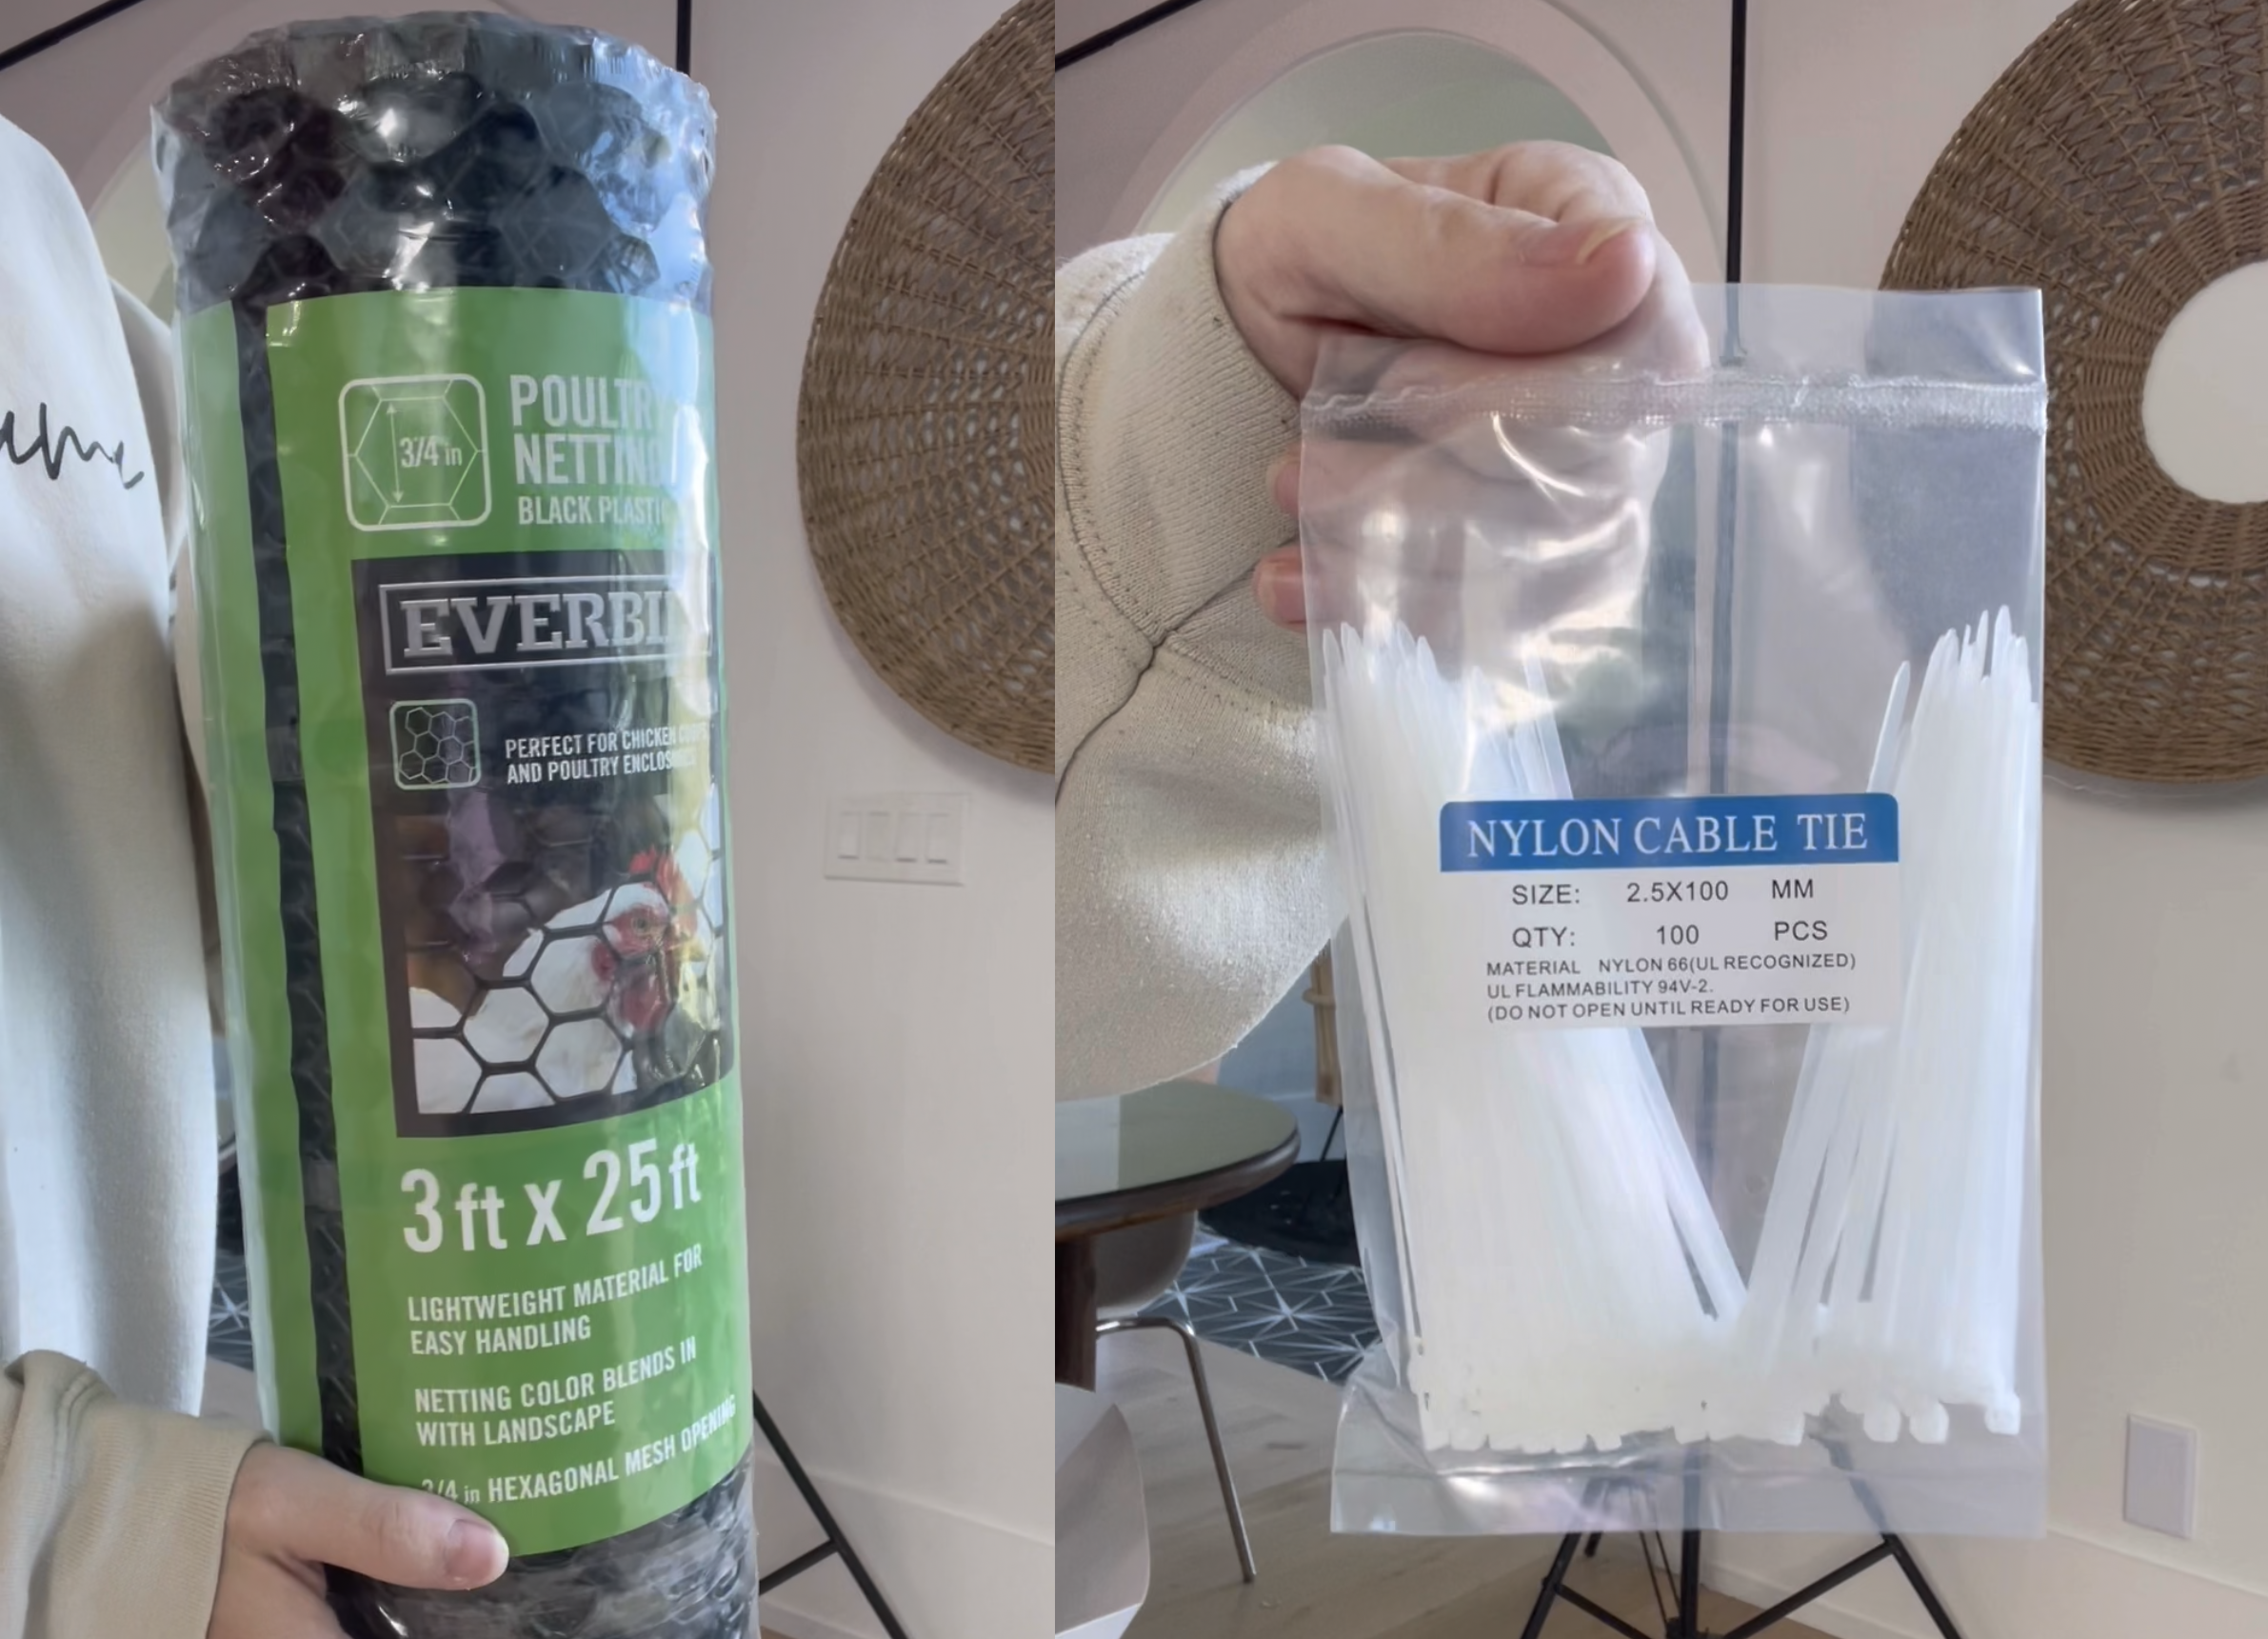
Decide how big you want your backdrop to be. I cut the poultry netting into large pieces and fastened them together with zip ties. I also zip-tied the poultry netting to an old backdrop stand.
Cut roughly 1-2” strips of plastic table cloths. No need to measure or unfold them. You can literally just use a rotary cutter and cut strips very quickly.
Unfold each individual strip until you have A LOT. I would recruit someone to help you.
Tie one strip at a time to the poultry netting by folding the strip in half and feeling the tail end through the loop. (example below)
Continue until you achieve the desired look you want.
Trim any pieces as necessary.
Use several 5lbs command hooks to install the backdrop to the wall.
TA-DA! Admire your work!
FAQ:
How big is your backdrop? Mine is roughly 8x8ft
How many tablecloths did you use? I didn’t count but I estimated that I used about 60.
How long did this take? Roughly 10 hours for one person.
Can I use scissors instead of a rotary cutter? Yes! It will just take a little longer.


