Ikea Duktig Play Kitchen Makeover
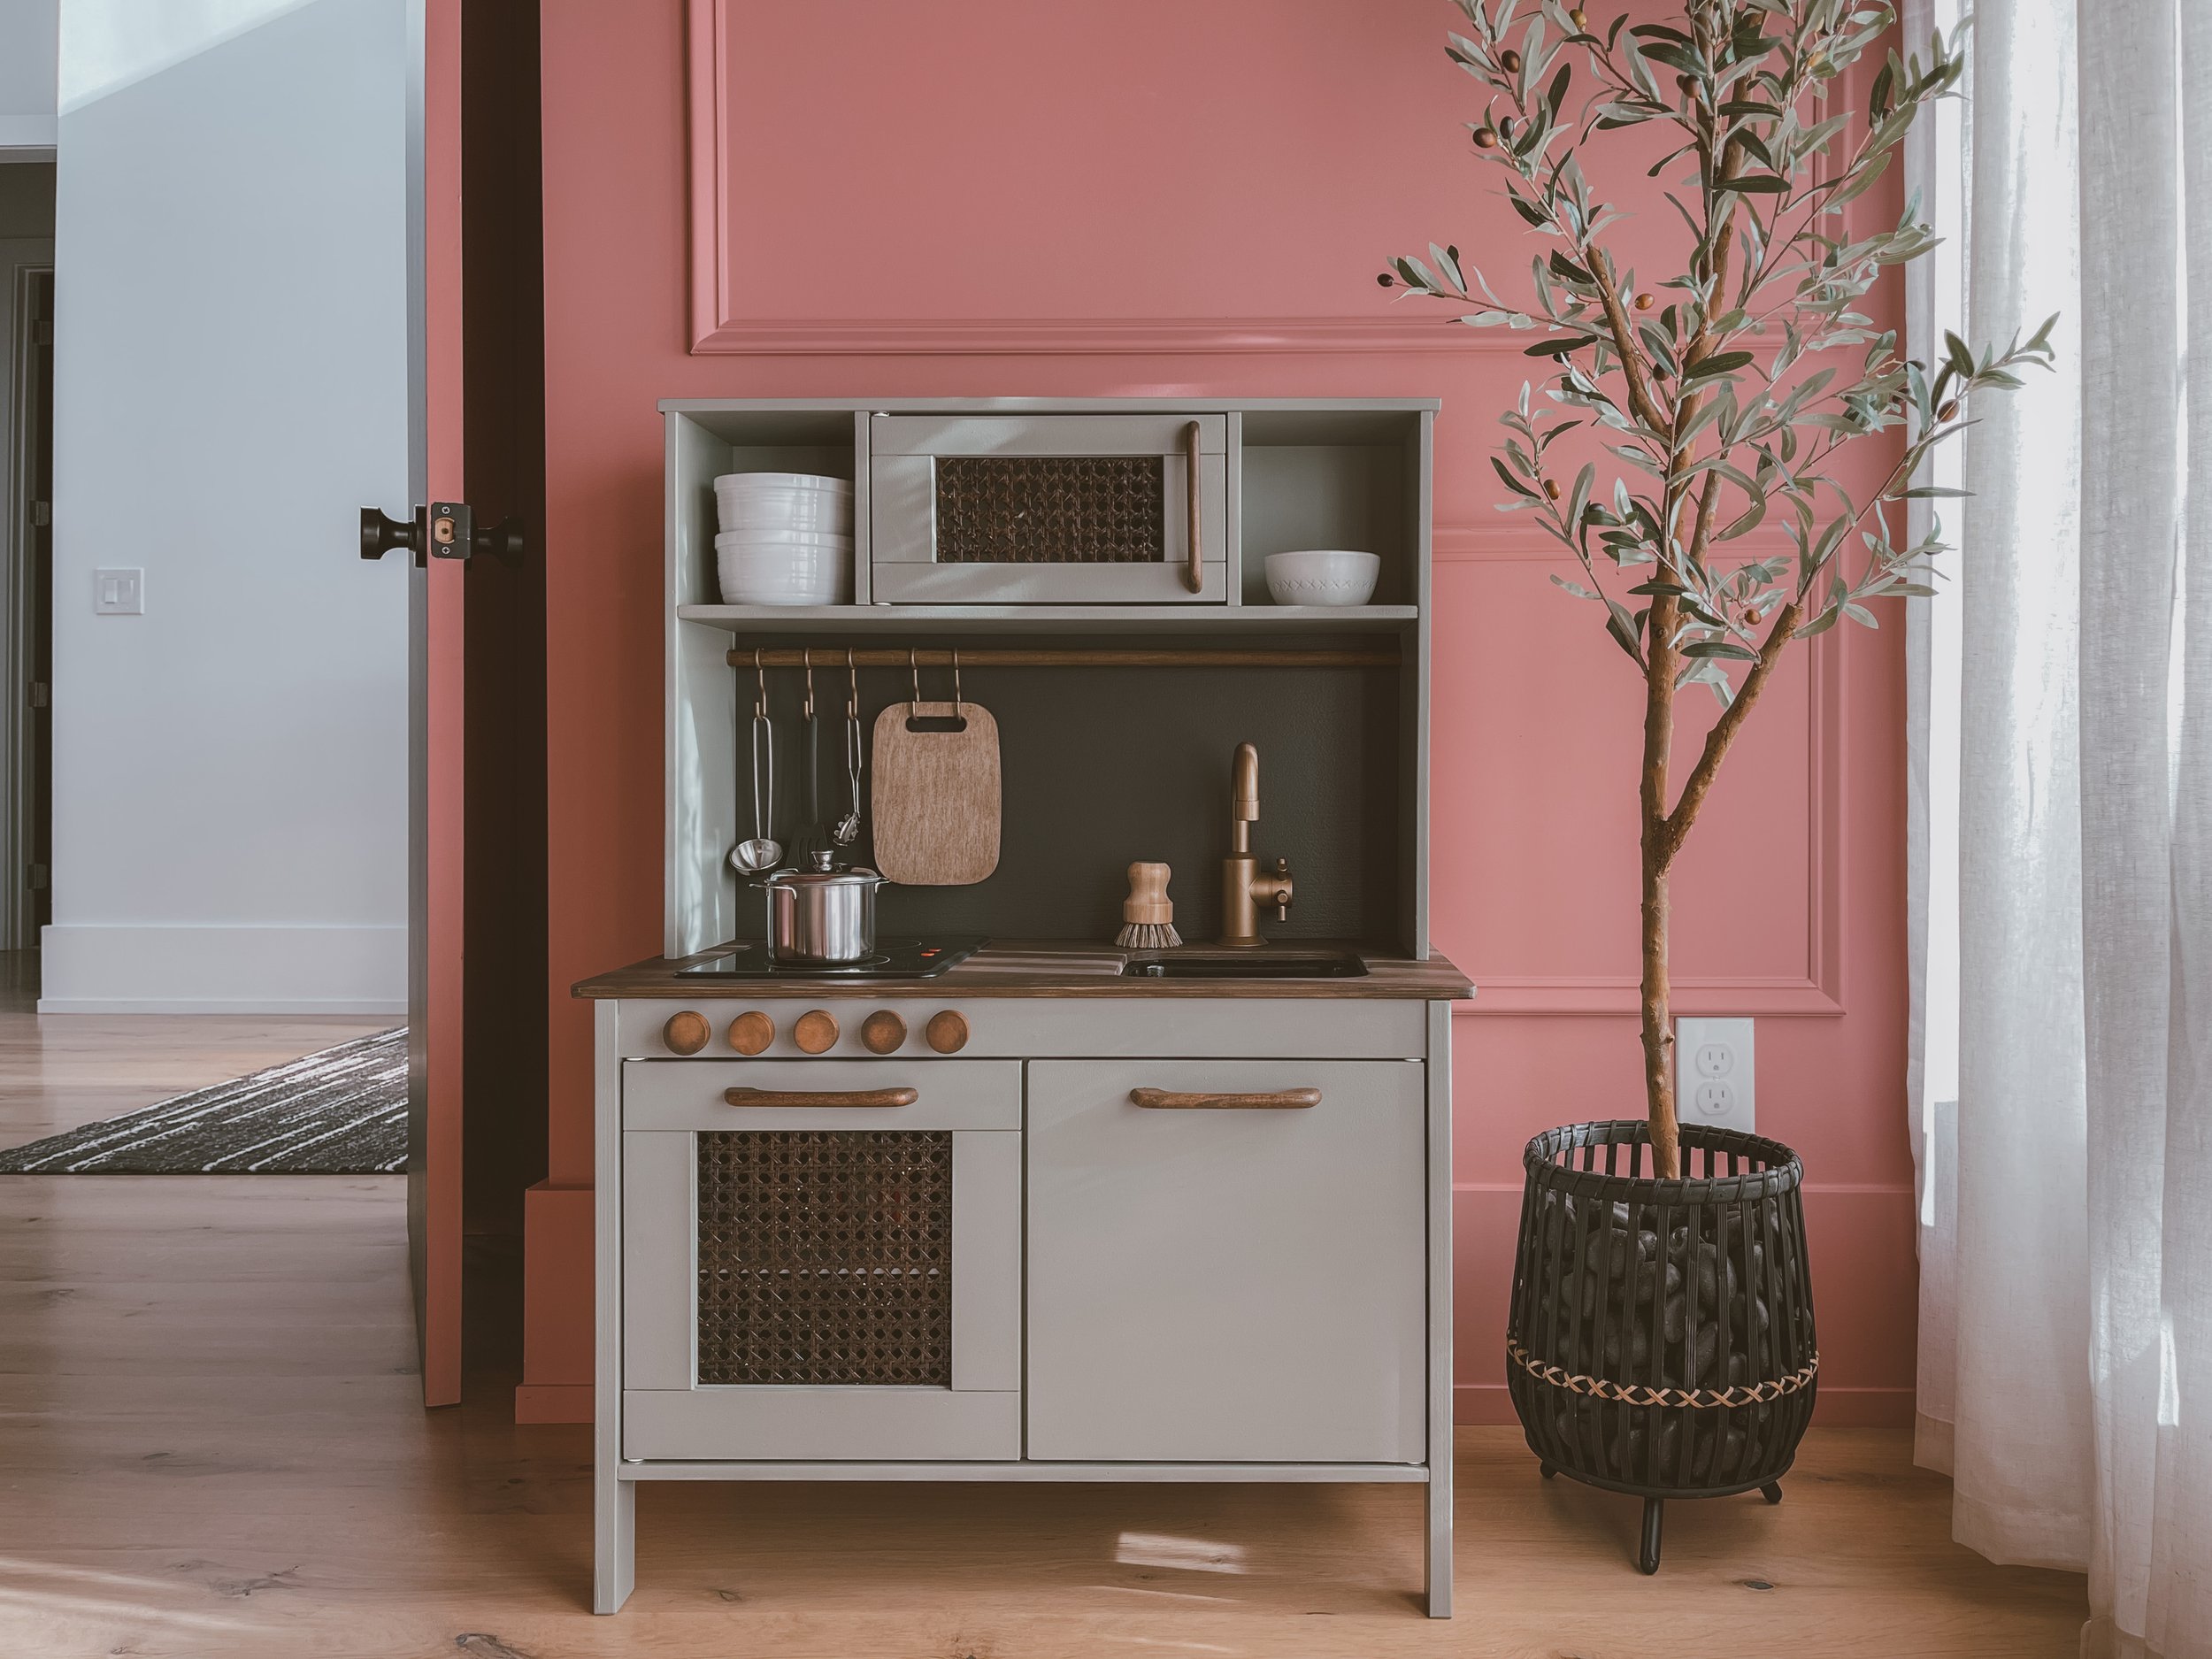
I stressed over this project before I started and let me say, it was SO fun to do. The Ikea Duktig Play Kitchen is $99. It’s a very simplistic design so the options to change it up are endless! You could spend as little or as much money as you want to customize it. I bought all of my materials at Home Depot, Amazon, and my enemy - Spray Polycrylic from Lowes. 😅
I tried to be as detailed as possible about each step, but if you have any questions you can comment below or DM me on Instagram.
MATERIALS:
80 Grit and 320 Grit Sandpaper that I used both by hand and with my Orbital Sander
Zinsser BIN White Shellac Spray - I used 2 1/2 cans
Rustoleum Spray Paint in Champagne Bronze - 1 can
Minwax Polycrylic Spray 1-2 cans in Clear Matte and the regular can half-pint in Satin (they didn’t have matte)
Behr Chalk Paint 1 qt tinted in Dusty Laurel. (This chalk paint can only be tinted in certain colors).
Optional : Polyshades in Mission Oak for the cane webbing. It will NOT work on the countertop. I don’t think you need this product but it’s what I used before I discovered the above stain.
Staining Cloth (I also tried a staining sponge but much prefer the cloths. I just used a glove with the cloths).
6” paint roller, with a 6” roller frame, and a 7” roller tray.
Paint brush - this one that I had on hand.
Wooden dowel in 1/2” cut to 26” long.
Thin piece of 1/4” 2’x4’ plywood for backsplash (or foam board that you could use peel and stick tiles)
Painters tape
24” Cane Webbing (2 feet) from Amazon
Gorilla Glue Construction Adhesive
INSTRUCTIONS FOR THE VENEER PIECES (EXCEPT COUNTERTOP):
Do NOT assemble the kitchen until the end. This makes sanding, painting, and sealing A BREEZE.
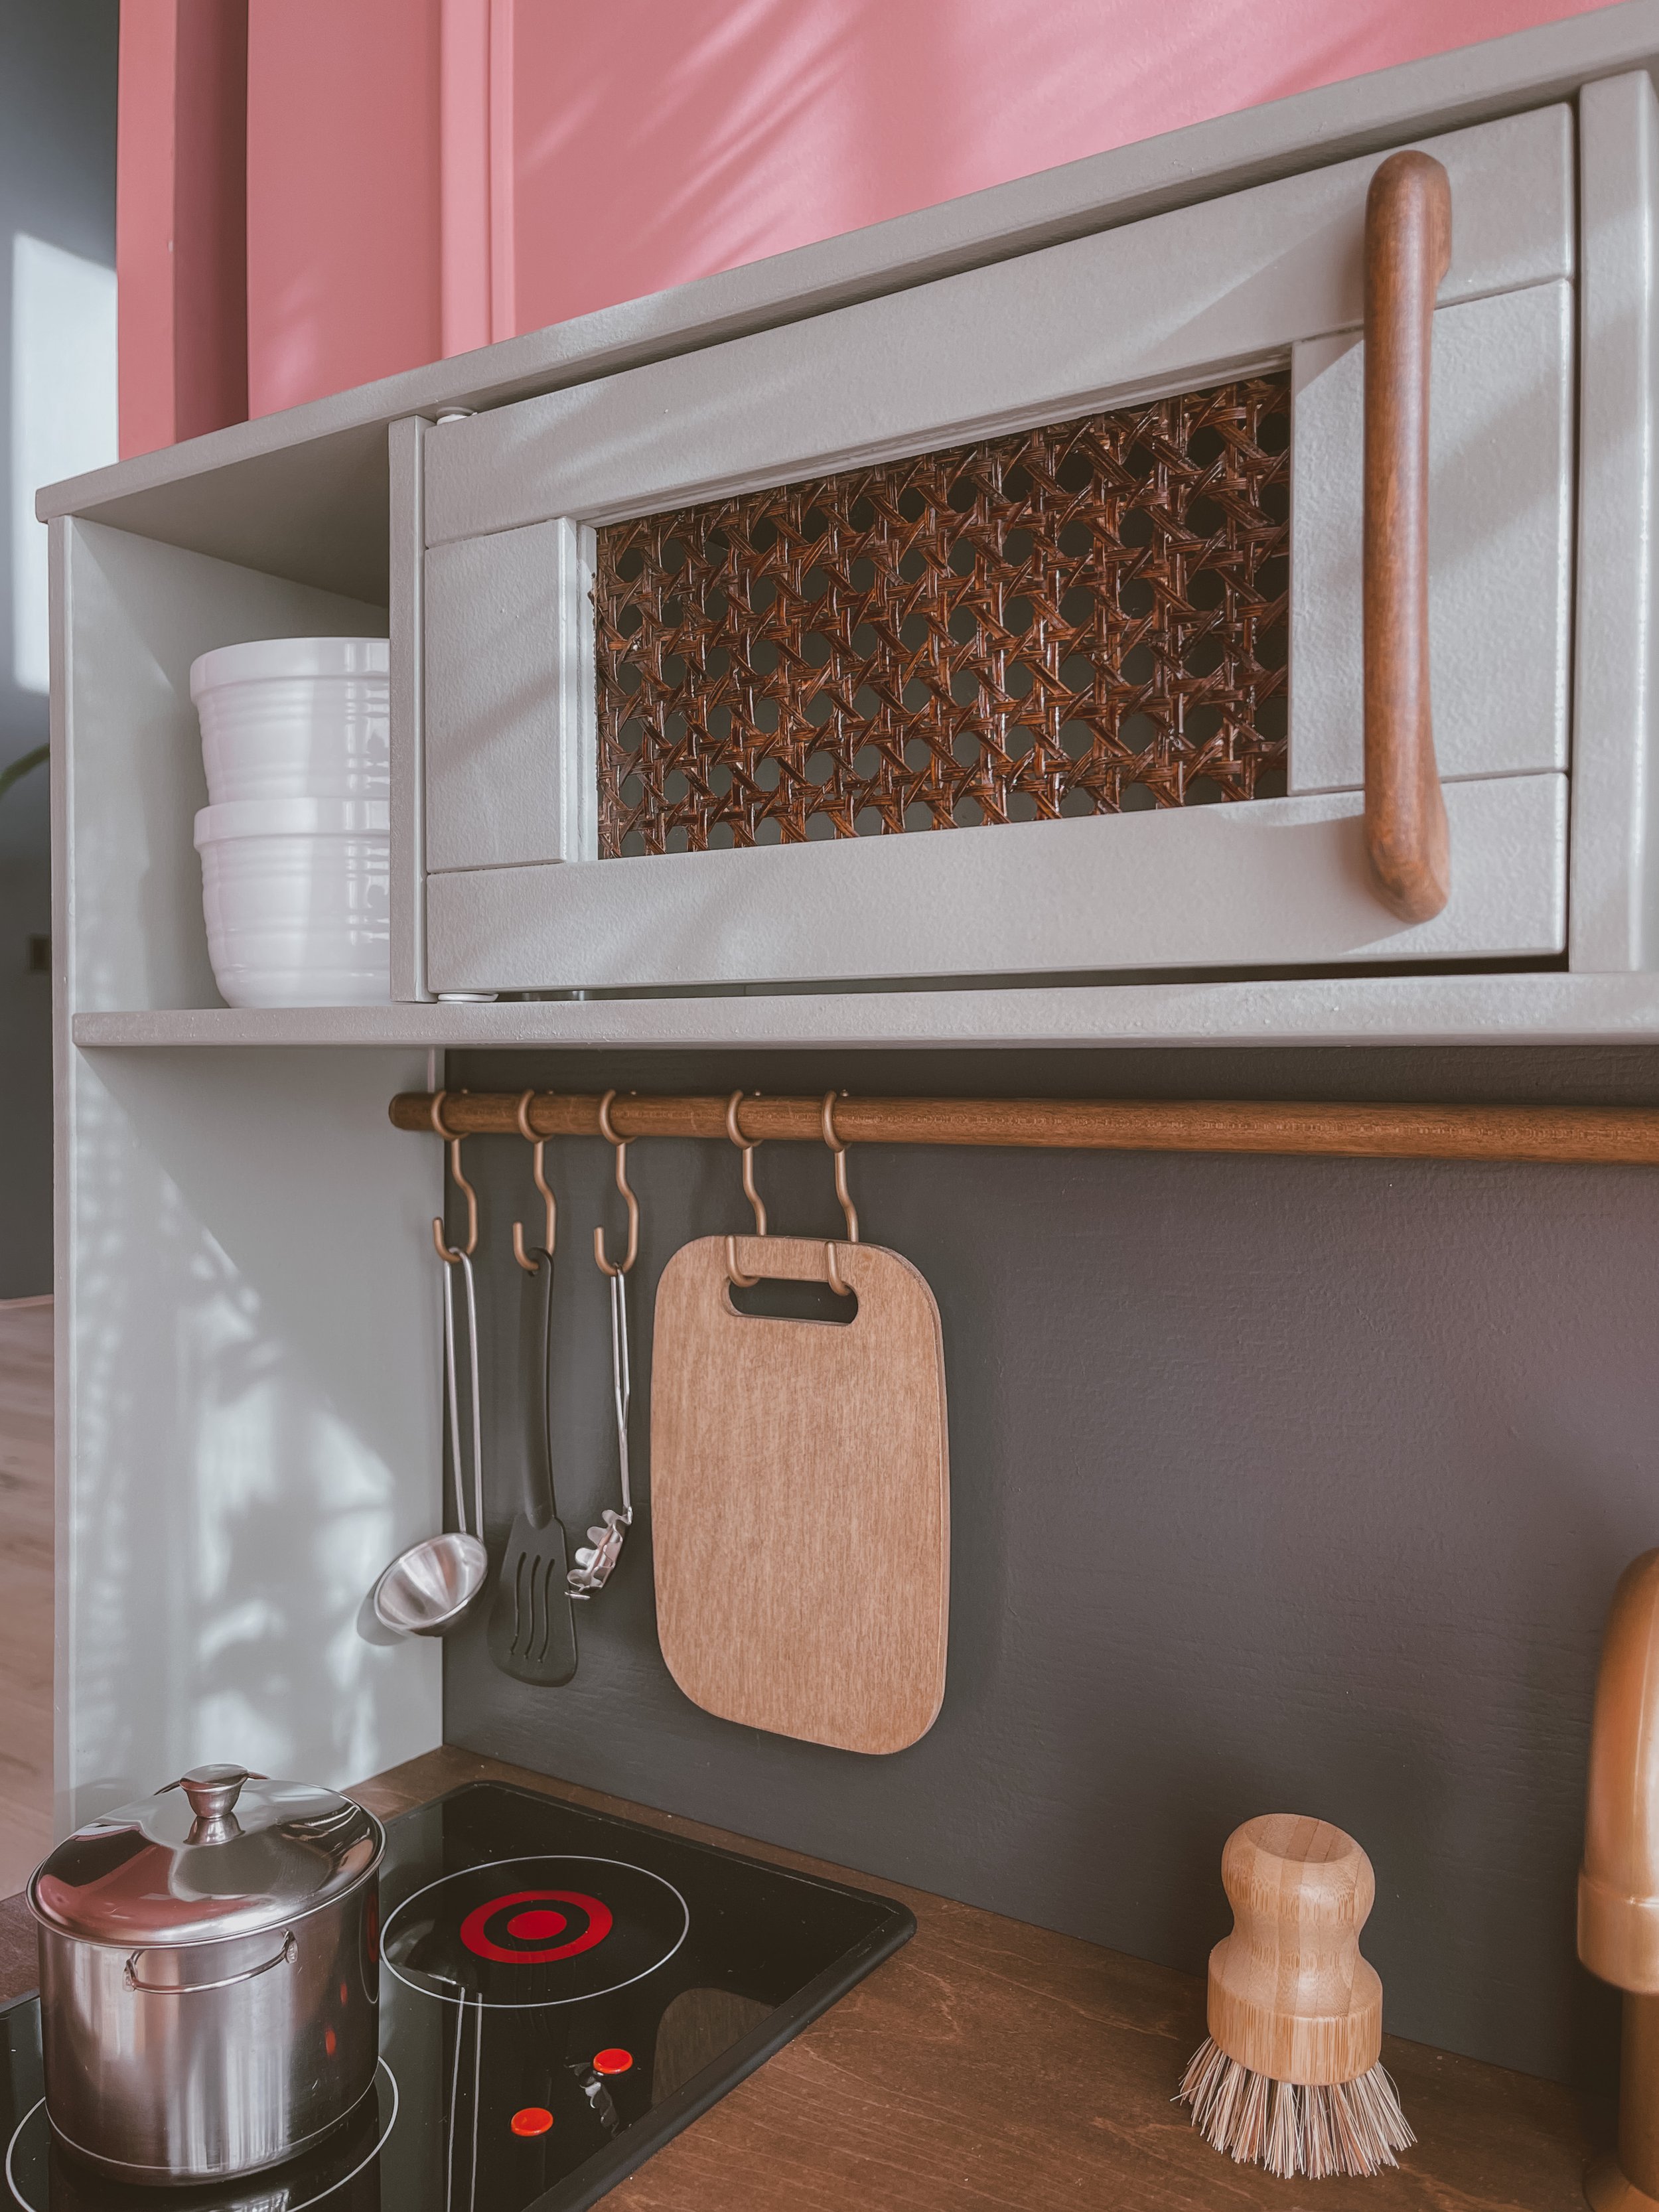
Remove the acrylic plastic from the microwave and oven piece. I banged it out with a hammer in the grass.
Lightly sand all of the flat wood/veneer pieces with 80 grit sandpaper. Remove dust.
Lightly spray all of your wood/veneer pieces (except the countertop) with the BIN shellac spray. Let dry, flip over, spray the other side.
Roll the chalk paint on to the pieces. Two coats each side. Let dry and flip and do two coats on the other side. Don’t forget about the edges.
Seal with Polycrylic. I brushed on and used the spray to see which I liked better. I think the spray quickly followed by a dry roller brush is my fav.
INSTRUCTIONS FOR THE COUNTERTOP:
Sand the countertop with 80 grit sandpaper until you remove the finish. If you tilt your head in the light you should see it dulling until there is no more shiny coating. Sand again with 320 grit until you get a smooth finish. Remove dust.
Shake you stain well. Dip your staining cloth and apply the stain in the direction of the grain (side to side). I lightly sanded it again with 320 grit, dusted it off, and applied one more coat of stain.
This part was so easy and I think it looks BEAUTIFUL!!
INSTRUCTIONS FOR HANDLES, KNOBS, AND DOWEL RAIL:
I ended up buying new handles, knobs for below the stove, and replacing the metal rod with a wooden dowel.
Sand all of these pieces with 80 grit by hand to remove the shine. Sand again with 320 grit to smooth down. I just used two of the sanding sheets for my orbital sanded and used it by hand. Remove dust.
Apply the stain with your staining cloth. 1-2 coats. It should be dry within minutes.
Spray with LIGHT sprays of Polycrylic. The spray is INCREDIBLY spitty. You must also do VERY light coats to avoid drips. I just set them up and would walk by every now and then to do another light coat of Polycrylic.
INSTRUCTIONS FOR THE CANE WEBBING:
Stain the cane with the staining cloth and liquid stain. Let dry.
Soak in luke-warm water for at least 30 minutes.
Apply with staple gun and 1/4” staples.
INSTRUCTIONS FOR STOVE:
Use painters tape to tape off the top area that you don’t want touched, leaving the grey edge exposed.
Spray grey edge with black spray paint. Let dry.
Spray with Polycrylic.
Remove painters tape.
INSTRUCTIONS FOR THE HOOKS, PLASTIC LEGS, AND FAUCET:
I’m not sure if I should have used the BIN primer first, but I didn’t. I just sprayed them with two coats of the Champagne Gold Spray Paint.
I did several LIGHT coats of the Spray Polycrylic letting it dry in-between coats.
INSTRUCTIONS FOR THE BACKSPLASH:
Cut a piece of thin wood or foam board into 26 5/8” x 12 3/8”
I used a thin piece of wood I found in the clearance section at Home Depot and painted it with some leftover Iron Ore Matte paint and sealed it with the Polycrylic.
Nail the backsplash onto the kitchen with 3/4” brad nails.
INSTRUCTIONS FOR THE SINK ( a disaster!) :
Well, this is where I made my one and only big mistake. I sprayed the sink with black appliance epoxy spray paint and as I was walking outside to see it in the daylight after it dried and I BARELY scratched it on the door. No big deal since I planned to undermount the sink. I proceeded to sprayed it with Polycrylic and THIS was the first time I was using the spray and realizing how spitty it was. First, you need SUPER light coats. Well, I didn’t know that yet, so I sprayed it on like spray paint and it started to puddle inside of the sink. This is also when I realized the spray was SO spitty. I ended up trying to sand the paint off and I gouged the HECK out of the sink. I tried so hard to save it. The gouges I made while trying to remove that spray paint and polycrylic are obviously still there but oh well!
MY SOLUTION: Well, turns out you can’t buy a replacement sink so someone on reddit recommend using an 8 inch pan so that’s what I did but didn’t love how it looked. Remember, there is always a solution and DIYs don’t always go as planned. I ended up painting the original sink one more time with the black Appliance Epoxy spray paint.
If under-mounting, attach the original sink with Gorilla construction adhesive. You don’t need much!
Once you have prepped all of the above it’s time to assemble it!!
Drill holes for your “stove knobs”. We covered the area with painters tape to mark where we wanted the knobs to go. Drilled using 5/32” drill bit. Use screws that came with the knobs.
Attach the cane webbing with a staple gun and 1/4” long staples to the back of the microwave and stove pieces. I added some left over thin wood that I bought for the backsplash to cover the back of the cane in hopes of stopping my toddler from poking right through the holes. You could also use a sheet of acrylic.
Follow the Ikea directions to assemble the kitchen.
To under-mount the sink you can glue it or screw it in. We glued it using Gorilla Glue Construction Adhesive.
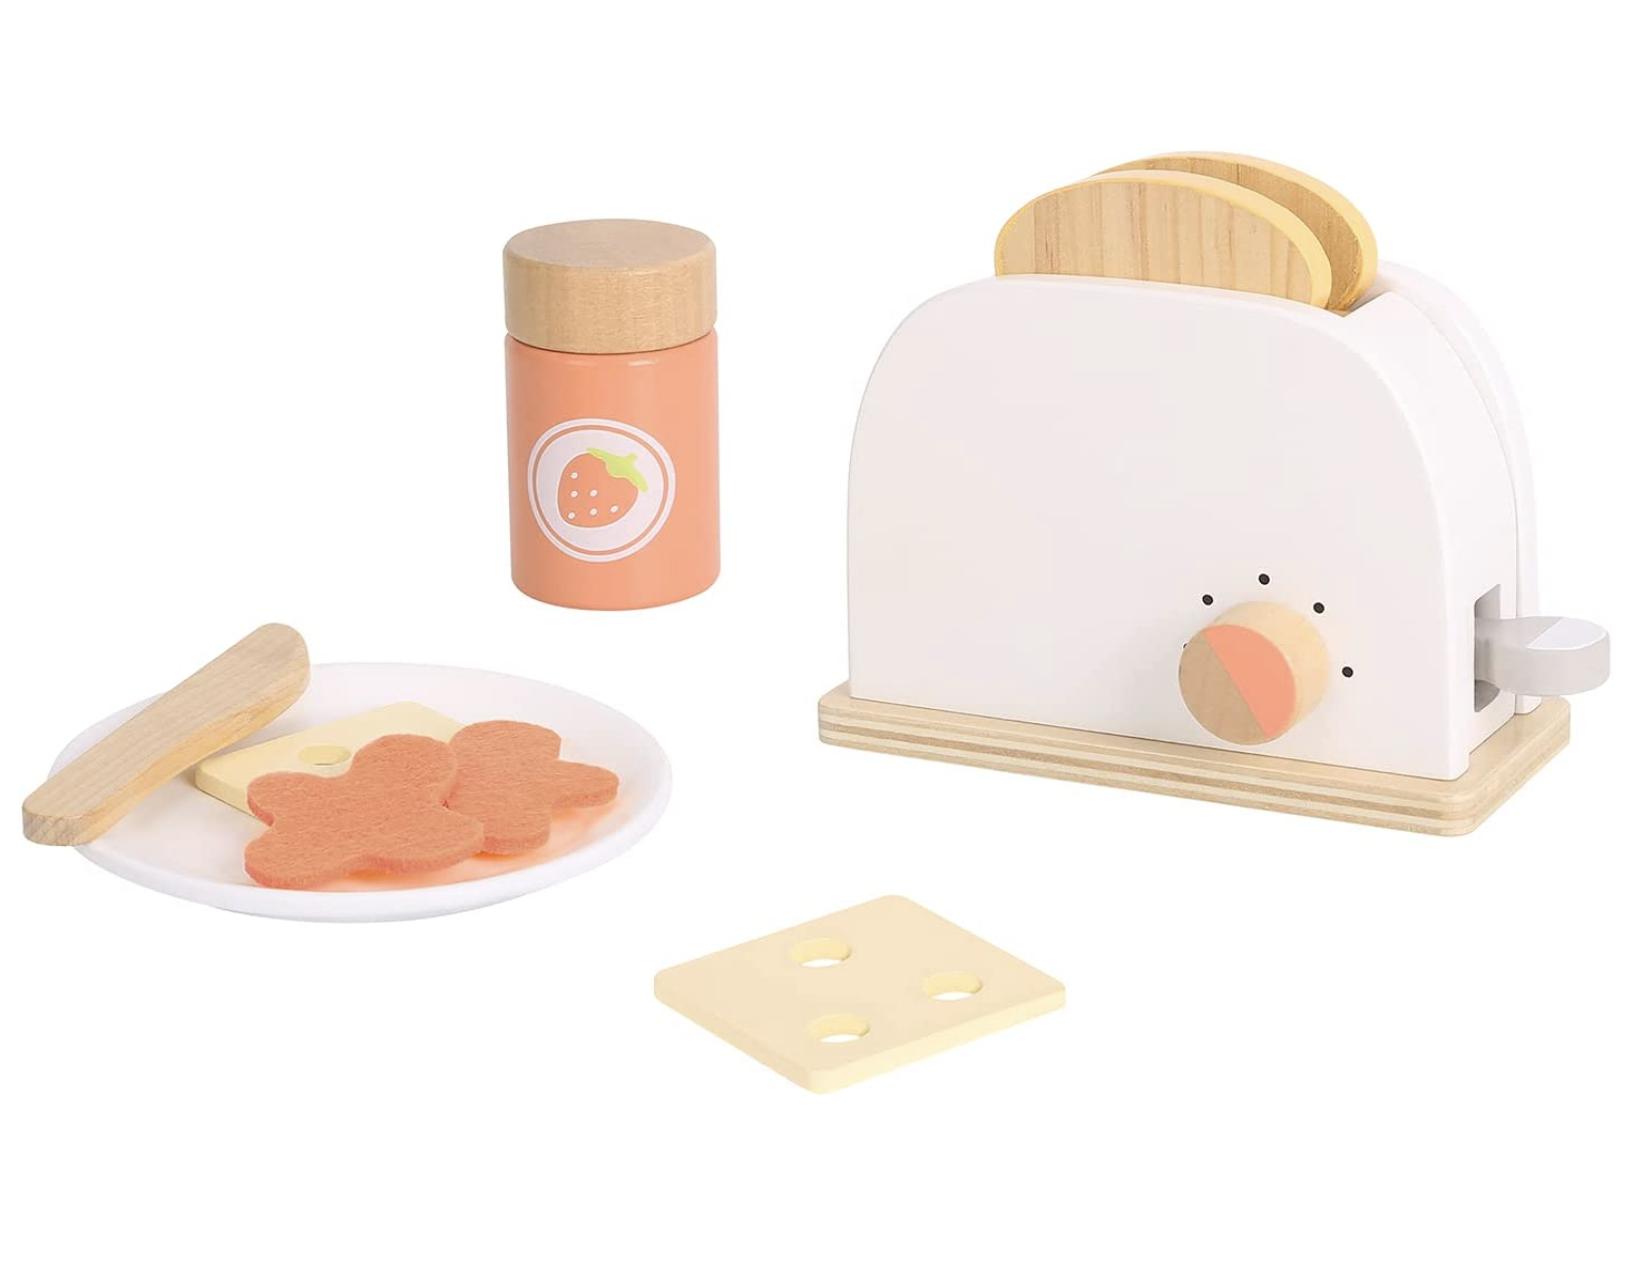
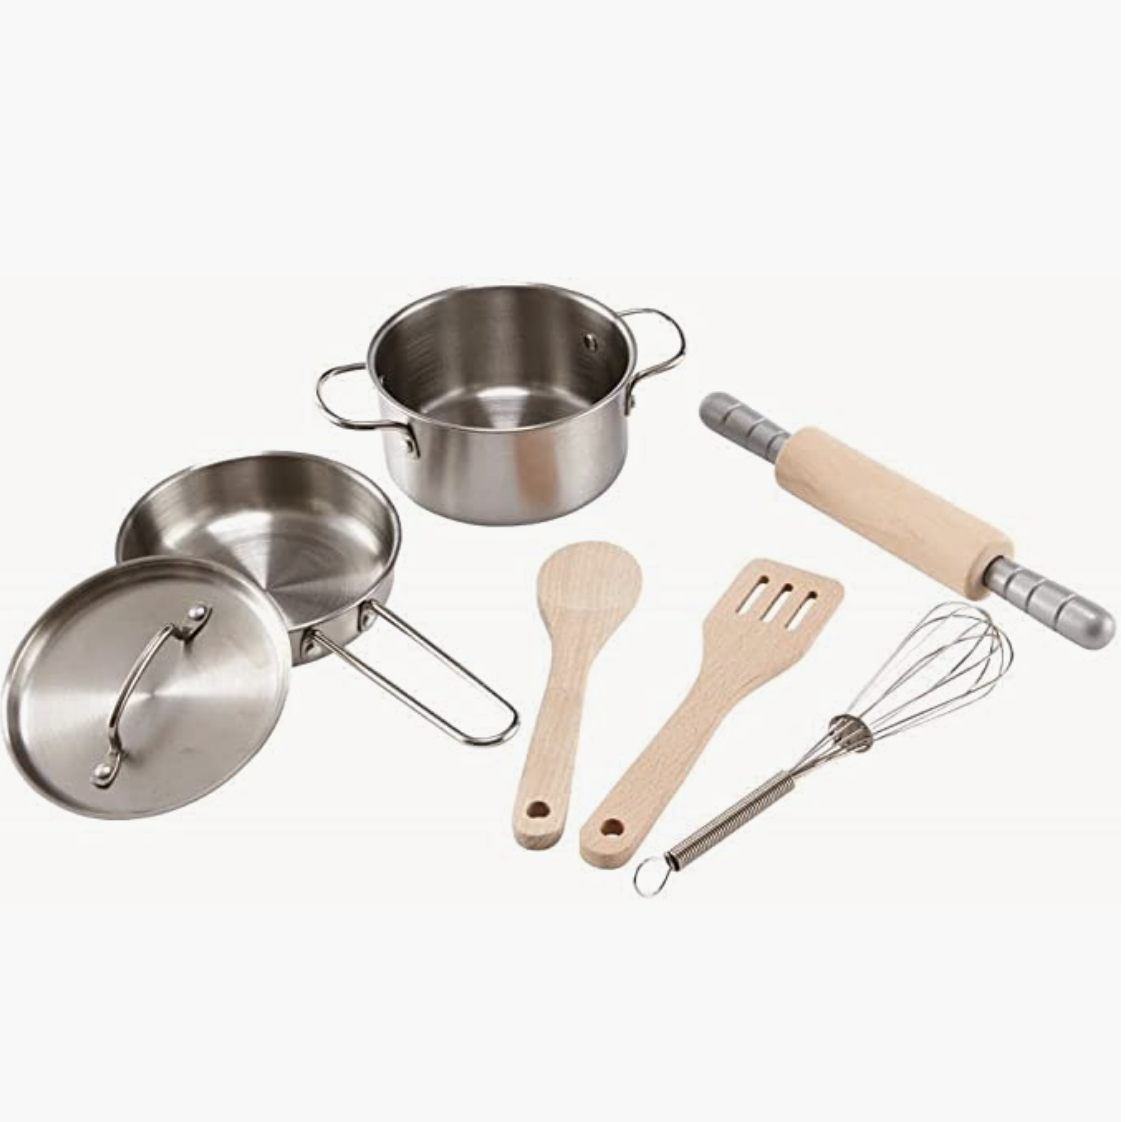
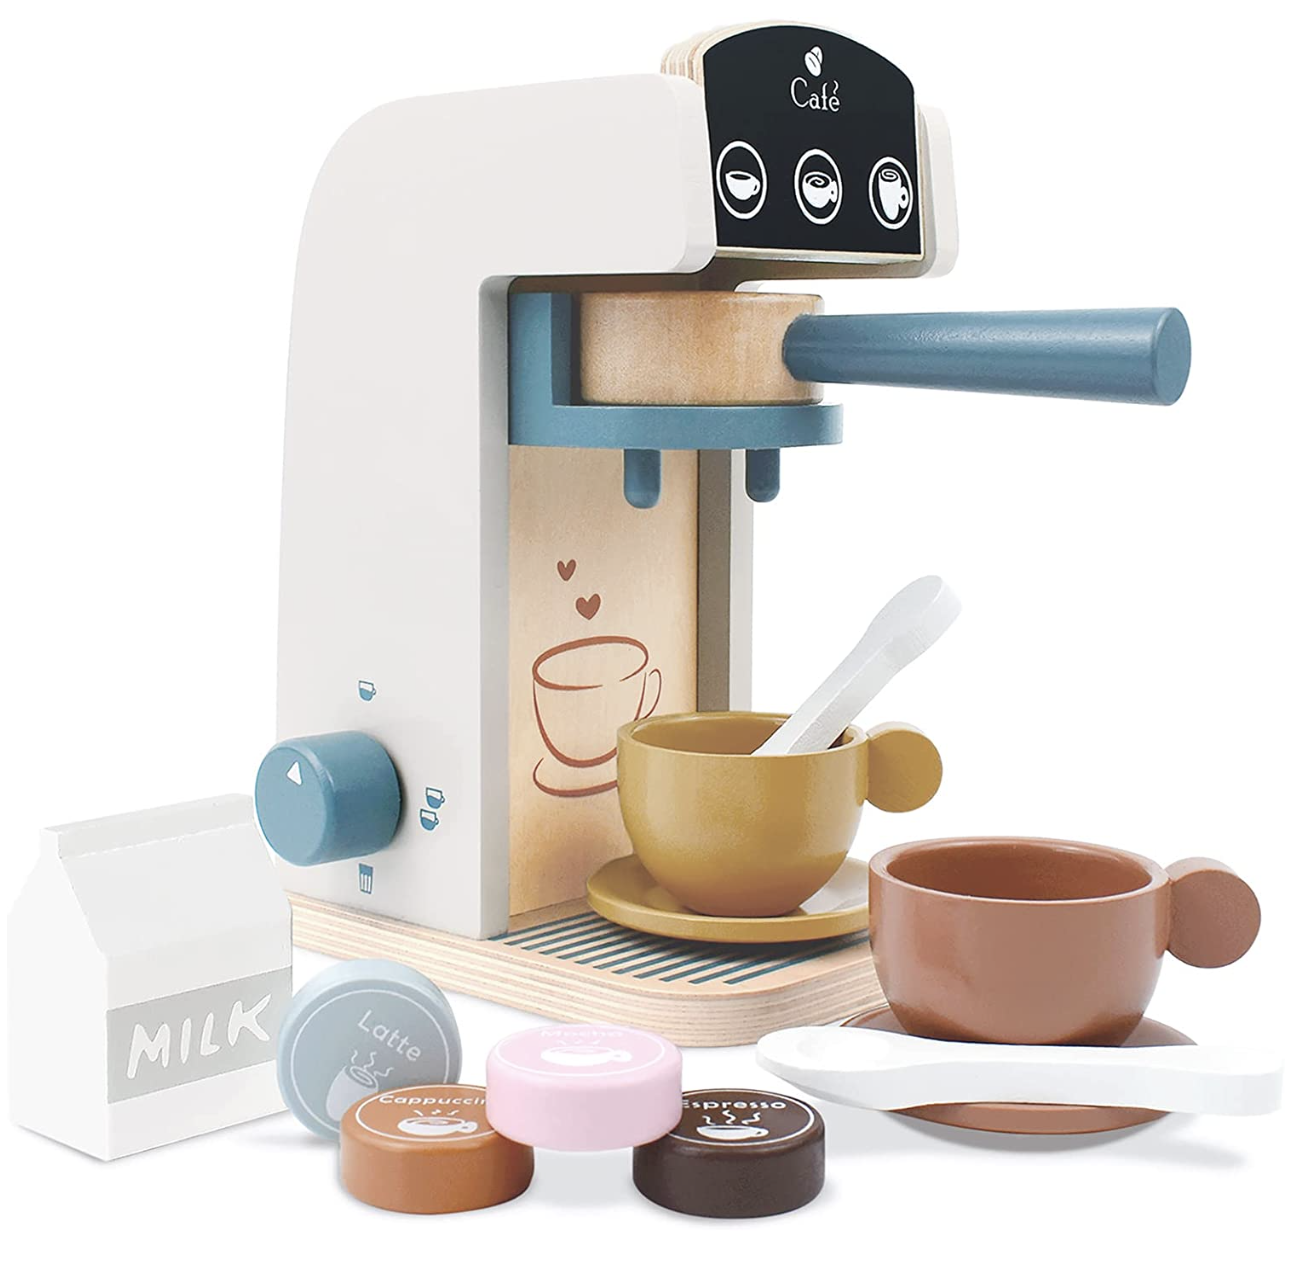
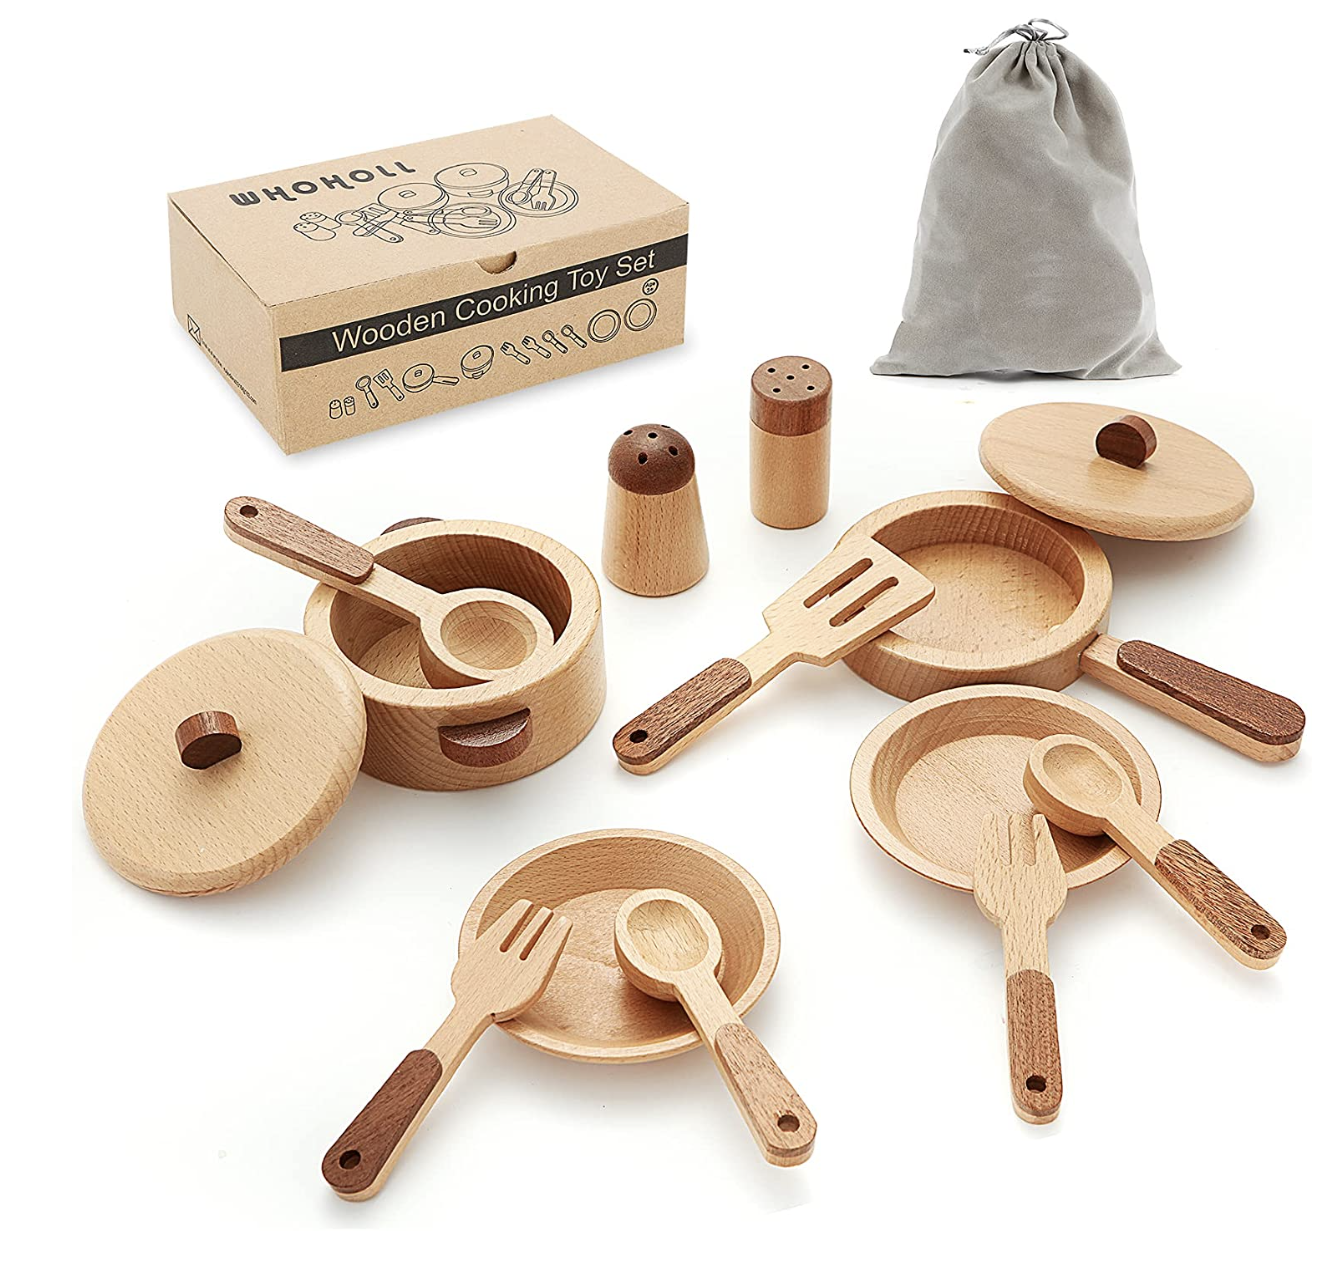
Now you can accessorize with adorable kitchen items!

Cord and Blood Banking

Cord blood and tissue banking - what is it and why did we do it? If you’re like me, I saw the advertisements for cord blood banking all over my pregnancy apps. After my husband and I researched the science behind it, the benefits of it helping with 80+ treatments, and the potential for even more treatments - we decided to have it done. I’m going to discuss why we did it, which company we chose to use, and the process.
Full disclosure, I’m going to paraphrase a lot of the info for the first part directly from the HealthBanks website because let’s be honest, they are WAY better at explaining it than I am.
WHAT IS IT:
Cord blood is collected from the umbilical cord and contains red blood cells, white blood cells, platelets, and plasma. Most importantly, it contains a rich source of stem cells. These young stem cells are able to change into other cells and replicate themselves making cord blood stem cells the ideal choice for transplantation and disease treatment.
Cord Tissue contains a different type of stem cells that are able to differentiate into various tissues and organ cells, including cardiac, nerve, cartilage/bone, and muscle cells. Because cord tissue is still in the experimental phase, it has great future potential for the use in treatment of conditions such as cancers, heart disease, diabetes, strokes, spinal cord injuries, and more
WHY DID WE DO IT:
As of today cord blood stem cells can treat over 80 diseases including cancers, metabolic disorders, immune and blood related diseases. However, doctors see more potential and are currently researching the use of cord blood to treat other diseases including diabetes, heart disease, Alzheimer’s disease, and more.

THE COMPANY WE USED:
We used a company based in California called HealthBanks. They use cutting edge technology to collect and preserve the cells, they have been in business for over 20 years, they offer a $50,000 guarantee, and provide their own research program.

OUR EXPERIENCE WITH THE PROCESS:
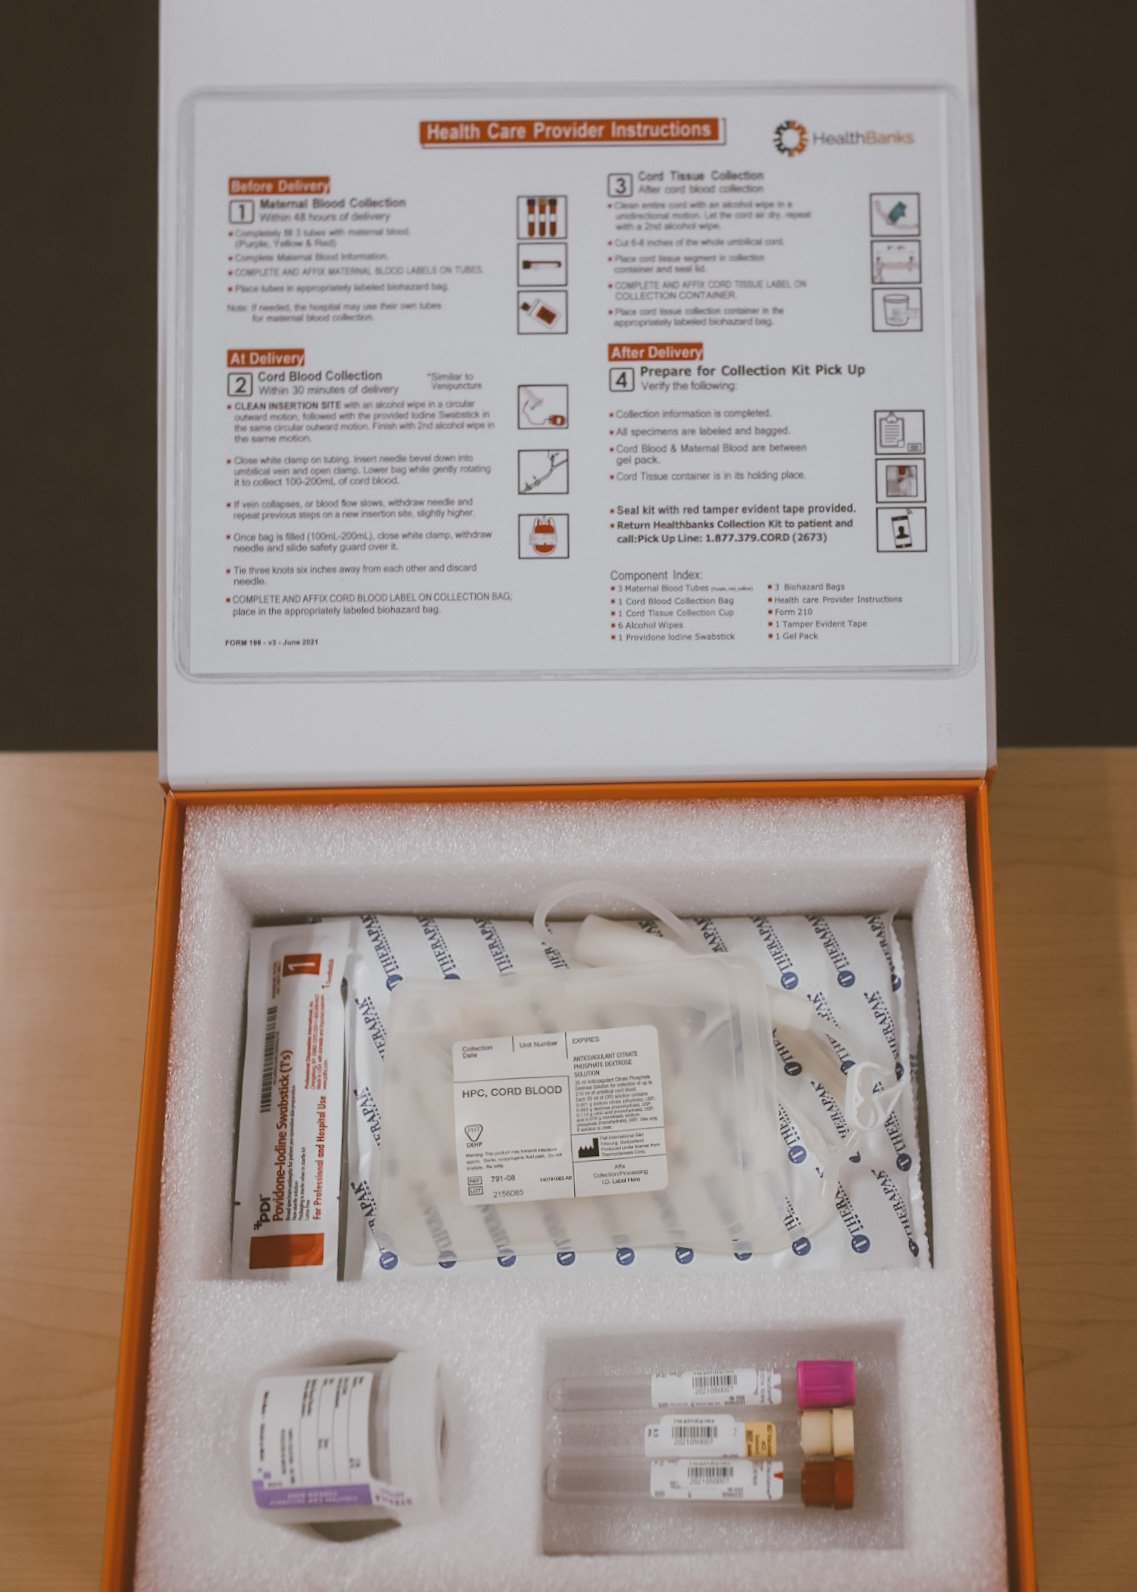
We originally chose the cord blood package, but my doctor sent both the blood and the tissue in the box so HealthBanks asked if we wanted to upgrade our package and we did. See more about their packages here. They are the industries most affordable cord blood and cord tissue banking services, starting at $19.99/month.
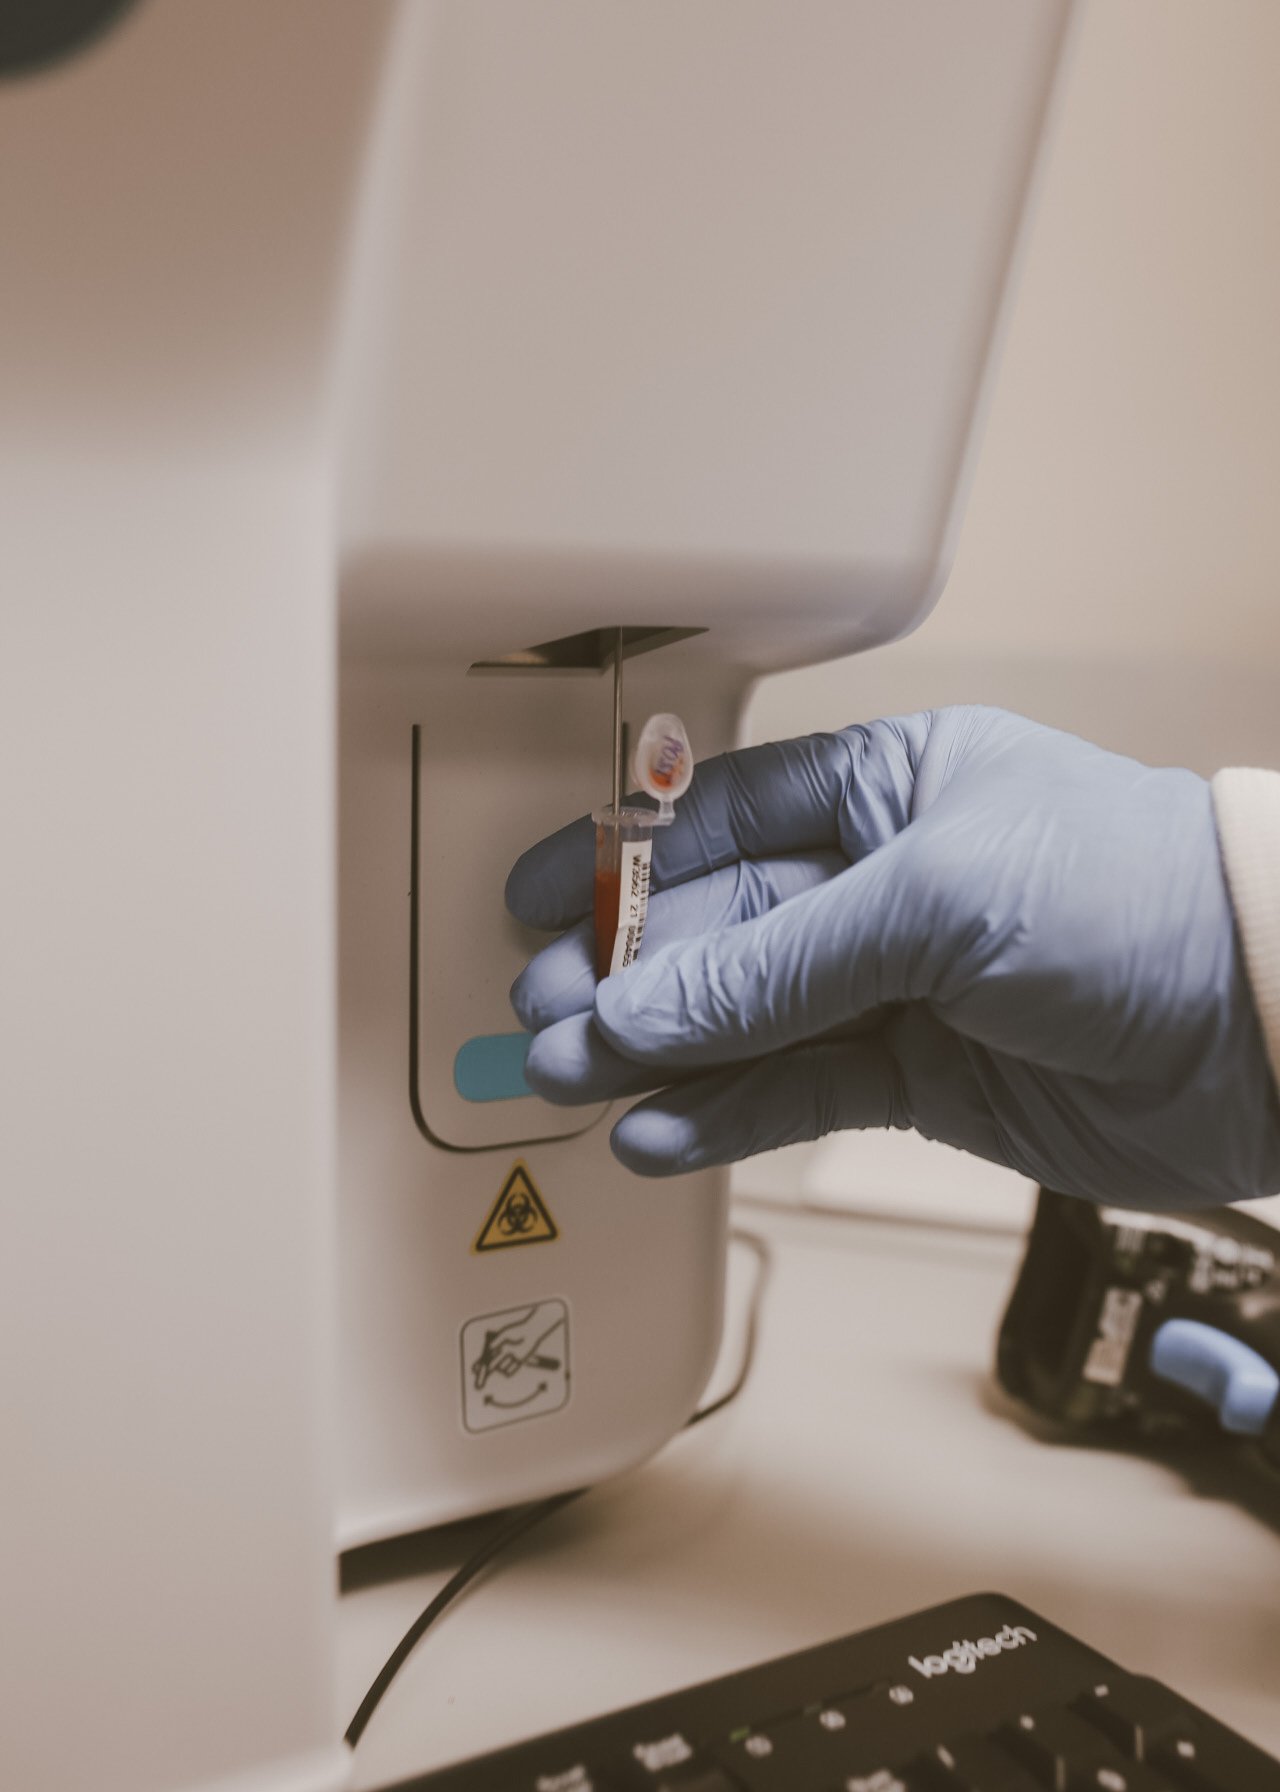
For us the process was ridiculously easy. Once we enrolled, the kit was sent to us and I put it in my hospital bag immediately. At my next OB appointment I told my midwife we would be doing it and she simply said “ok great!” As we got closer to my due date, I made sure to remind my midwife and instructed Zach to ensure the box was given to her as soon as I started labor. The box is completely sealed and is not to be opened by anyone other than your doctor at the time of delivery. An email was sent to me with instructions on what to do so I kept it easily accessible to reference (well, for my husband to reference) after delivery. My 12 hour vaginal labor quickly turned into a c-section and a new doctor delivered my baby. She was familiar with cord blood banking and handled all of it with no problem. A nurse sealed the box up while in the recovery room, my husband called the number on the box, and someone arrived at our hospital within an hour or so to pick up the box! I was shocked at how seamless and easy the collection process was. I received an email the very next day from HealthBanks confirming they received my box. You can read more about the process here.
HOW TO ACCESS THE CORD BLOOD AND TISSUE IF YOU EVER NEED IT:
Give HealthBanks Client Services a call at (888)-379-2670 and they will work with you and your doctor!

MY BREASTFEEDING AND C-SECTION RECOVERY MUST HAVES
I’ve officially been a mom for 5 weeks - hooray! I have listed my “must haves” for breastfeeding and c-section recovery. By no means do I think everyone needs all of these items, but this is everything that I could think of that I used in the past 5 weeks! My c-section was unexpected so if you do have additional recovery items waiting for you at home, I suggest waiting to open them until after birth. I was able to return several unopened items to Target that I had purchased/been gifted that I thought I would use after giving birth vaginally.

BREASTFEEDING MUST HAVES:
For reference, I exclusively breastfeed and have not pumped since giving birth (yet). I did practice using my Motif Luna with battery pump that I got for free with my insurance through Aeroflow (with my Midwifes permission) at 38 weeks for about five minutes which I highly recommend doing if you’re allowed because the sucking sensation is bizarre and uncomfortable at first. I also started using my pump again for short periods of time (10-20 minutes) to try and induce labor around 39 weeks and again at 40 weeks. The sensation became more normal feeling by 40 weeks and made me feel more comfortable putting her to the breast for the first time after birth. Always consult with your own OB/Midwife before doing these things.
Nursing Pads (washable and disposable) : I use these for daytime because they are soft, I use these for overnight (not as soft but hold a lot more), and I have these disposable ones as backup but I prefer to use washable.
Nipple Butter : This Earth Mama (at Target or Amazon) was my everything until I got a nipple shield. I used this in the hospital and at home.
Button Down Nightshirt : I personally did not like ANYTHING over my c-section incision for several weeks so I wore button down nightshirts (here, here, and here) in a size large or a robe when visitors came to see the baby.
Breast Care : During the first few weeks my nipples and boobs hurt (and this was even after seeing MULTIPLE lactation consultants who said we had a fantastic latch) so I recommend having these things on hand to help as much as possible. Give your boobs some TLC because they are working hard and are experiencing a constant sensation that they have never felt before. I used Medela breast soothing pads, Frida Mom Lactation Massager, a fillable ice pack (a fillable one doesn’t melt all over you and you don’t have to wait for it to freeze), and 3 days after Quinn was born my lactation consultant recommended these nipple shields and they saved my entire breastfeeding experience (without these I may have quit or just been absolutely miserable).
Haakaa : The Haakaa is great for using on the side you’re not nursing on. You will be shocked by how much leakage you can save and put in the freezer that would otherwise be totally wasted.
Breastmilk Storage Bags : These storage bags come with an organizer so you can keep them tidy in your freezer.
Burp Cloths : I actually don’t use these to burp her because she doesn’t spit up (at least she doesn’t right now) but I reach for these muslin burp clothes over all of my others every single day by my bed and on the couch to clean the milk off the nipples shield, clean her face, and to clean up any dripping or leaking from my boobs.
Nursing Tanks to wear under clothes to easily feed using the “two shirt method.” I have 3 different brands and I like them all - Leaxy tank comes with my favorite breast pads and is a small company that gives back to Black Mothers Breastfeeding Association, I also have this pack from Amazon, and this cami from Target.
Nursing Bras : I LOVE these for sleeping, this one is my favorite wireless, soft, and most normal looking/pretty bra, this one from Lively is also nice and neutral, and this pack is just your boring but comfortable nursing bras that serve their purpose but aren’t the cutest.
Nursing Pillow : I have the Boppy with a waterproof cover and these regular covers that fit over it for easy washing. I also have the MyBreastFriend which is more comfortable but I only just started using it after my c-section incision started feeling better and I only use it during the day because the Boppy is easier to slip on and use in the middle of the night.
C-section POSTPARTUM MUST HAVES:
Adult diapers : I used both the Walgreens ones and some from Target - loved them both! I used these when I got home and skipped the giant pads and mesh undies I wore in the hospital. I did roll them down because I didn’t like anything on my c-section incision for a few weeks.
Pads : When the blood gets lighter I switched to Always Thin Pads
Belly Bandit : A Belly Bandit was recommended to me from my doctor as I was laying on the table getting a c-section - haha! I ordered this one and they so kindly gave me a 10% off code for you guys - MAELUTZZ10
Flushable wipes or a peri bottle - you want to feel as fresh as possible with all of that blood. I used the hospital provided peri bottle in the hospital and switched to flushable wipes at home.
I hope this list helps some of you! Remember we all experience birth differently, experience breastfeeding differently, and heal differently. These items are what I used, but trust me I have even more than this that I didn’t end up using. However, when you’re in pain you’ll be happy to have a selection to choose from when it’s 3am and you just need SOMETHING to make you feel better. My biggest tip is buy what you think you might use and don’t open it until you need it. This way you can return whatever you don’t use. Good luck!!

Image by Jason Holland
NEWBORN MUST HAVES (FIRST 4 WEEKS)
I’m back again with a complete list of items we used in Quinns first month of life! Every parent is different, and every baby is different but these are the items we have used in her first four weeks. If something is straight forward I’ll just link the item, but if we use an item for a specific reason I’ll list why so you can see if that scenario seems right for you as well.

NIGHTTIME/SLEEP
Arms up Swaddle : We switched to this one on night two at home because she could roll on her side and it scared the heck out of me! She was born with a large head (don’t worry she is back down to 52 percentile - haha) and the arms up swaddle keeps her head from rocking her to the side.
Halo Bassinet with this mattress cover (x2) and the SOFTEST sheets : She sleeps in her bassinet exclusively at night and I LOVE it. It swivels 360 degrees, has mesh sides incase she were to ever get pressed up against the sides she could still breathe, the side comes down to place her in, and the adjustable height allows you to have baby right next to you in bed.
Hatch Sound Machine : I know this seems like an expensive purchase but I love it so much. You can make multiple custom settings so all you have to do is tap the top. For example, I have three settings set up for nighttime feeding - sound + brighter light, sound + dimmer light + and sound with no light. You can also use it when they are older and make a setting for colorful lights to come on and off to tell them when it’s time to get up.
Owlet Sock : Lots of controversy around this item but we are big fans.
Zipper PJs : Double zip PJs or magnetic Pjs all of the way!
Travel baby monitor : I use this baby monitor when she naps in her bassinet during the day and will take it when we start traveling. No wifi needed!
Books : I highly recommend asking your baby shower host to do “books instead of cards” because we have a great library of books now and reading to her at night is our favorite time of day! I also got a library card and have stocked up on more books to read to her because that’s how much we love it.
Crib / mattress / sheets: she has technically taken one nap in her crib so I’m listing that, the mattress, waterproof cover, sheet, and monitor (I don’t love the monitor to be honest).
BATHTIME
Water Thermometer : This gives me peace of mind knowing the water is the right temp. We use it every time.
Shampoo : Your choice on what you use, but this is what we currently have.
Swaddle Blanket : We use a swaddle blanket in her bath and she loves it. She screamed before we started doing this. This is my favorite swaddle brand here but any swaddle blanket will do!
Toy Bin for bath toys that drains the water out.
COMFORT/PLAY
Solly Wrap : These wraps take some learning to use, but I love them because it keeps baby warm and snuggled up against you like they were in the womb. Perfect especially when they are super new.
Ergo Carrier : We only started using this now because she is getting used to life outside of the womb and is more aware.
Boppy with Covers : We use the Boppy, the waterproof cover, and the regular cover for feeding and to prop her up for tummy time.
Bouncer : Hands down my most used item!! It’s incredibly compact, can be folded flat, and she loves it!
Swing : Not her or my favorite item (because it’s massive), but we occasionally get her to use it.
Lovevery playgym : (shop here or on Amazon) This gets used EVERY day - we love it so much I have this extra sensory strand to go with it! I know it’s pricey but it comes with mirrors, black and white cards, tons of sensory items and can be turned into a tent.
Safari Block from WeeGallery
Crinkle Book for entertainment out and about
DIAPERING
Diaper rash cream : We tried several but are liking this one the best so far.
2 sizes of diapers : Find what diapers work best for you but hold off on opening your newborn ones until you know for sure your baby can fit in them. Quinn was 9lbs+ so she used newborn diapers for a veryyyy short amount of time. You can exchange any unused diapers at Target.
Diaper Cream Spatula : We keep the large one at her changing table in her nursery and the smaller one in the changing basket in our room. I’m about to buy another small on for my diaper bag.
Ava + Oliver Changing Mats : We love these vegan leather changing mats! So easy to wipe clean. We have three of them!
Wipes : So far Water Wipes and Sensitive Wipes are our favorites.
Ubbi Diaper Pail - We have no issues with smell and you don’t need special bags.
Wipe Dispenser from Ubbi
Plum and Sparrow Changing Basket : This is the one in her room.
Diaper Caddy : We keep this in our room for middle of the night feeds and change her on our bed. During the day we change her in her room at the changing table. It holds our diapers, diaper cream, diaper cream spatula, changing mat, and wipes.
TRAVEL
Carseat : The Pipa Lite LX - At the time of writing this our carseat is the lightest on the market. Love it!
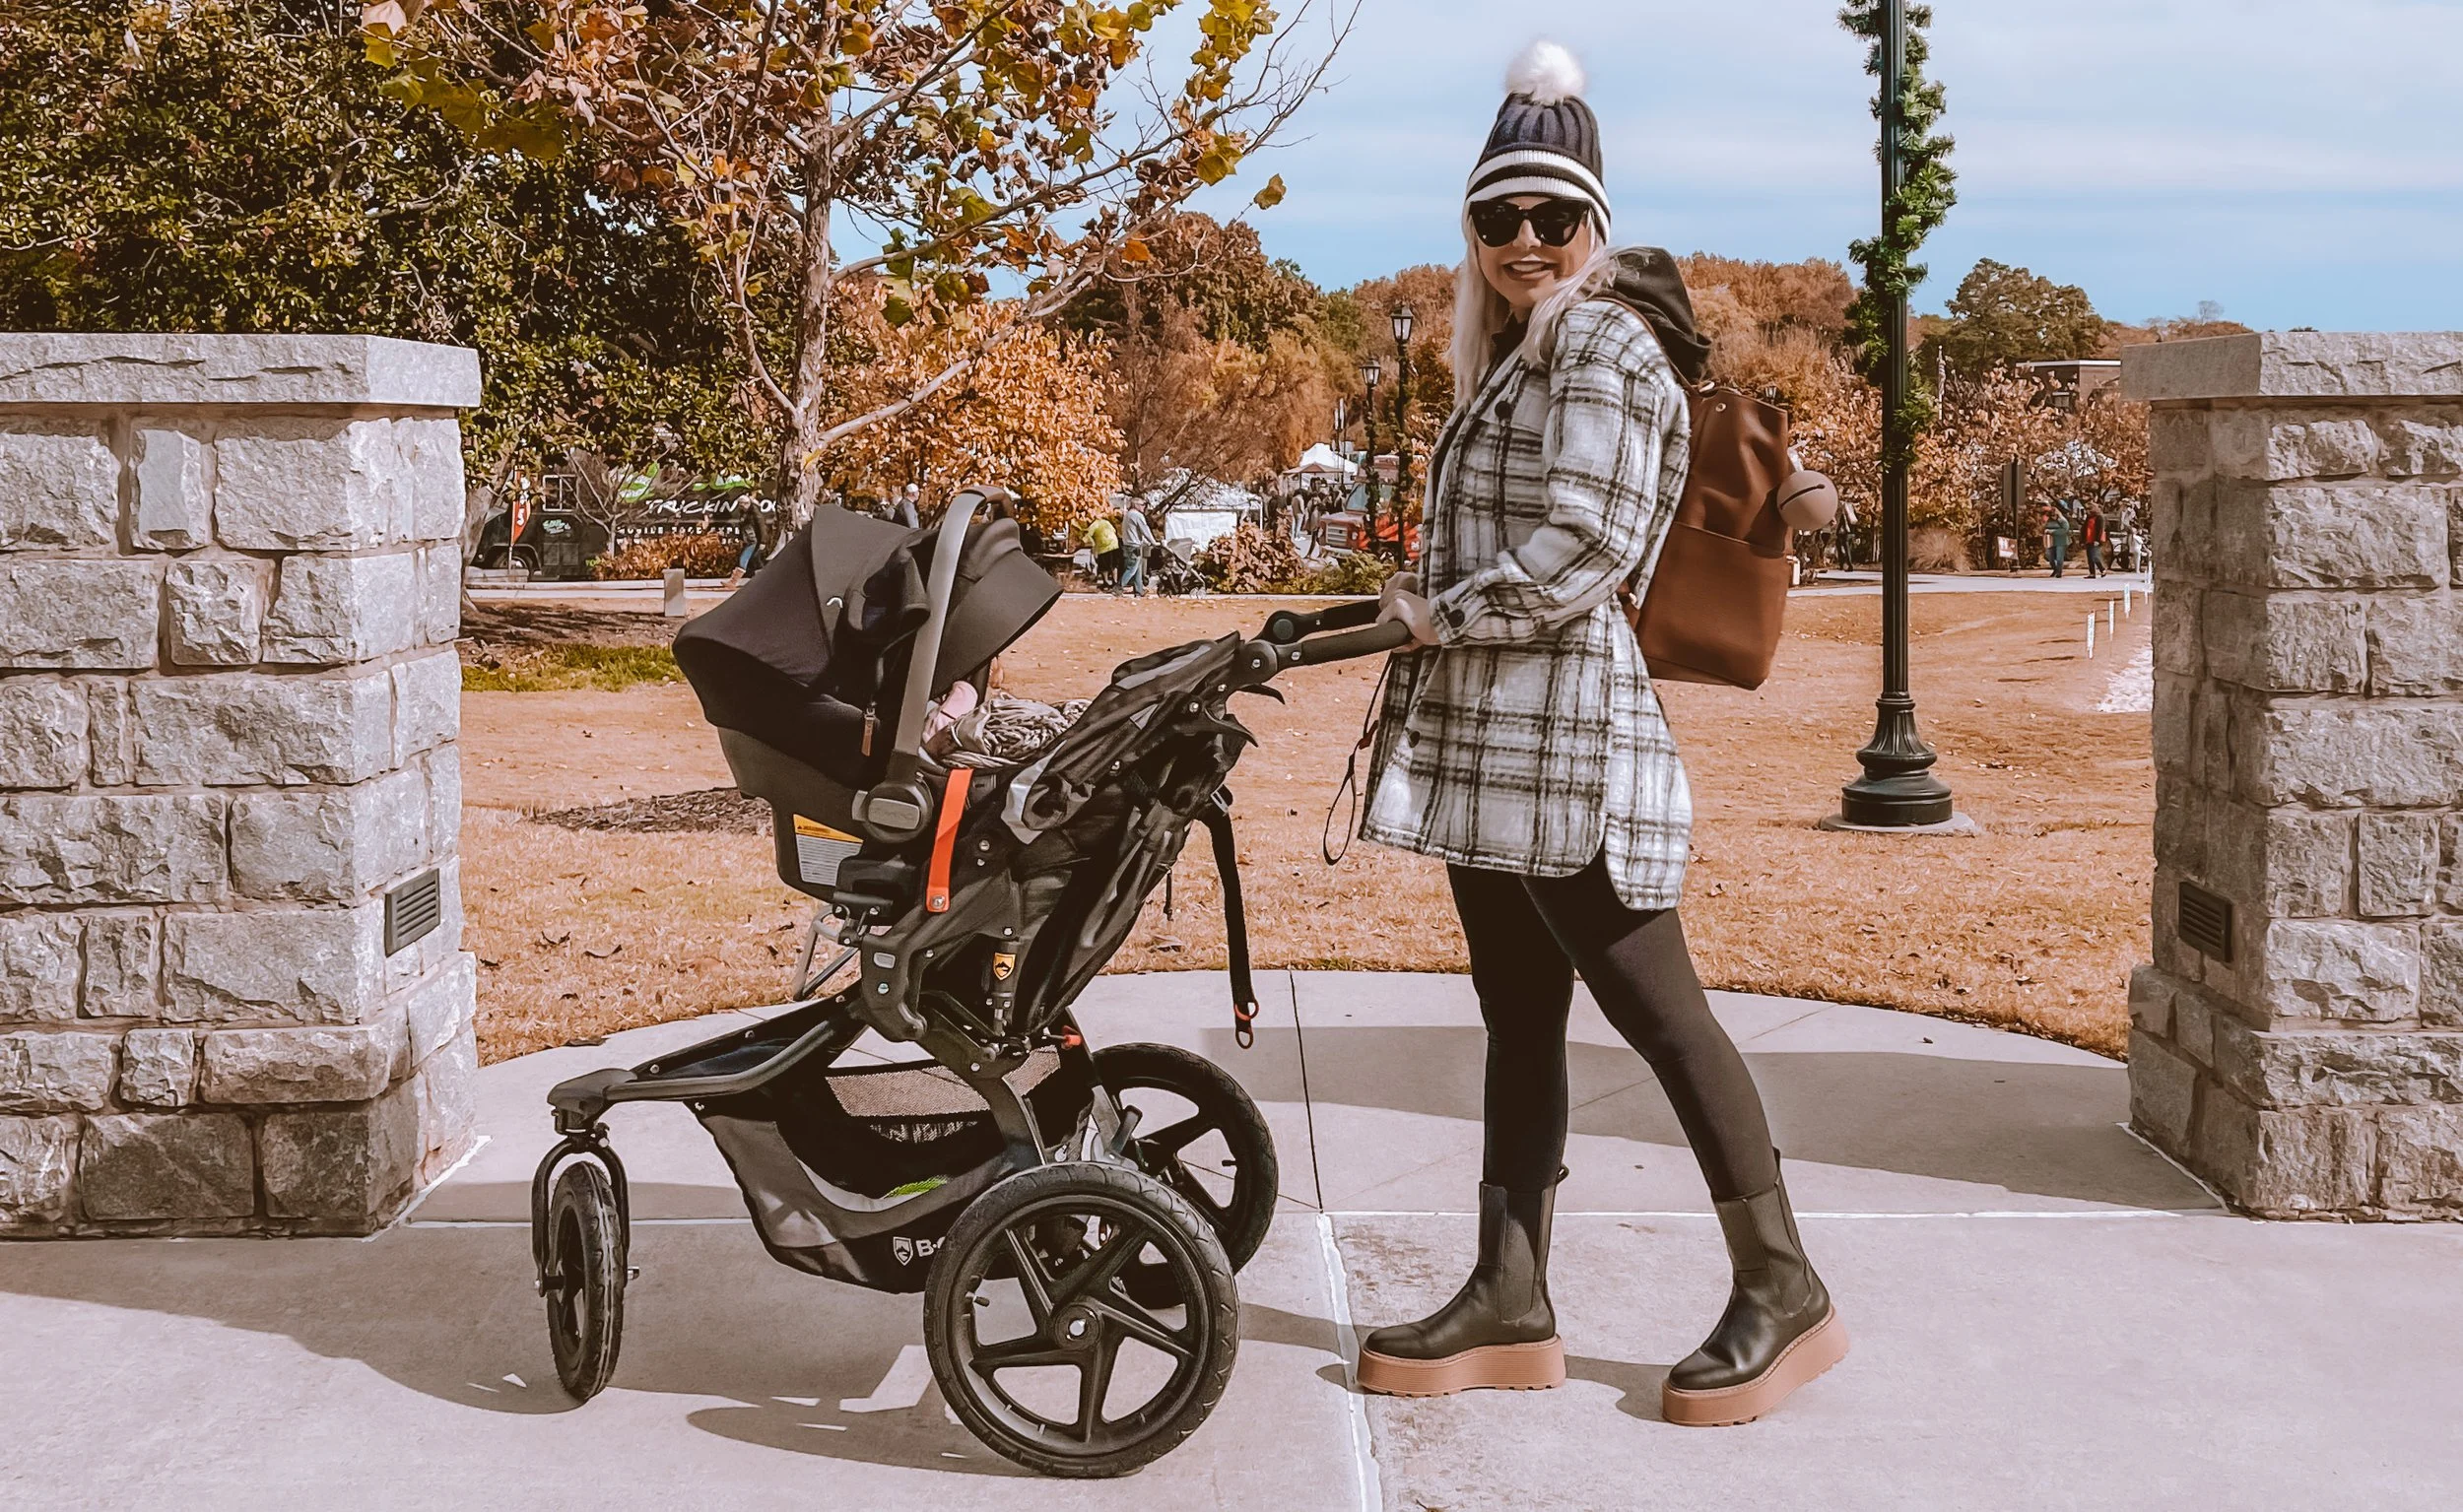
Everyday Stroller : I LOVE our Nuna Triv stroller. It folds up with one hand.
Jogging Stroller : We use this jogging stroller with the Nuna carseat adaptor.
Freshly Picked Diaper Bags : This is my everyday bag and I just got this one to use if I need something that looks more like a purse. Both are vegan leather!
Stroller Bag - it’s washable!
Travel Sound Machine - used this in the hospital, in her room, and I take it with us.
Travel Wipes Case that I keep in my diaper bag
MISC
Nail Trimmer : Using clippers is scary so I recommend this nail trimmer 100%!
Neeva Sanitizer : You definitely don’t need a sterilizer this big, but I do use it often and like it.
Newborn Milestone Discs : I use these for cute photos.
Burp cloths : I have several but these are my favorite so far.
Booties : I use these booties from Amazon and these booties from Goumi (code MAE for 15% off) way more than socks.
Hats : babies need to stay warm and I used these hats - here, here and here.
Thermometer : this one and this rectal one.
Fan : We used this fan when it was still warm outside. Mostly for me, haha, but I plan to attach it to her stroller when it gets hot again.
CLOTHING
I like to dress up Quinn! Click here for my Amazon clothing finds, Goumi Kids (code MAE for 15% off), and my LTK.
FEEDING
See this blog post for a complete list of my breastfeeding items!
MAMA RECOVERY ITEMS
See this blog post for a complete list of my c-section recovery items!


HEALTHIER NO-BAKE LEMON “CAKE POPS”
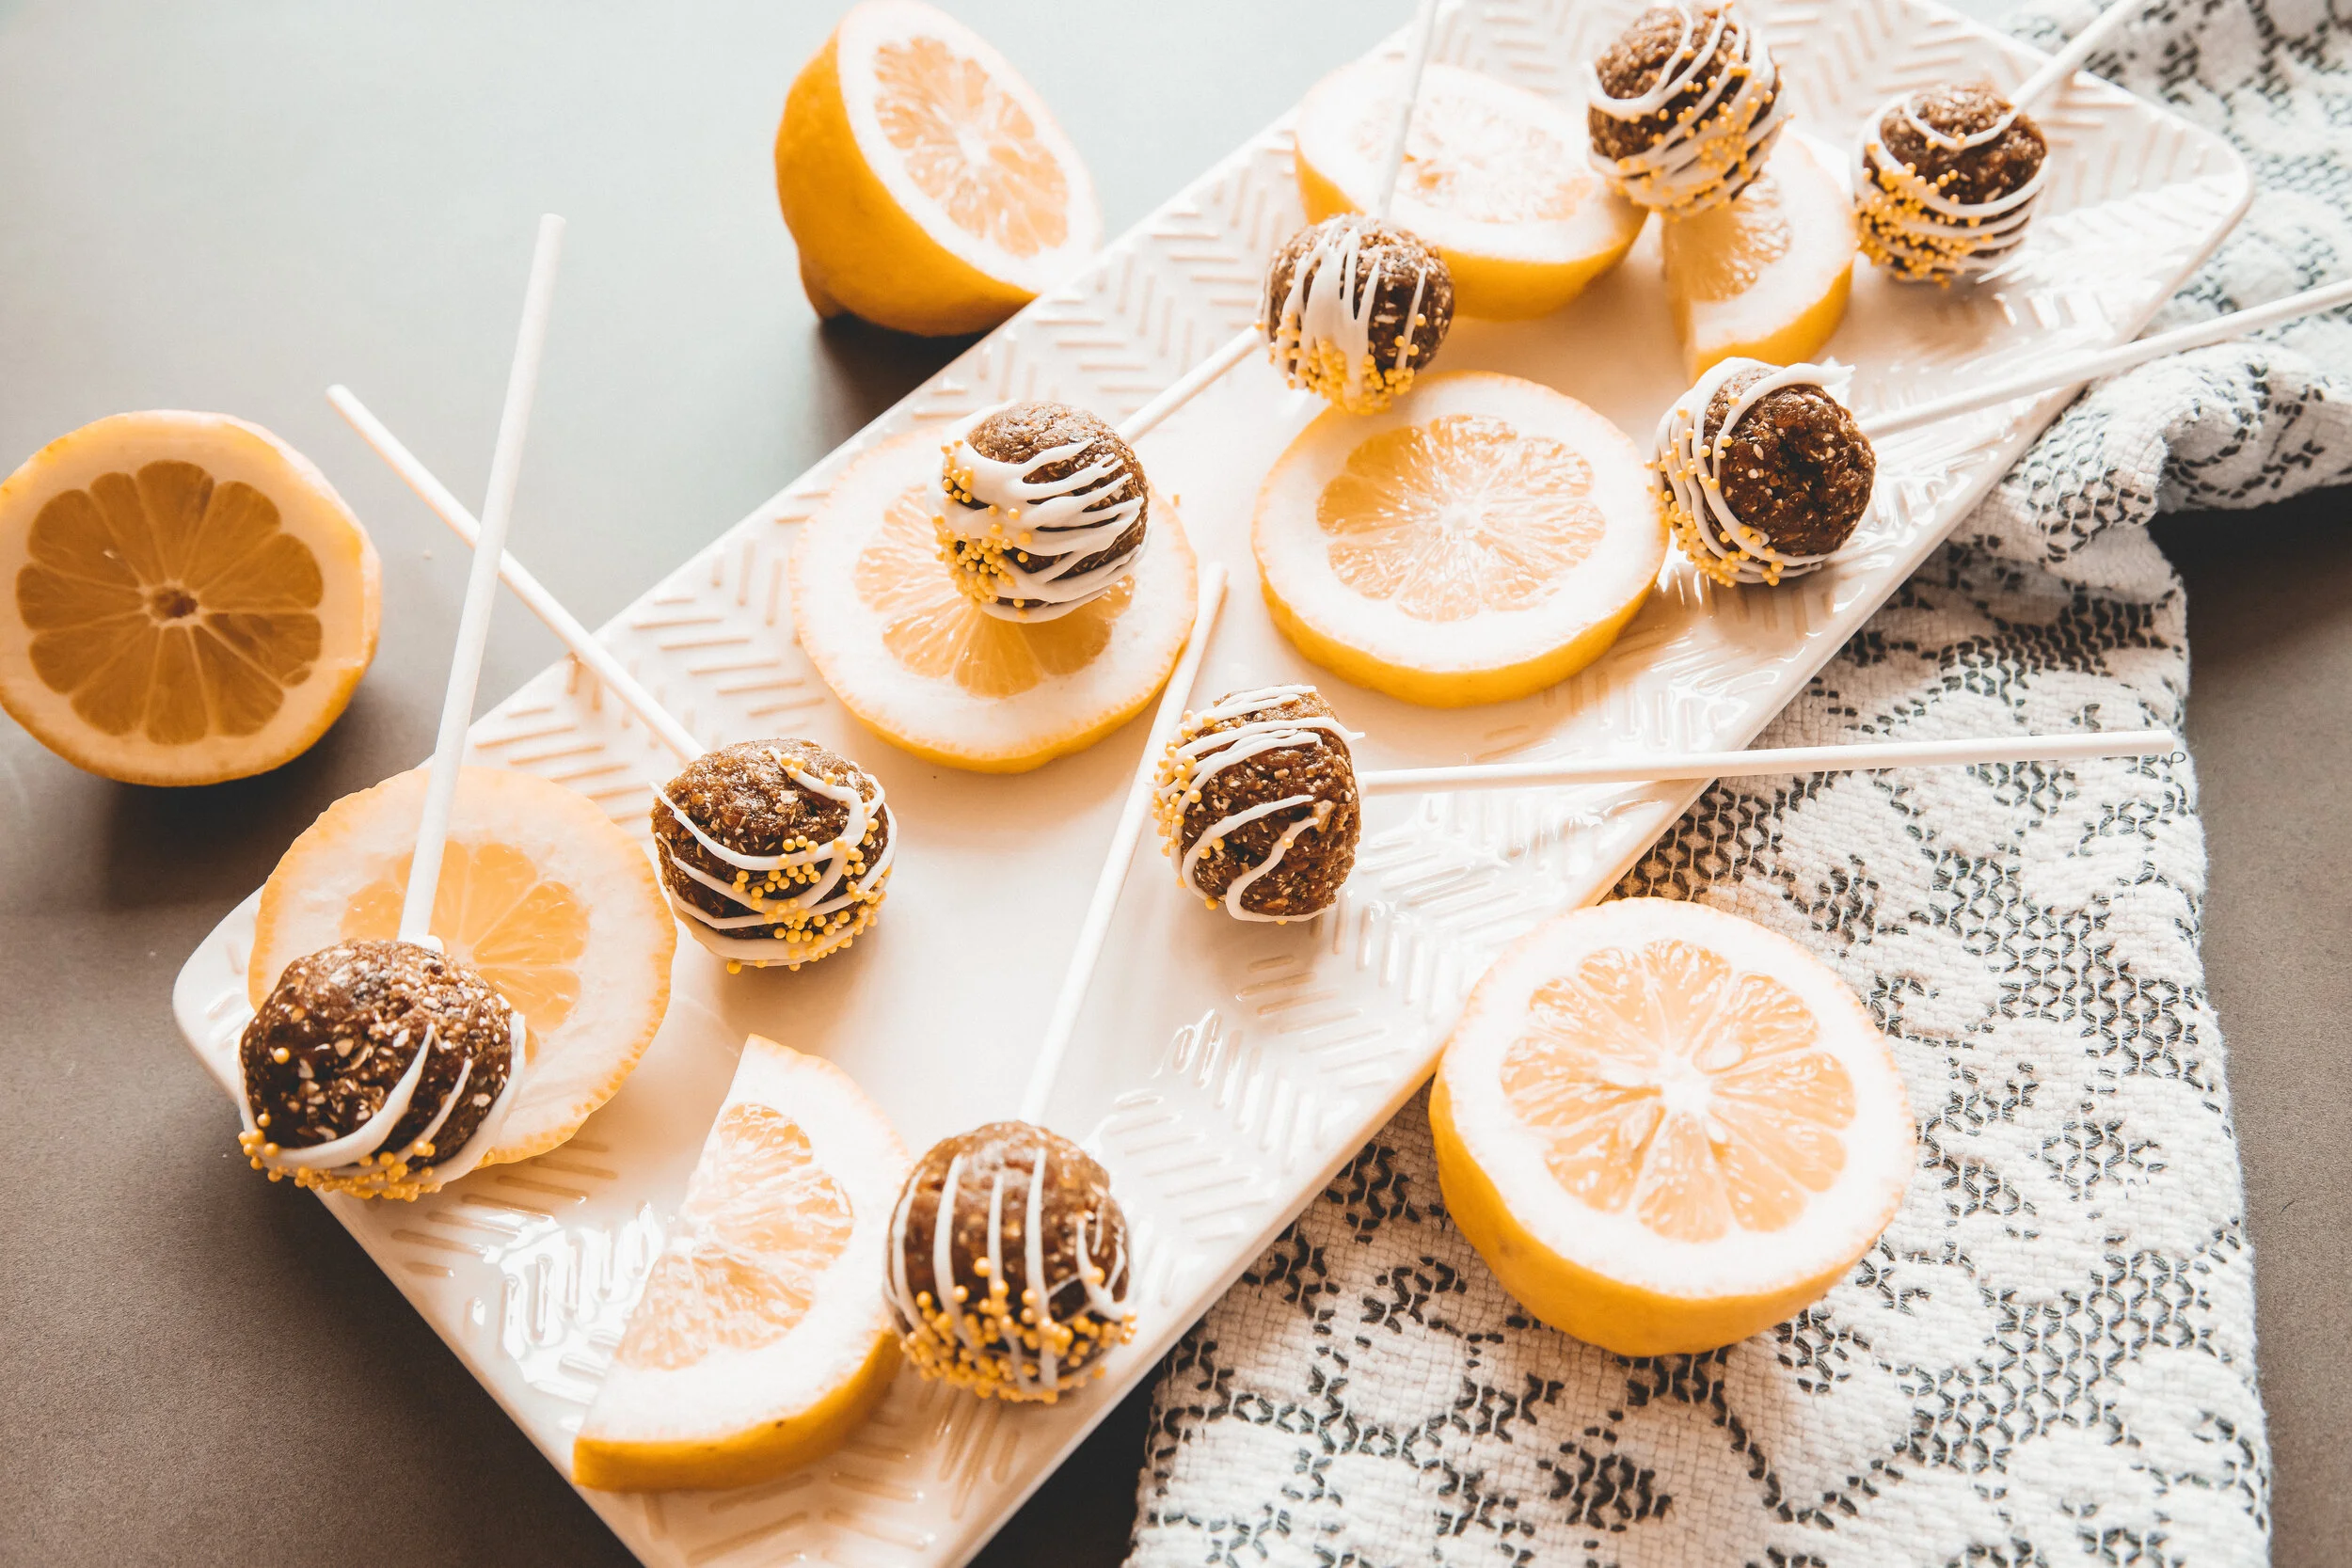
Summer is finally here - hooray! Cheers to yummy treats, BBQ’S, and vacations. Today I’m going to show you my version of a healthier “cake pop.” Sometimes we need to trick our minds (or our kiddos) into sneaking in a better choice so this one is for you.
Today I’m bringing you lemon cake pops. They are refreshing and a perfect summer time treat. The only reason these aren’t vegan is because I can’t find vegan white chocolate, but if you can, that’s an easy swap!
The star of the show, and sponsor for today, is PB2 Almond Protein Powder which is packed with 20g of protein per serving! It has a yummy vanilla flavor and is super versatile in various recipes.
I’ve had to absolute honor of working with PB2 since 2017! See other recipes I’ve made with them here.


Serving: 12 cake pops
INGREDIENTS FOR LEMON “CAKE POPS” :
1/2 cup blended oats
10 pitted Medjool dates (removing the pit is super easy)
2 tbsp Agave or maple syrup
Juice from half a lemon (1 tbsp)
Zest from one lemon
1 tbsp chia seeds
OPTIONAL TOPPINGS:
Melted white chocolate for drizzle
Shredded coconut
Sprinkles
TOOLS:
Cake pop sticks (buy here) or at your local craft store
Food processor or blender
INSTRUCTIONS:
In a blender or food processor blend the oats first until it’s a powder texture. If your dates aren’t pitted, just squeeze the pit out - it’s super easy. Add the rest of the main ingredients until well combined. Taste and see if you want to add anything! This isn’t an exact science so if you like more lemon or want it sweeter - go for it!
Time to get sticky! Roll the dough into balls 12 balls and place on a parchment paper lined plate. Chill for 10-20 minutes.
While the balls are chilling, poke holes into a cardboard box for your cake pops to be upright. If you don’t have a box just make them upside down by leaving them on parchment paper.
After the balls are chilled, melt your chocolate. To melt your chocolate, microwave pieces at 50% power for 1 minute. Stir and microwave another 30 seconds. Repeat until melted.
Dip a cakepop/lollipop stick into the chocolate before inserting the sticks into each ball. This helps it adhere better!
Start sticking your “cake pops” into the holes on your cardboard box.
Time to decorate! Drizzle with white chocolate and top with sprinkles, shredded coconut, chia seeds, etc!
Chill for 10+ minutes.
Serve immediately or store in an air tight container in the fridge.
NUTRITION
SERVING: 1 Cake Pop | CALORIES: 107kcal | CARBOHYDRATES: 22g | PROTEIN: 4g | FAT: 1g | SODIUM: 25mg | SUGAR: 17g


If you guys make this, please tag me on IG because that makes my day! Also, if you have any questions or just want to say hey, please use the comments section and I will always get back to you. Lastly, make sure you follow me on Instagram (@MaeLutzz) as I post on there almost every day. Bye and see you next time!

Discount Codes
AYA Skincare
10% off skincare in-store and online code: MAE10
20% off first treatment using code MAE20 or mentioning my name at checkout
___________________________
Goumi Kids
15% off using code MAE
___________________________
shortyLOVE
http://slbags.co/MAE
$10 off code: MAELOVE
___________________________
Noka Organics
https://www.nokaorganics.com/?rfsn=5357618.5b33c9
15% off code: MAENOKA15
___________________________
Liquid IV
https://glnk.io/koyv/maeelizabethg
25% off + free shipping code: MAEELIZABETHG

Vegan Pancake Bites

Spring is here and today I have a new and delicious vegan recipe - pancake bites! Packed with the PB2 Performance - Peanut Protein (Dutch Cocoa) Powder, these bites are perfect for on the go, before a workout, or during a weekend breakfast with family.
Todays blog post is amazingly sponsored by PB2 who I’ve had to absolute honor of working with since 2017! See other recipes I’ve made with them here, here, here, and here.


VEGAN PANCAKE BITES
[ INGREDIENTS: ]
Makes 36 mini pancake bites
1 cup flour
2 tablespoons sugar
1 tablespoon baking powder
1/2 teaspoon salt
4 tablespoons of PB2 Peanut Protein Powder
1 cup non-dairy milk
1 tablespoon apple cider vinegar
1 teaspoon vanilla
maple syrup for dipping
topping of your choice (I used vegan chocolate chips and berries)
[ INSTRUCTIONS: ]
1. Preheat oven to 350 degrees. Grease a mini muffin pan.
2. Whisk together flour, sugar, baking powder, salt, PB2, milk, apple cider vinegar, and vanilla in a large bowl.
3. Fill the pan with batter and stud with toppings of your choice.
4. Bake the pancake bites for 8-10 minutes. Allow to cool for 10 minutes.
5. Serve with a side of maple syrup and enjoy!

If you guys make this, please tag me on IG because that makes my day! Also, if you have any questions or just want to say hey, please use the comments section or DM me on IG and I will always get back to you. Lastly, make sure you follow me on Instagram @MaeLutzz as I post on there almost daily!
Have a great rest of your day!