Ikea Duktig Play Kitchen Makeover
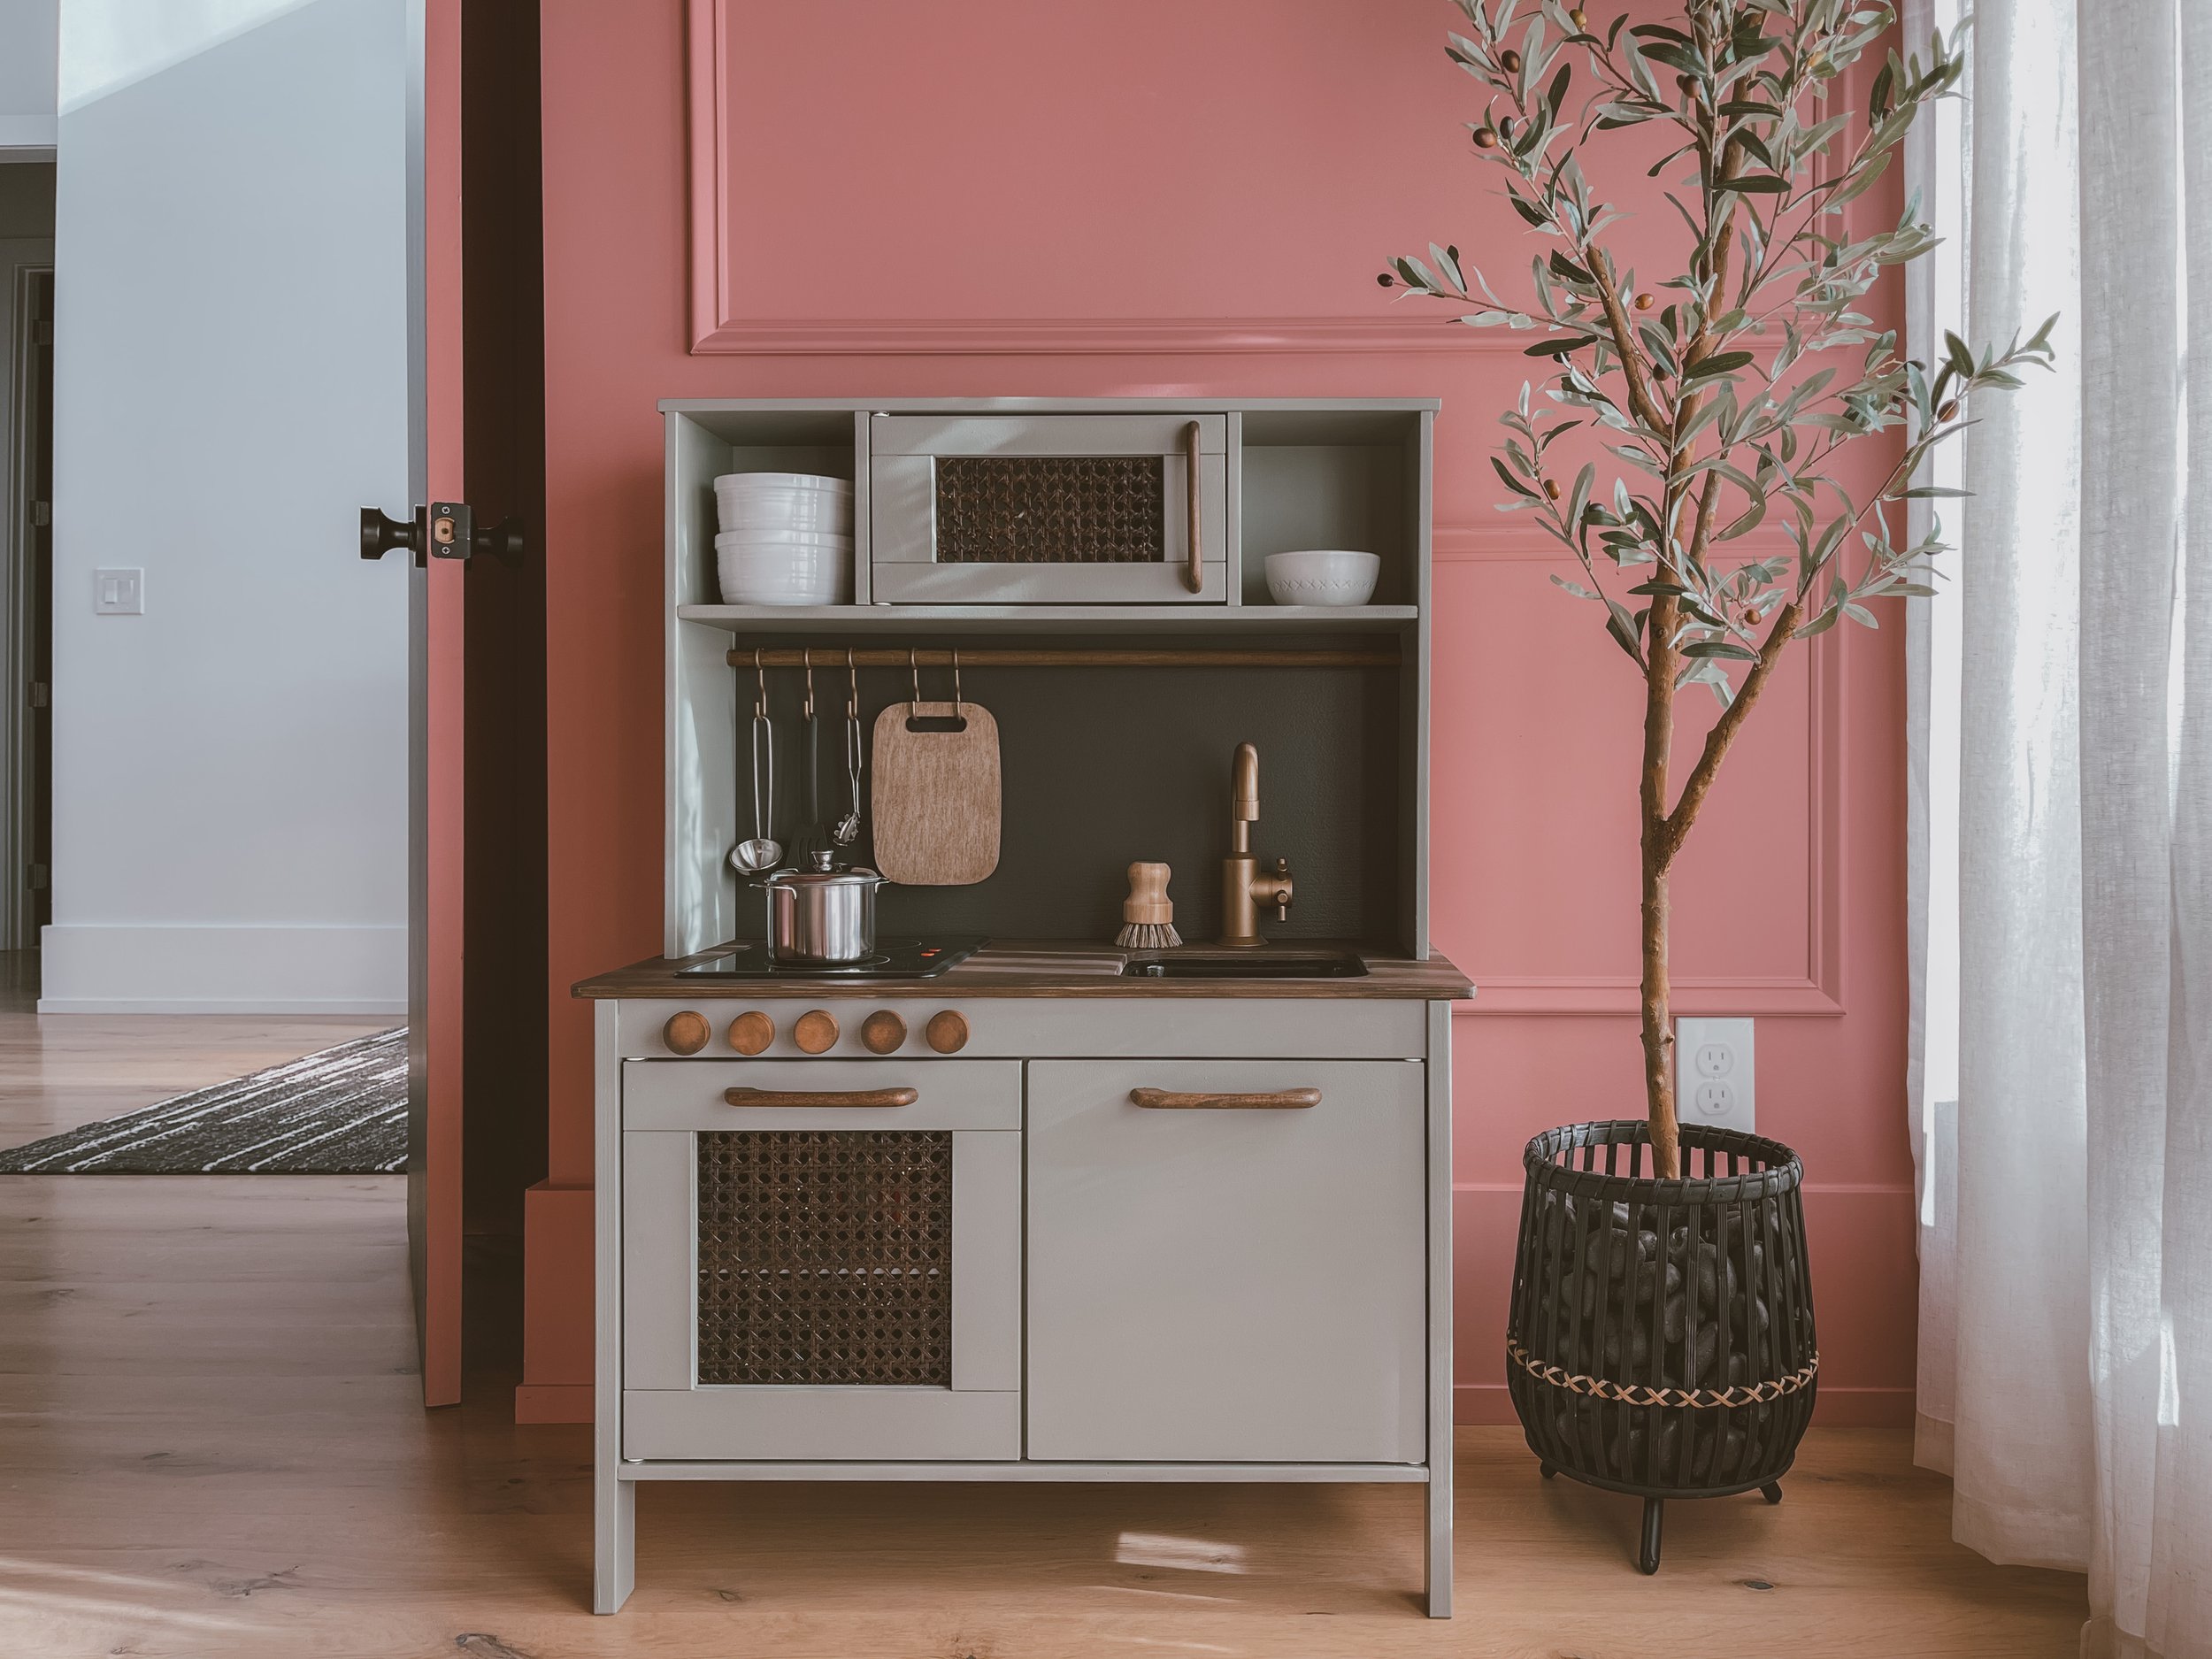
I stressed over this project before I started and let me say, it was SO fun to do. The Ikea Duktig Play Kitchen is $99. It’s a very simplistic design so the options to change it up are endless! You could spend as little or as much money as you want to customize it. I bought all of my materials at Home Depot, Amazon, and my enemy - Spray Polycrylic from Lowes. 😅
I tried to be as detailed as possible about each step, but if you have any questions you can comment below or DM me on Instagram.
MATERIALS:
80 Grit and 320 Grit Sandpaper that I used both by hand and with my Orbital Sander
Zinsser BIN White Shellac Spray - I used 2 1/2 cans
Rustoleum Spray Paint in Champagne Bronze - 1 can
Minwax Polycrylic Spray 1-2 cans in Clear Matte and the regular can half-pint in Satin (they didn’t have matte)
Behr Chalk Paint 1 qt tinted in Dusty Laurel. (This chalk paint can only be tinted in certain colors).
Optional : Polyshades in Mission Oak for the cane webbing. It will NOT work on the countertop. I don’t think you need this product but it’s what I used before I discovered the above stain.
Staining Cloth (I also tried a staining sponge but much prefer the cloths. I just used a glove with the cloths).
6” paint roller, with a 6” roller frame, and a 7” roller tray.
Paint brush - this one that I had on hand.
Wooden dowel in 1/2” cut to 26” long.
Thin piece of 1/4” 2’x4’ plywood for backsplash (or foam board that you could use peel and stick tiles)
Painters tape
24” Cane Webbing (2 feet) from Amazon
Gorilla Glue Construction Adhesive
INSTRUCTIONS FOR THE VENEER PIECES (EXCEPT COUNTERTOP):
Do NOT assemble the kitchen until the end. This makes sanding, painting, and sealing A BREEZE.
Remove the acrylic plastic from the microwave and oven piece. I banged it out with a hammer in the grass.
Lightly sand all of the flat wood/veneer pieces with 80 grit sandpaper. Remove dust.
Lightly spray all of your wood/veneer pieces (except the countertop) with the BIN shellac spray. Let dry, flip over, spray the other side.
Roll the chalk paint on to the pieces. Two coats each side. Let dry and flip and do two coats on the other side. Don’t forget about the edges.
Seal with Polycrylic. I brushed on and used the spray to see which I liked better. I think the spray quickly followed by a dry roller brush is my fav.
INSTRUCTIONS FOR THE COUNTERTOP:
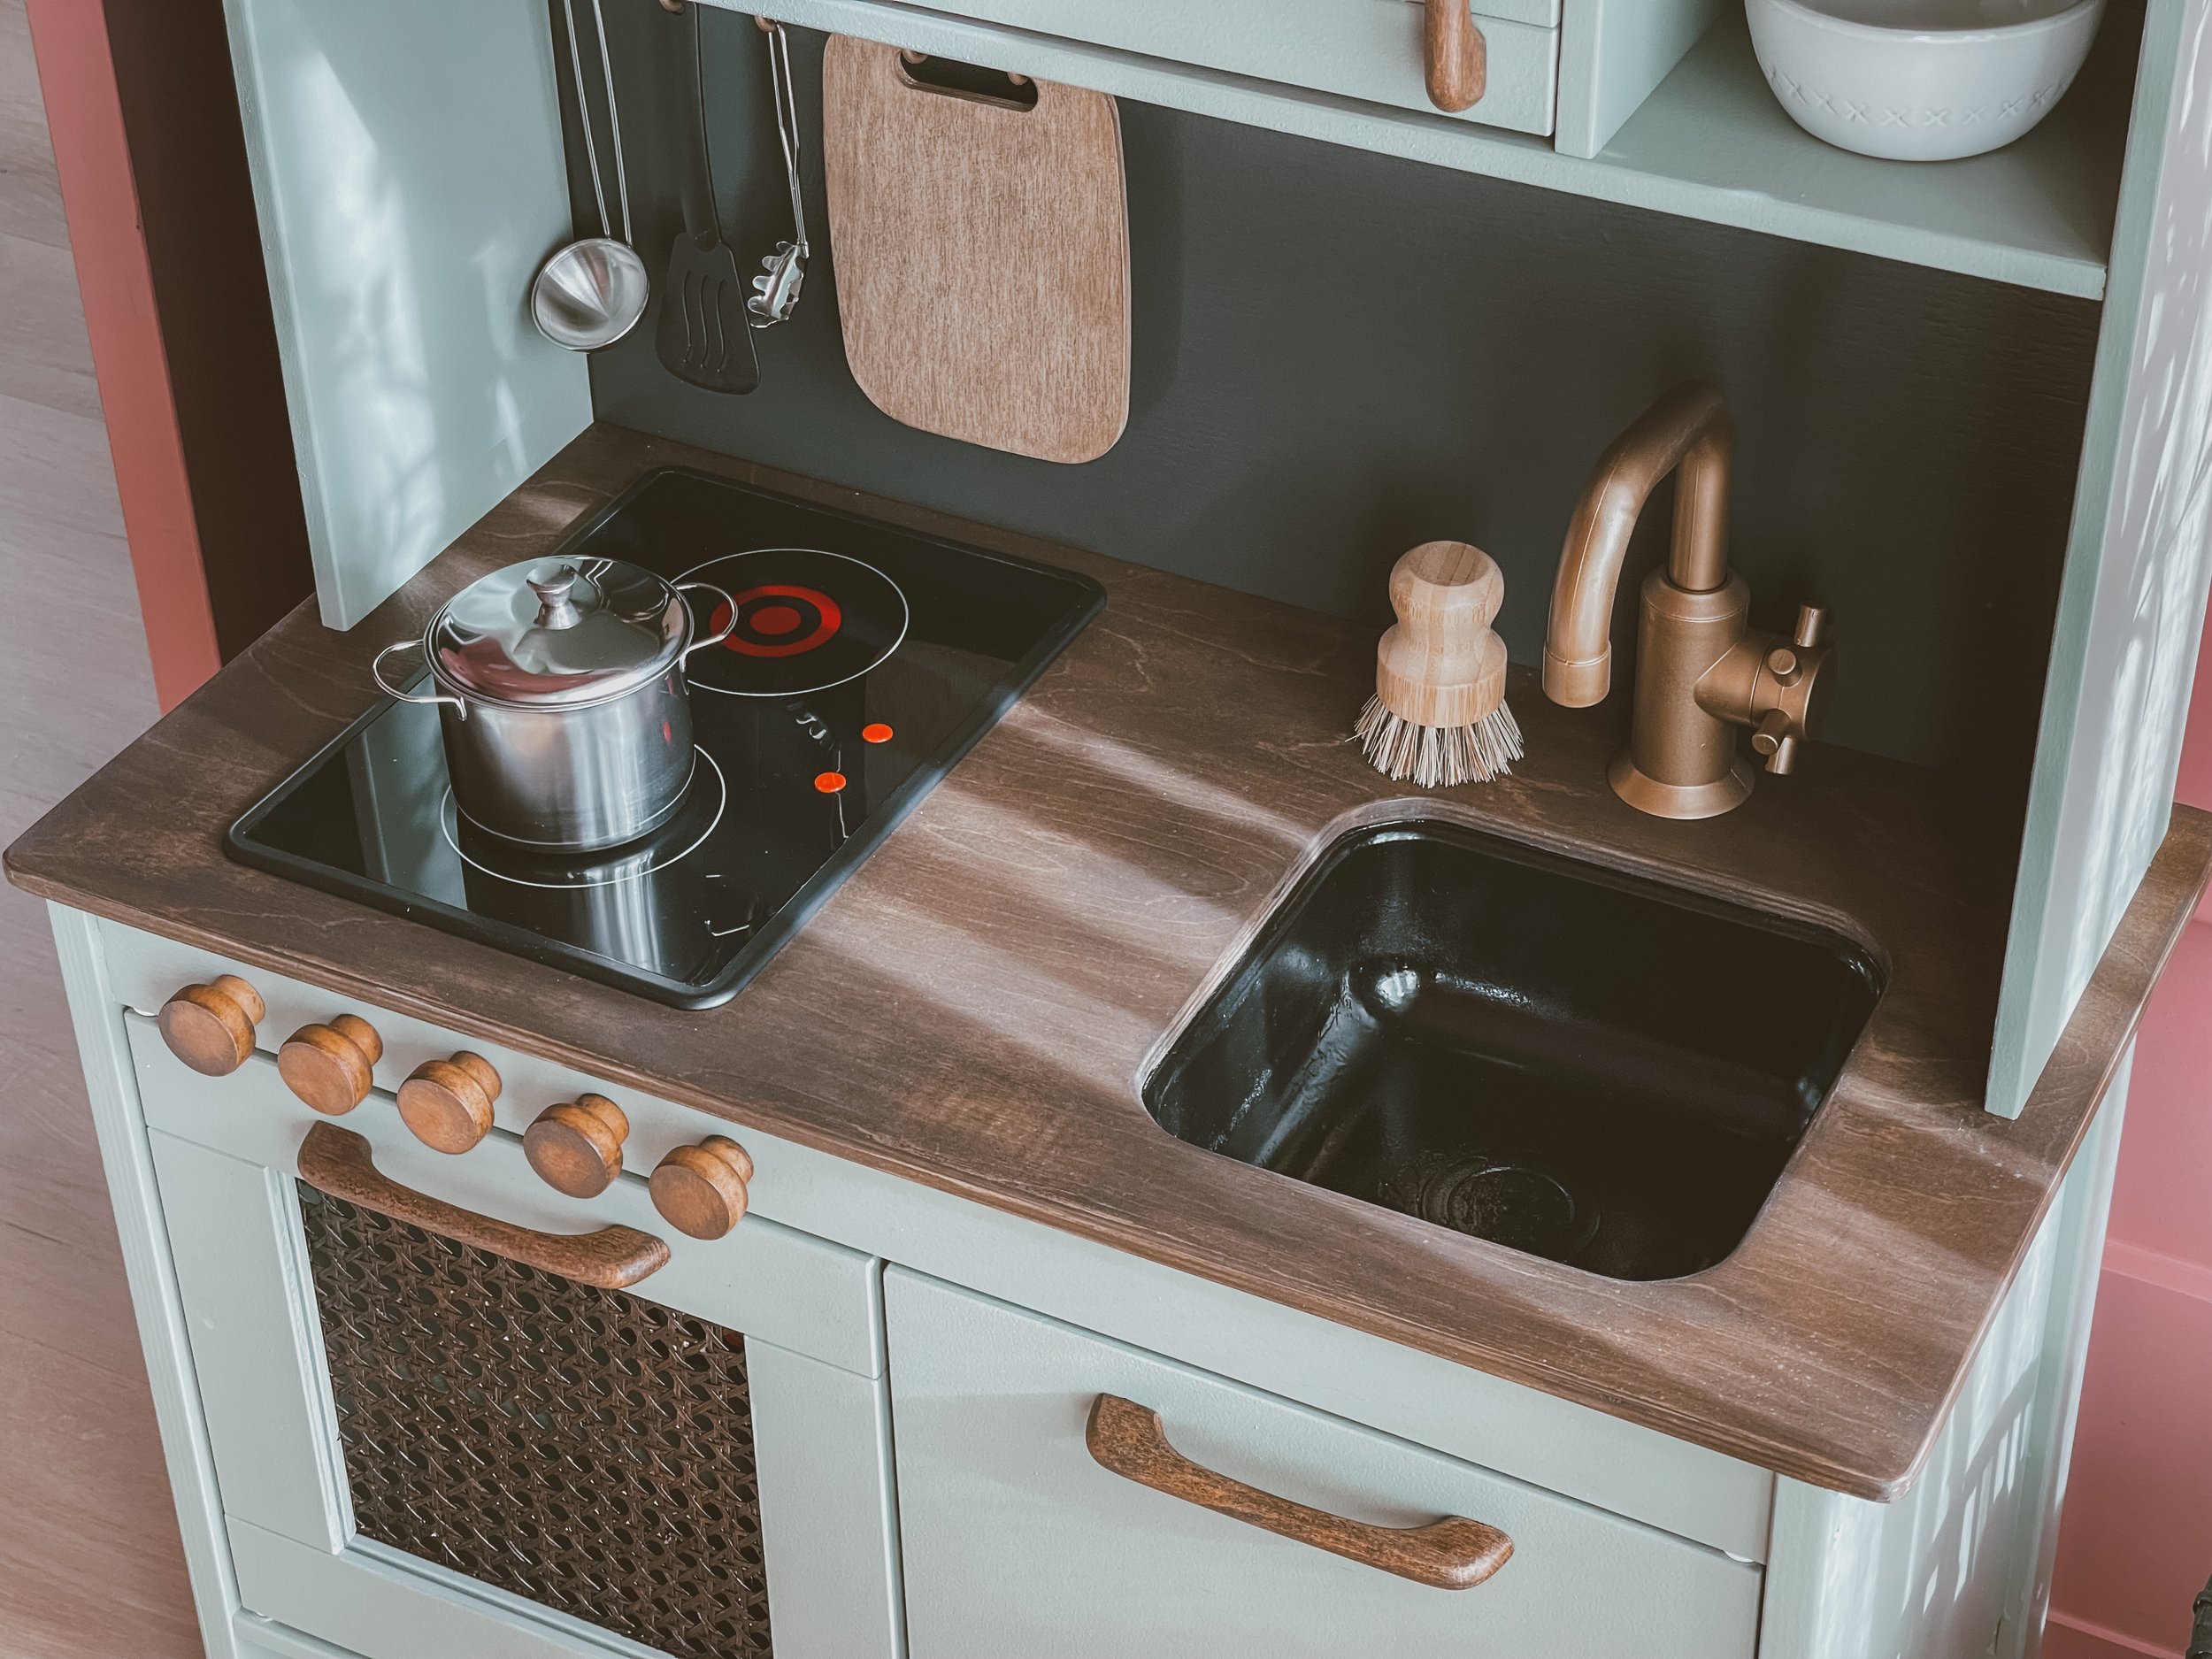
Sand the countertop with 80 grit sandpaper until you remove the finish. If you tilt your head in the light you should see it dulling until there is no more shiny coating. Sand again with 320 grit until you get a smooth finish. Remove dust.
Shake you stain well. Dip your staining cloth and apply the stain in the direction of the grain (side to side). I lightly sanded it again with 320 grit, dusted it off, and applied one more coat of stain.
This part was so easy and I think it looks BEAUTIFUL!!
INSTRUCTIONS FOR HANDLES, KNOBS, AND DOWEL RAIL:
I ended up buying new handles, knobs for below the stove, and replacing the metal rod with a wooden dowel.
Sand all of these pieces with 80 grit by hand to remove the shine. Sand again with 320 grit to smooth down. I just used two of the sanding sheets for my orbital sanded and used it by hand. Remove dust.
Apply the stain with your staining cloth. 1-2 coats. It should be dry within minutes.
Spray with LIGHT sprays of Polycrylic. The spray is INCREDIBLY spitty. You must also do VERY light coats to avoid drips. I just set them up and would walk by every now and then to do another light coat of Polycrylic.
INSTRUCTIONS FOR THE CANE WEBBING:
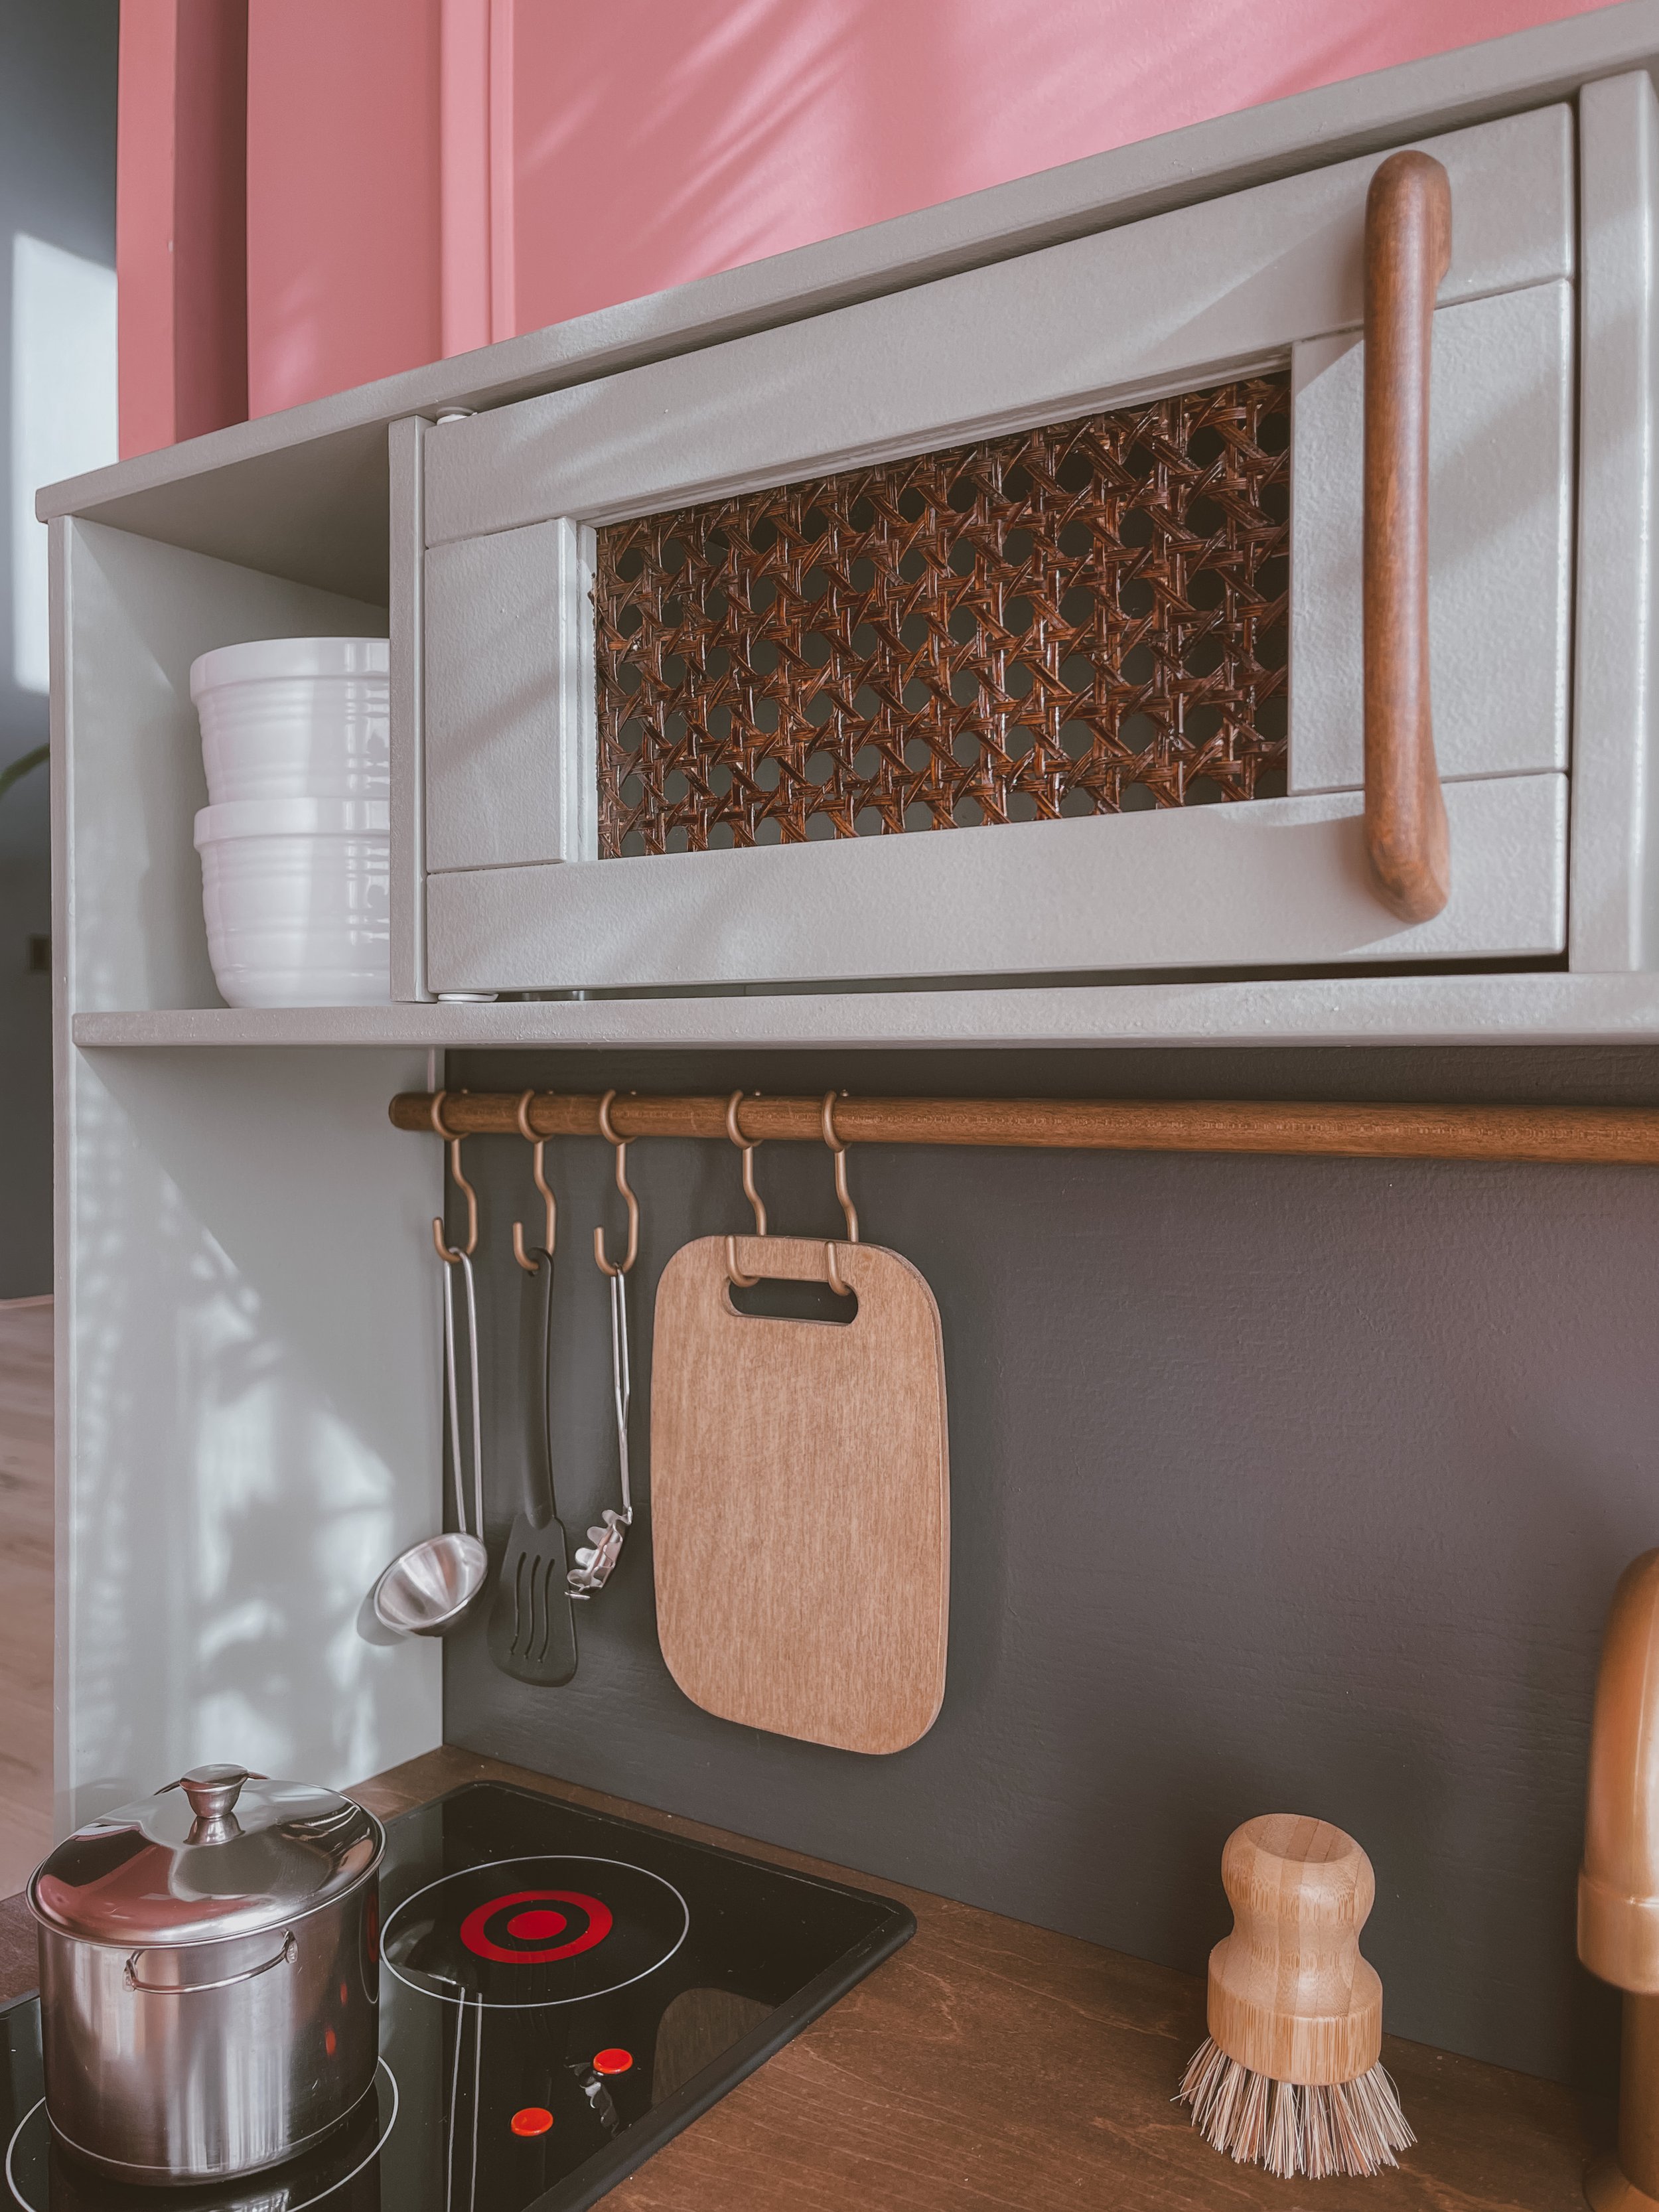
Stain the cane with the staining cloth and liquid stain. Let dry.
Soak in luke-warm water for at least 30 minutes.
Apply with staple gun and 1/4” staples.
INSTRUCTIONS FOR STOVE:
Use painters tape to tape off the top area that you don’t want touched, leaving the grey edge exposed.
Spray grey edge with black spray paint. Let dry.
Spray with Polycrylic.
Remove painters tape.
INSTRUCTIONS FOR THE HOOKS, PLASTIC LEGS, AND FAUCET:
I’m not sure if I should have used the BIN primer first, but I didn’t. I just sprayed them with two coats of the Champagne Gold Spray Paint.
I did several LIGHT coats of the Spray Polycrylic letting it dry in-between coats.
INSTRUCTIONS FOR THE BACKSPLASH:
Cut a piece of thin wood or foam board into 26 5/8” x 12 3/8”
I used a thin piece of wood I found in the clearance section at Home Depot and painted it with some leftover Iron Ore Matte paint and sealed it with the Polycrylic.
Nail the backsplash onto the kitchen with 3/4” brad nails.
INSTRUCTIONS FOR THE SINK ( a disaster!) :
Well, this is where I made my one and only big mistake. I sprayed the sink with black appliance epoxy spray paint and as I was walking outside to see it in the daylight after it dried and I BARELY scratched it on the door. No big deal since I planned to undermount the sink. I proceeded to sprayed it with Polycrylic and THIS was the first time I was using the spray and realizing how spitty it was. First, you need SUPER light coats. Well, I didn’t know that yet, so I sprayed it on like spray paint and it started to puddle inside of the sink. This is also when I realized the spray was SO spitty. I ended up trying to sand the paint off and I gouged the HECK out of the sink. I tried so hard to save it. The gouges I made while trying to remove that spray paint and polycrylic are obviously still there but oh well!
MY SOLUTION: Well, turns out you can’t buy a replacement sink so someone on reddit recommend using an 8 inch pan so that’s what I did but didn’t love how it looked. Remember, there is always a solution and DIYs don’t always go as planned. I ended up painting the original sink one more time with the black Appliance Epoxy spray paint.
If under-mounting, attach the original sink with Gorilla construction adhesive. You don’t need much!
Once you have prepped all of the above it’s time to assemble it!!
Drill holes for your “stove knobs”. We covered the area with painters tape to mark where we wanted the knobs to go. Drilled using 5/32” drill bit. Use screws that came with the knobs.
Attach the cane webbing with a staple gun and 1/4” long staples to the back of the microwave and stove pieces. I added some left over thin wood that I bought for the backsplash to cover the back of the cane in hopes of stopping my toddler from poking right through the holes. You could also use a sheet of acrylic.
Follow the Ikea directions to assemble the kitchen.
To under-mount the sink you can glue it or screw it in. We glued it using Gorilla Glue Construction Adhesive.
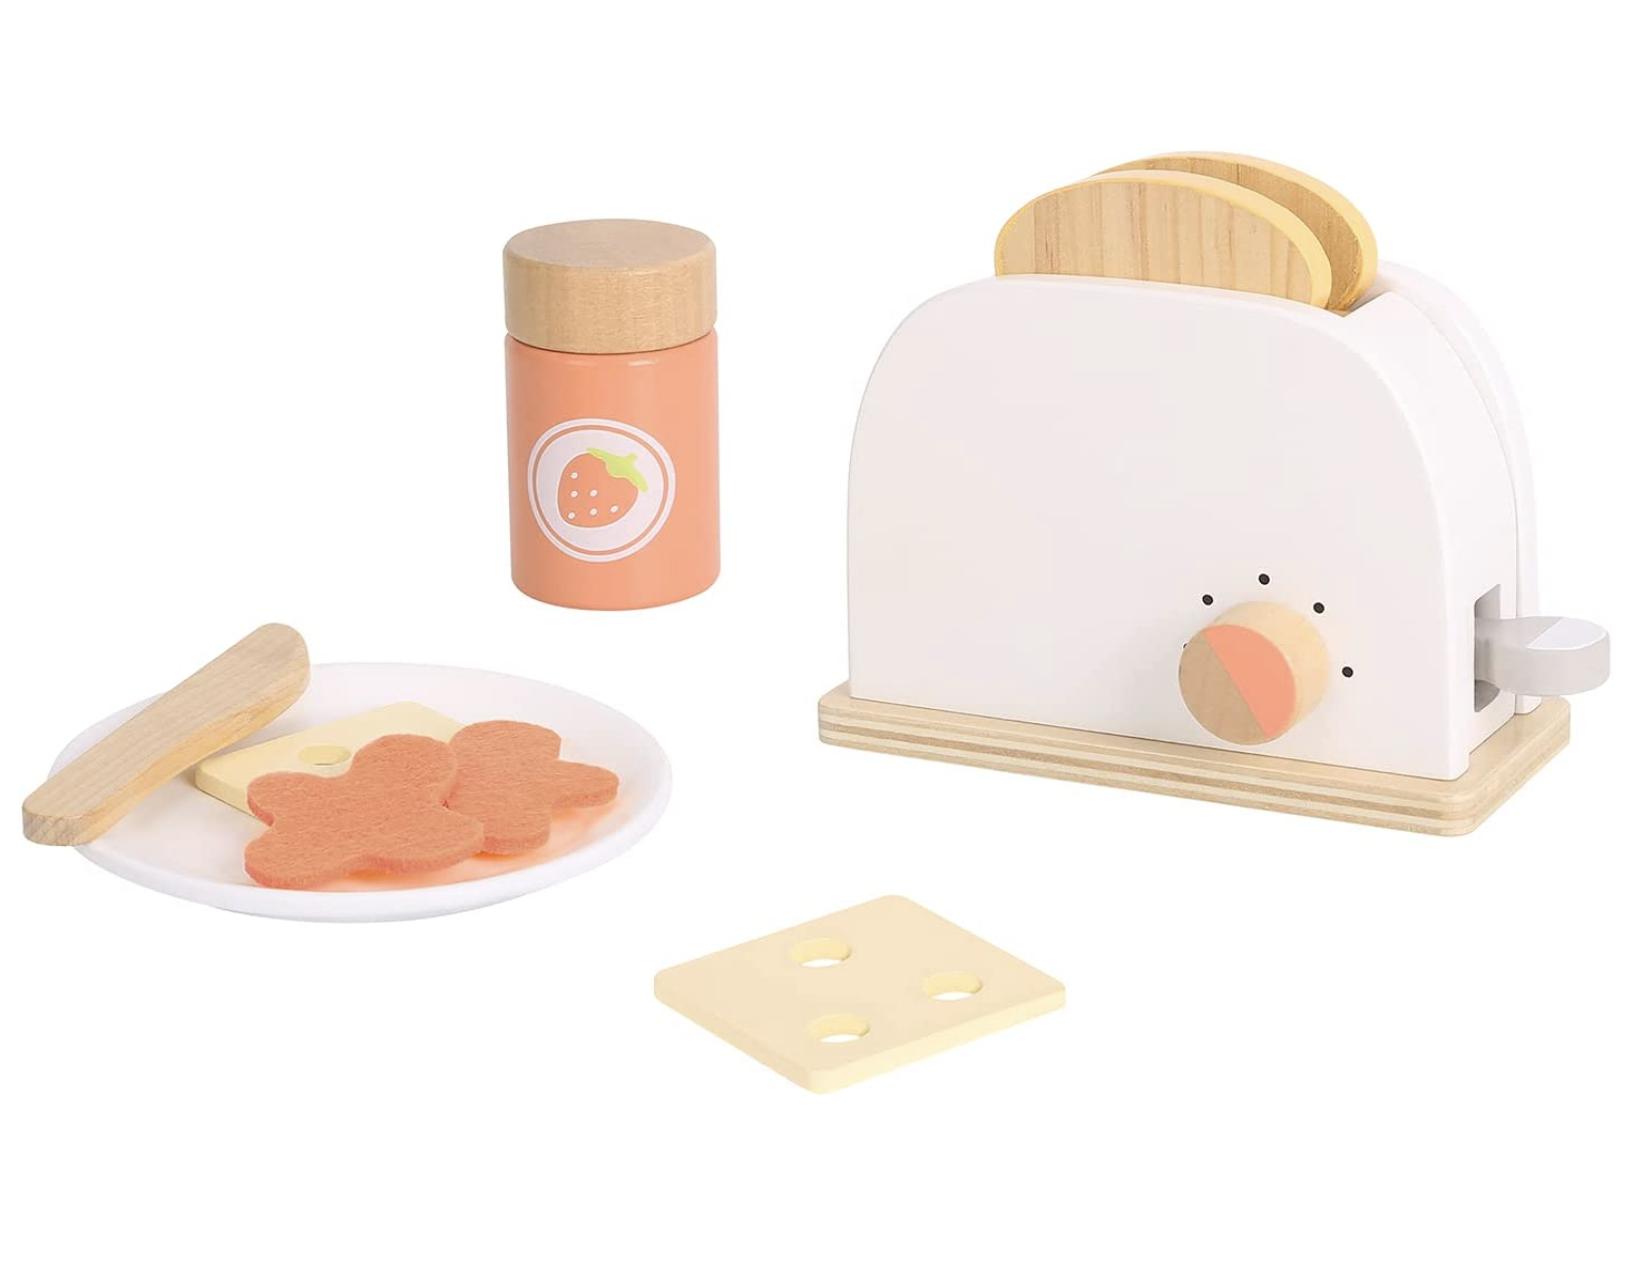
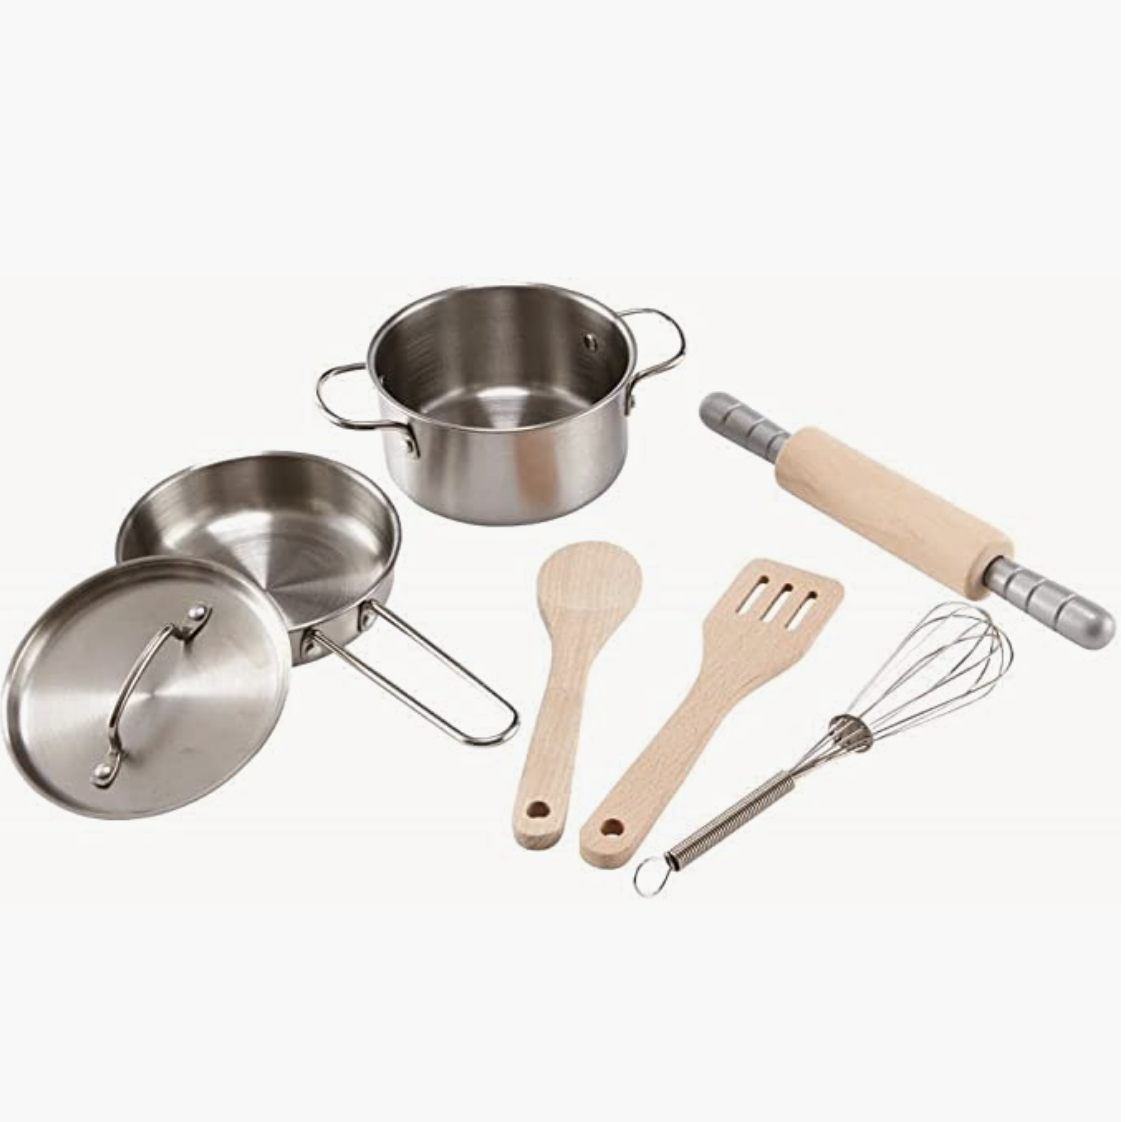
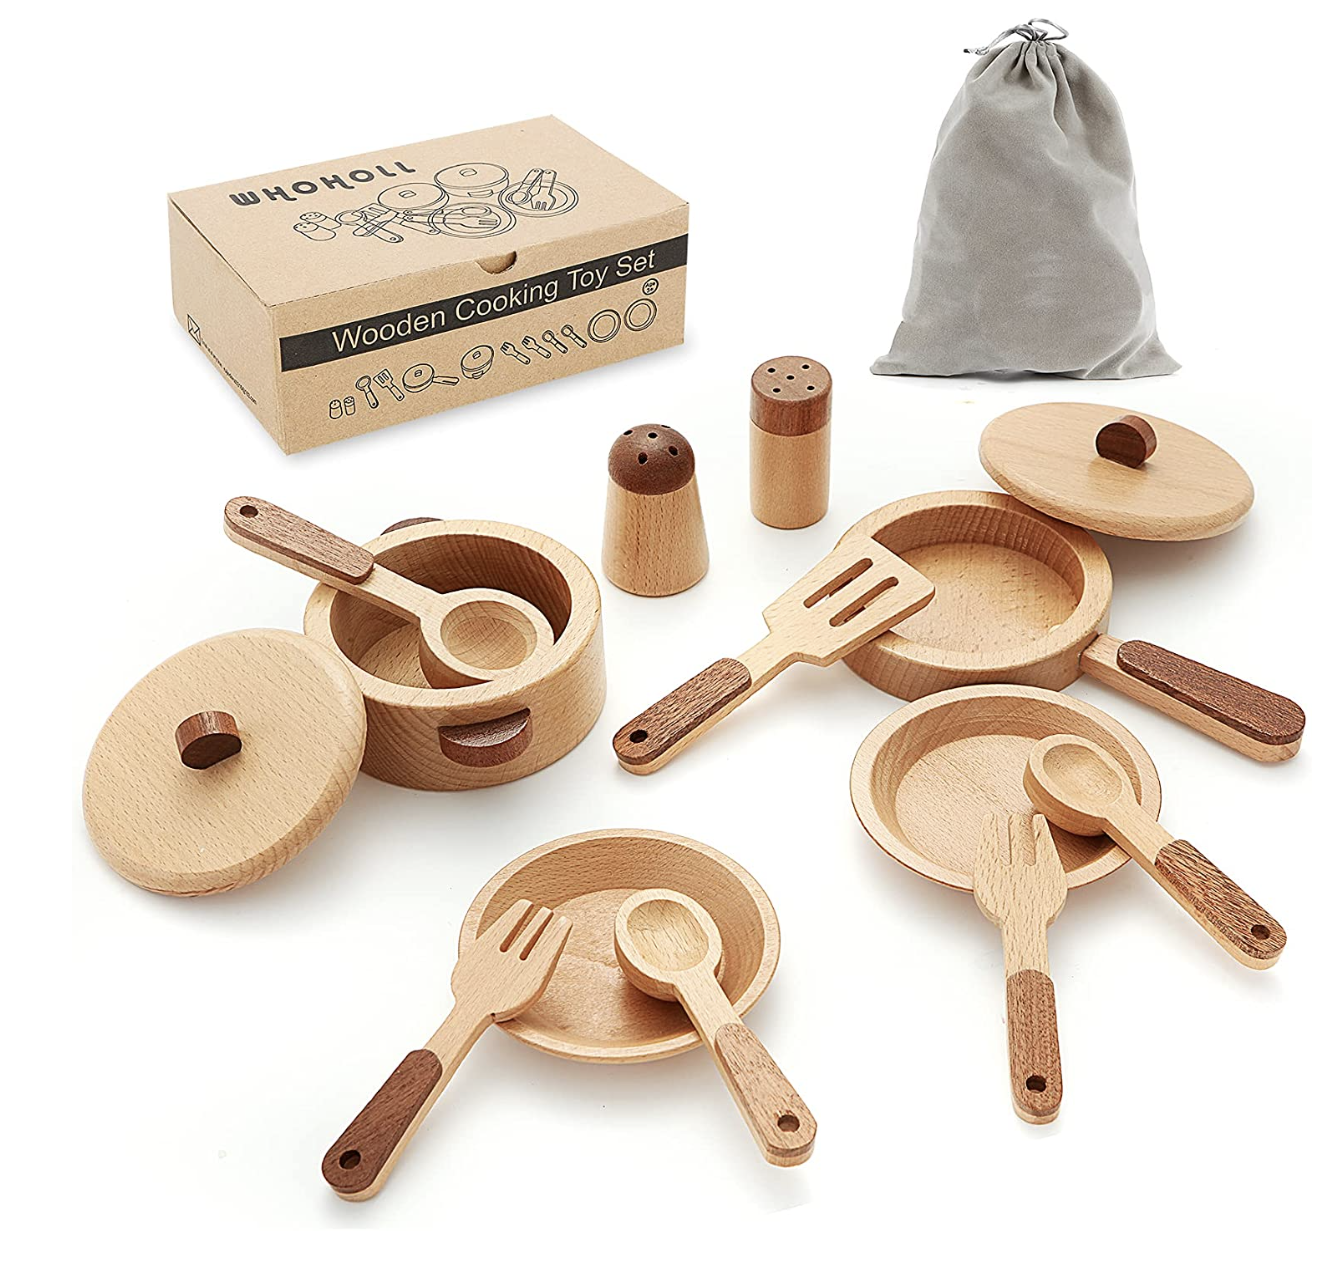
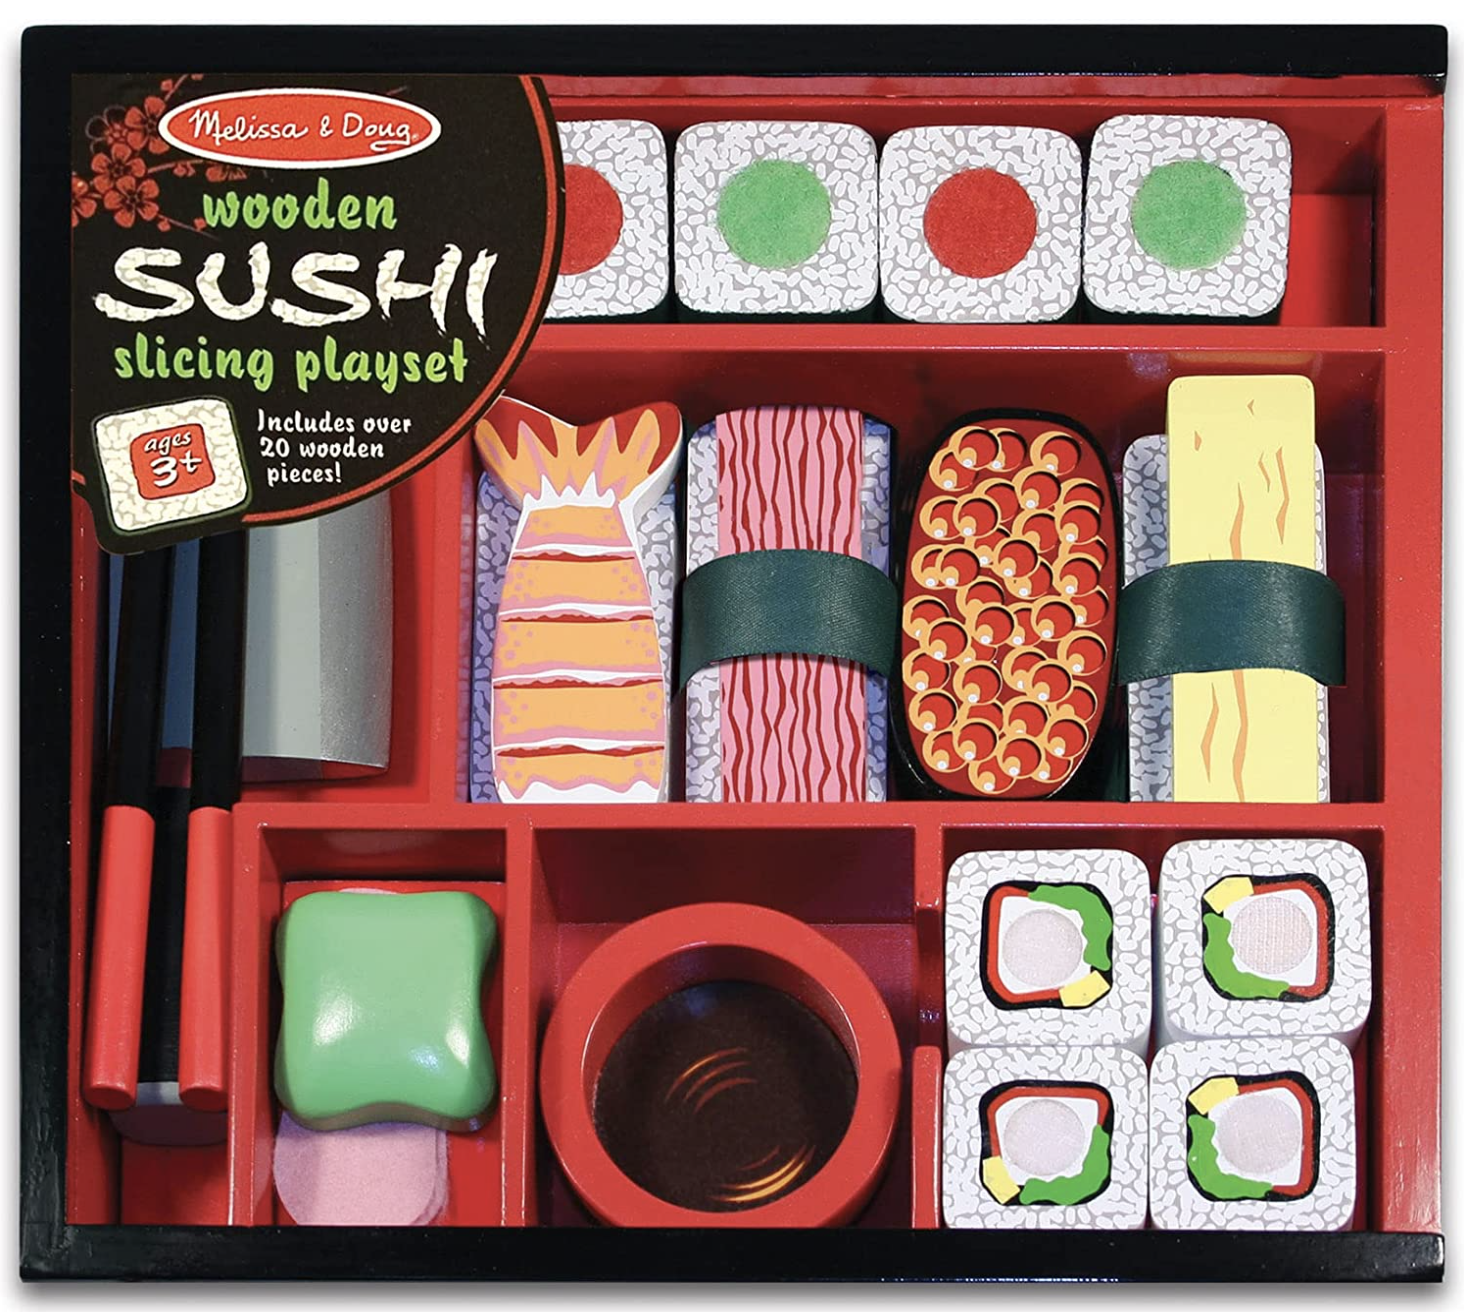
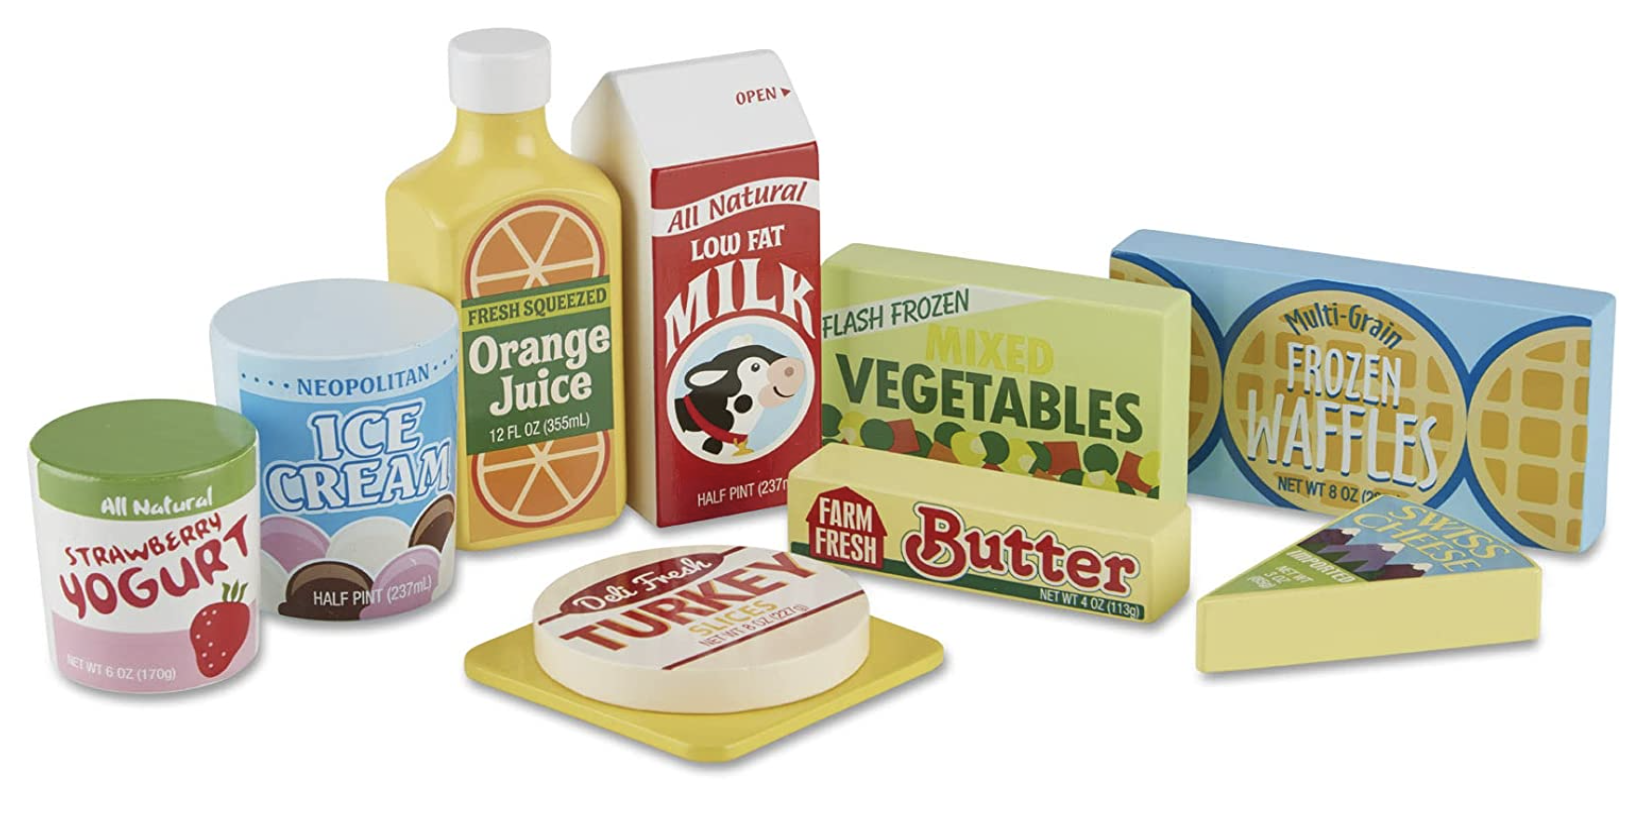
Now you can accessorize with adorable kitchen items!
