Sunroom Makeover
Welcome to my sunroom makeover! This space has always been a little paradise for my plant babies, but I figured it was time for me to enjoy it just as much as they do. Plus, I was over the plain white walls and ready to bring in some personality!
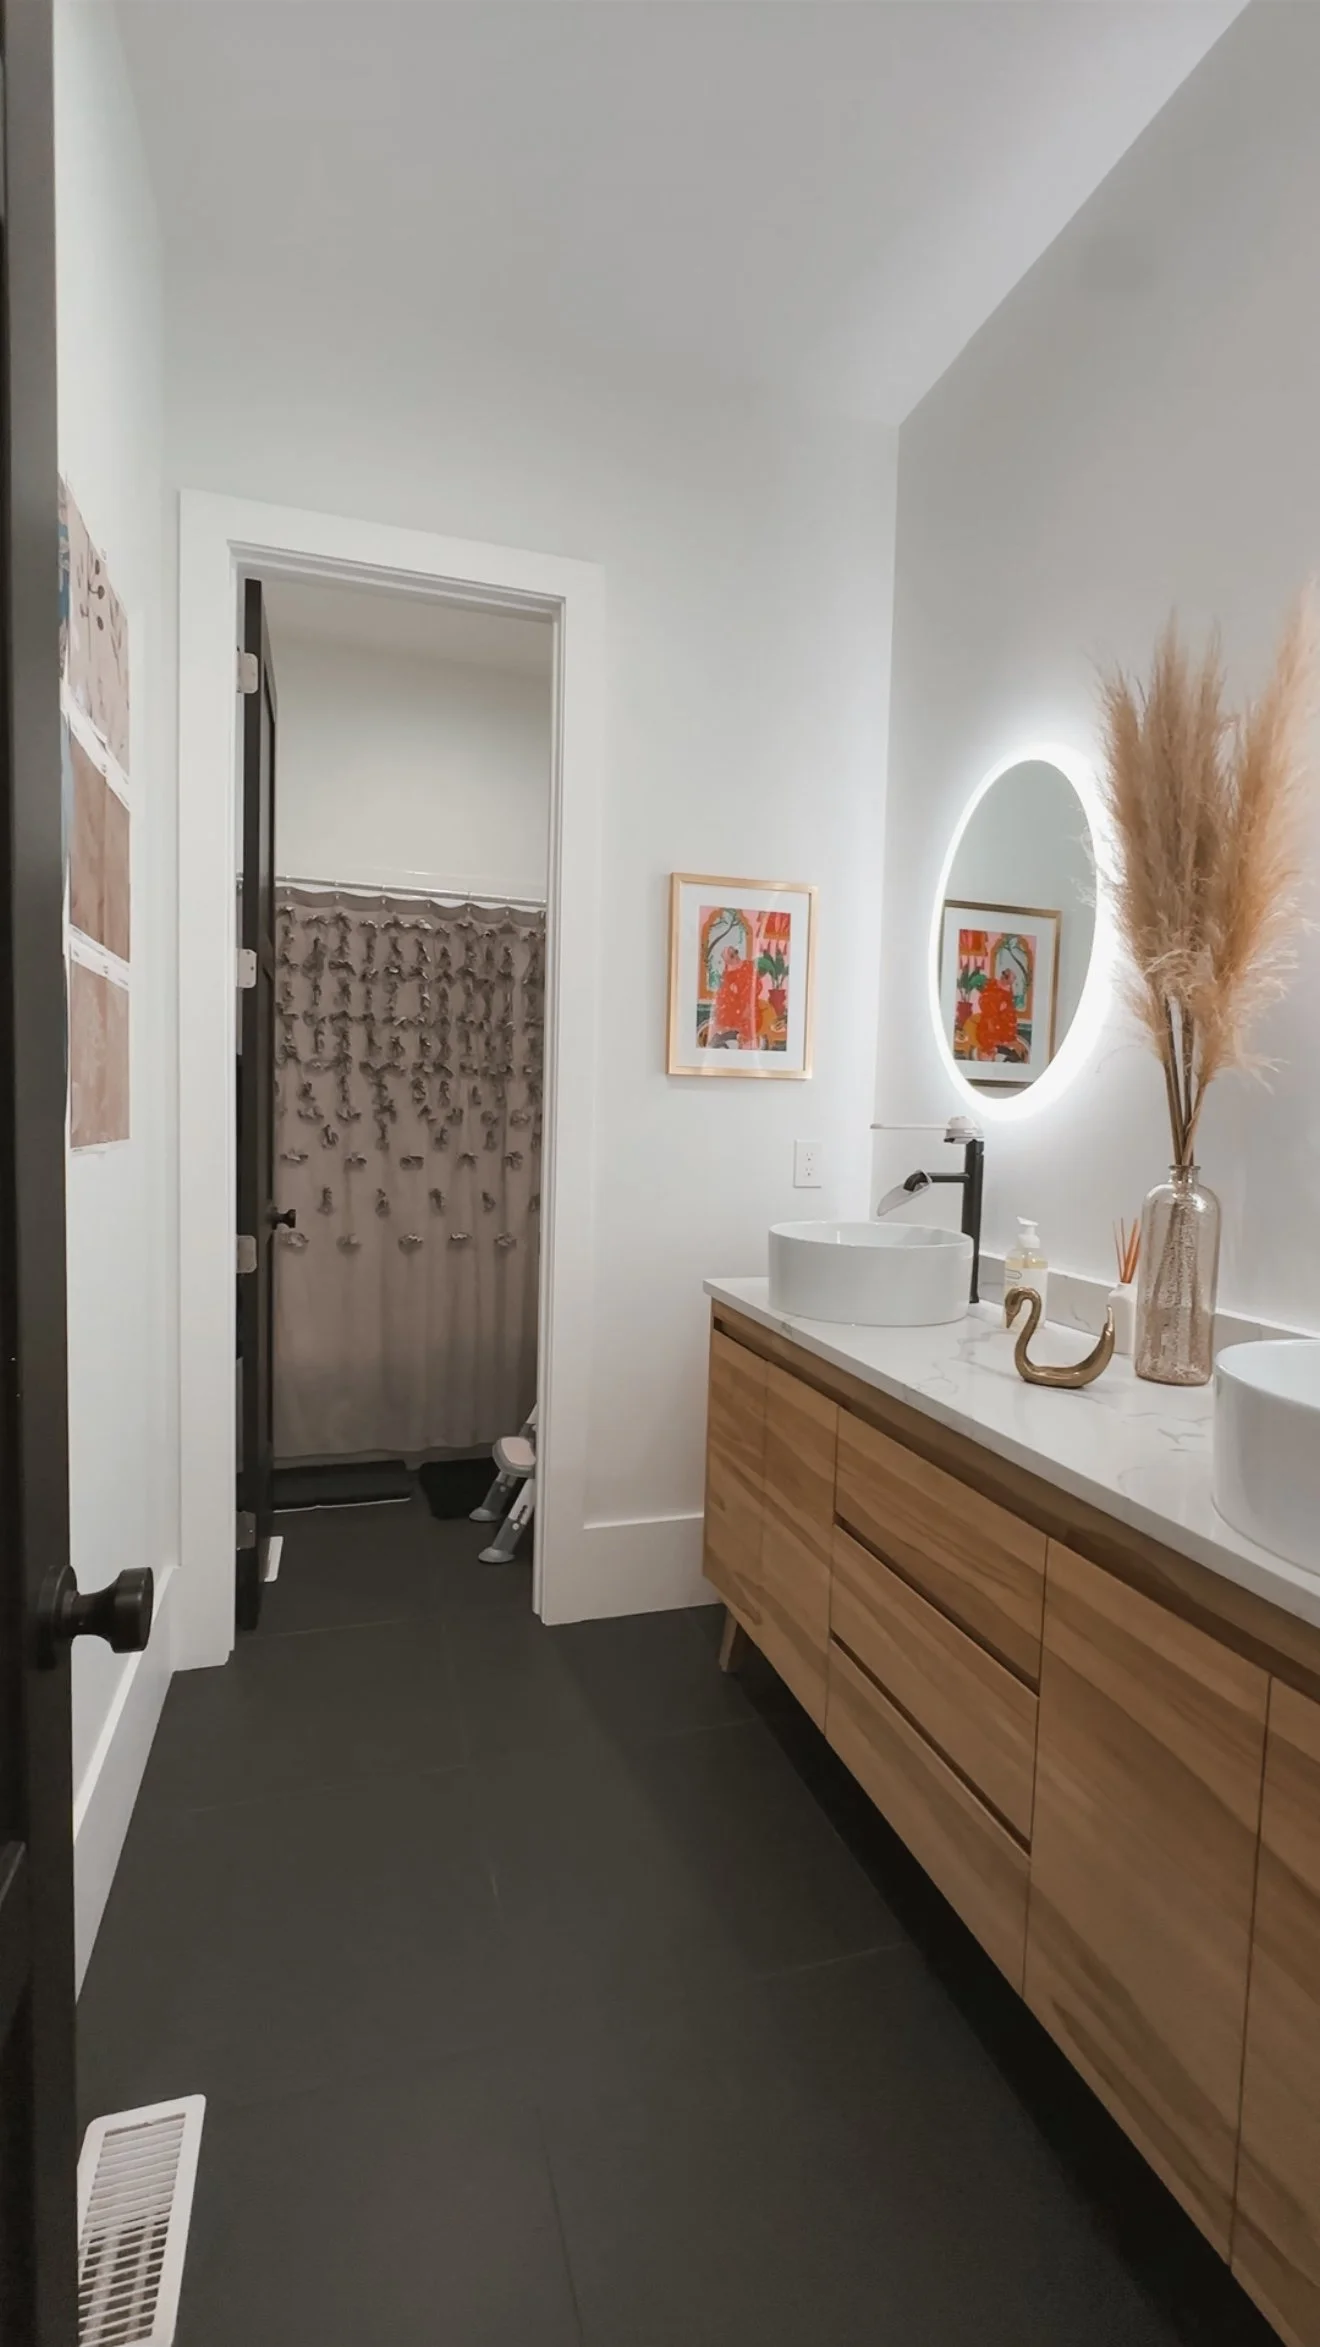
The Before:

The DIY Begins!
First things first—I cleared out the entire room, carefully relocating all my plants to make space for the transformation. I started by adding base cap to the top of my baseboards—something I do for all my makeovers because it makes such a difference! Then, I covered the floors with paper and painter’s tape to protect them from what was coming next—PAINT!
Crown Moulding & Painting
This was only my second time installing crown molding, but with a miter saw, adhesive, and a brad nailer, I got it up pretty quickly! (If you want a step-by-step guide, check out this blog post.) Then, I put my brand-new paint sprayer to the test, and with all the intricate details in this molding, it made the job SO much easier. Since this sprayer isn’t ideal for painting entire rooms—unless you want to refill it a thousand times—I rolled the rest of the walls and ceiling in Maison Blanche by HGTV Home by Sherwin Williams, the dreamiest creamy beige that I’m completely obsessed with!
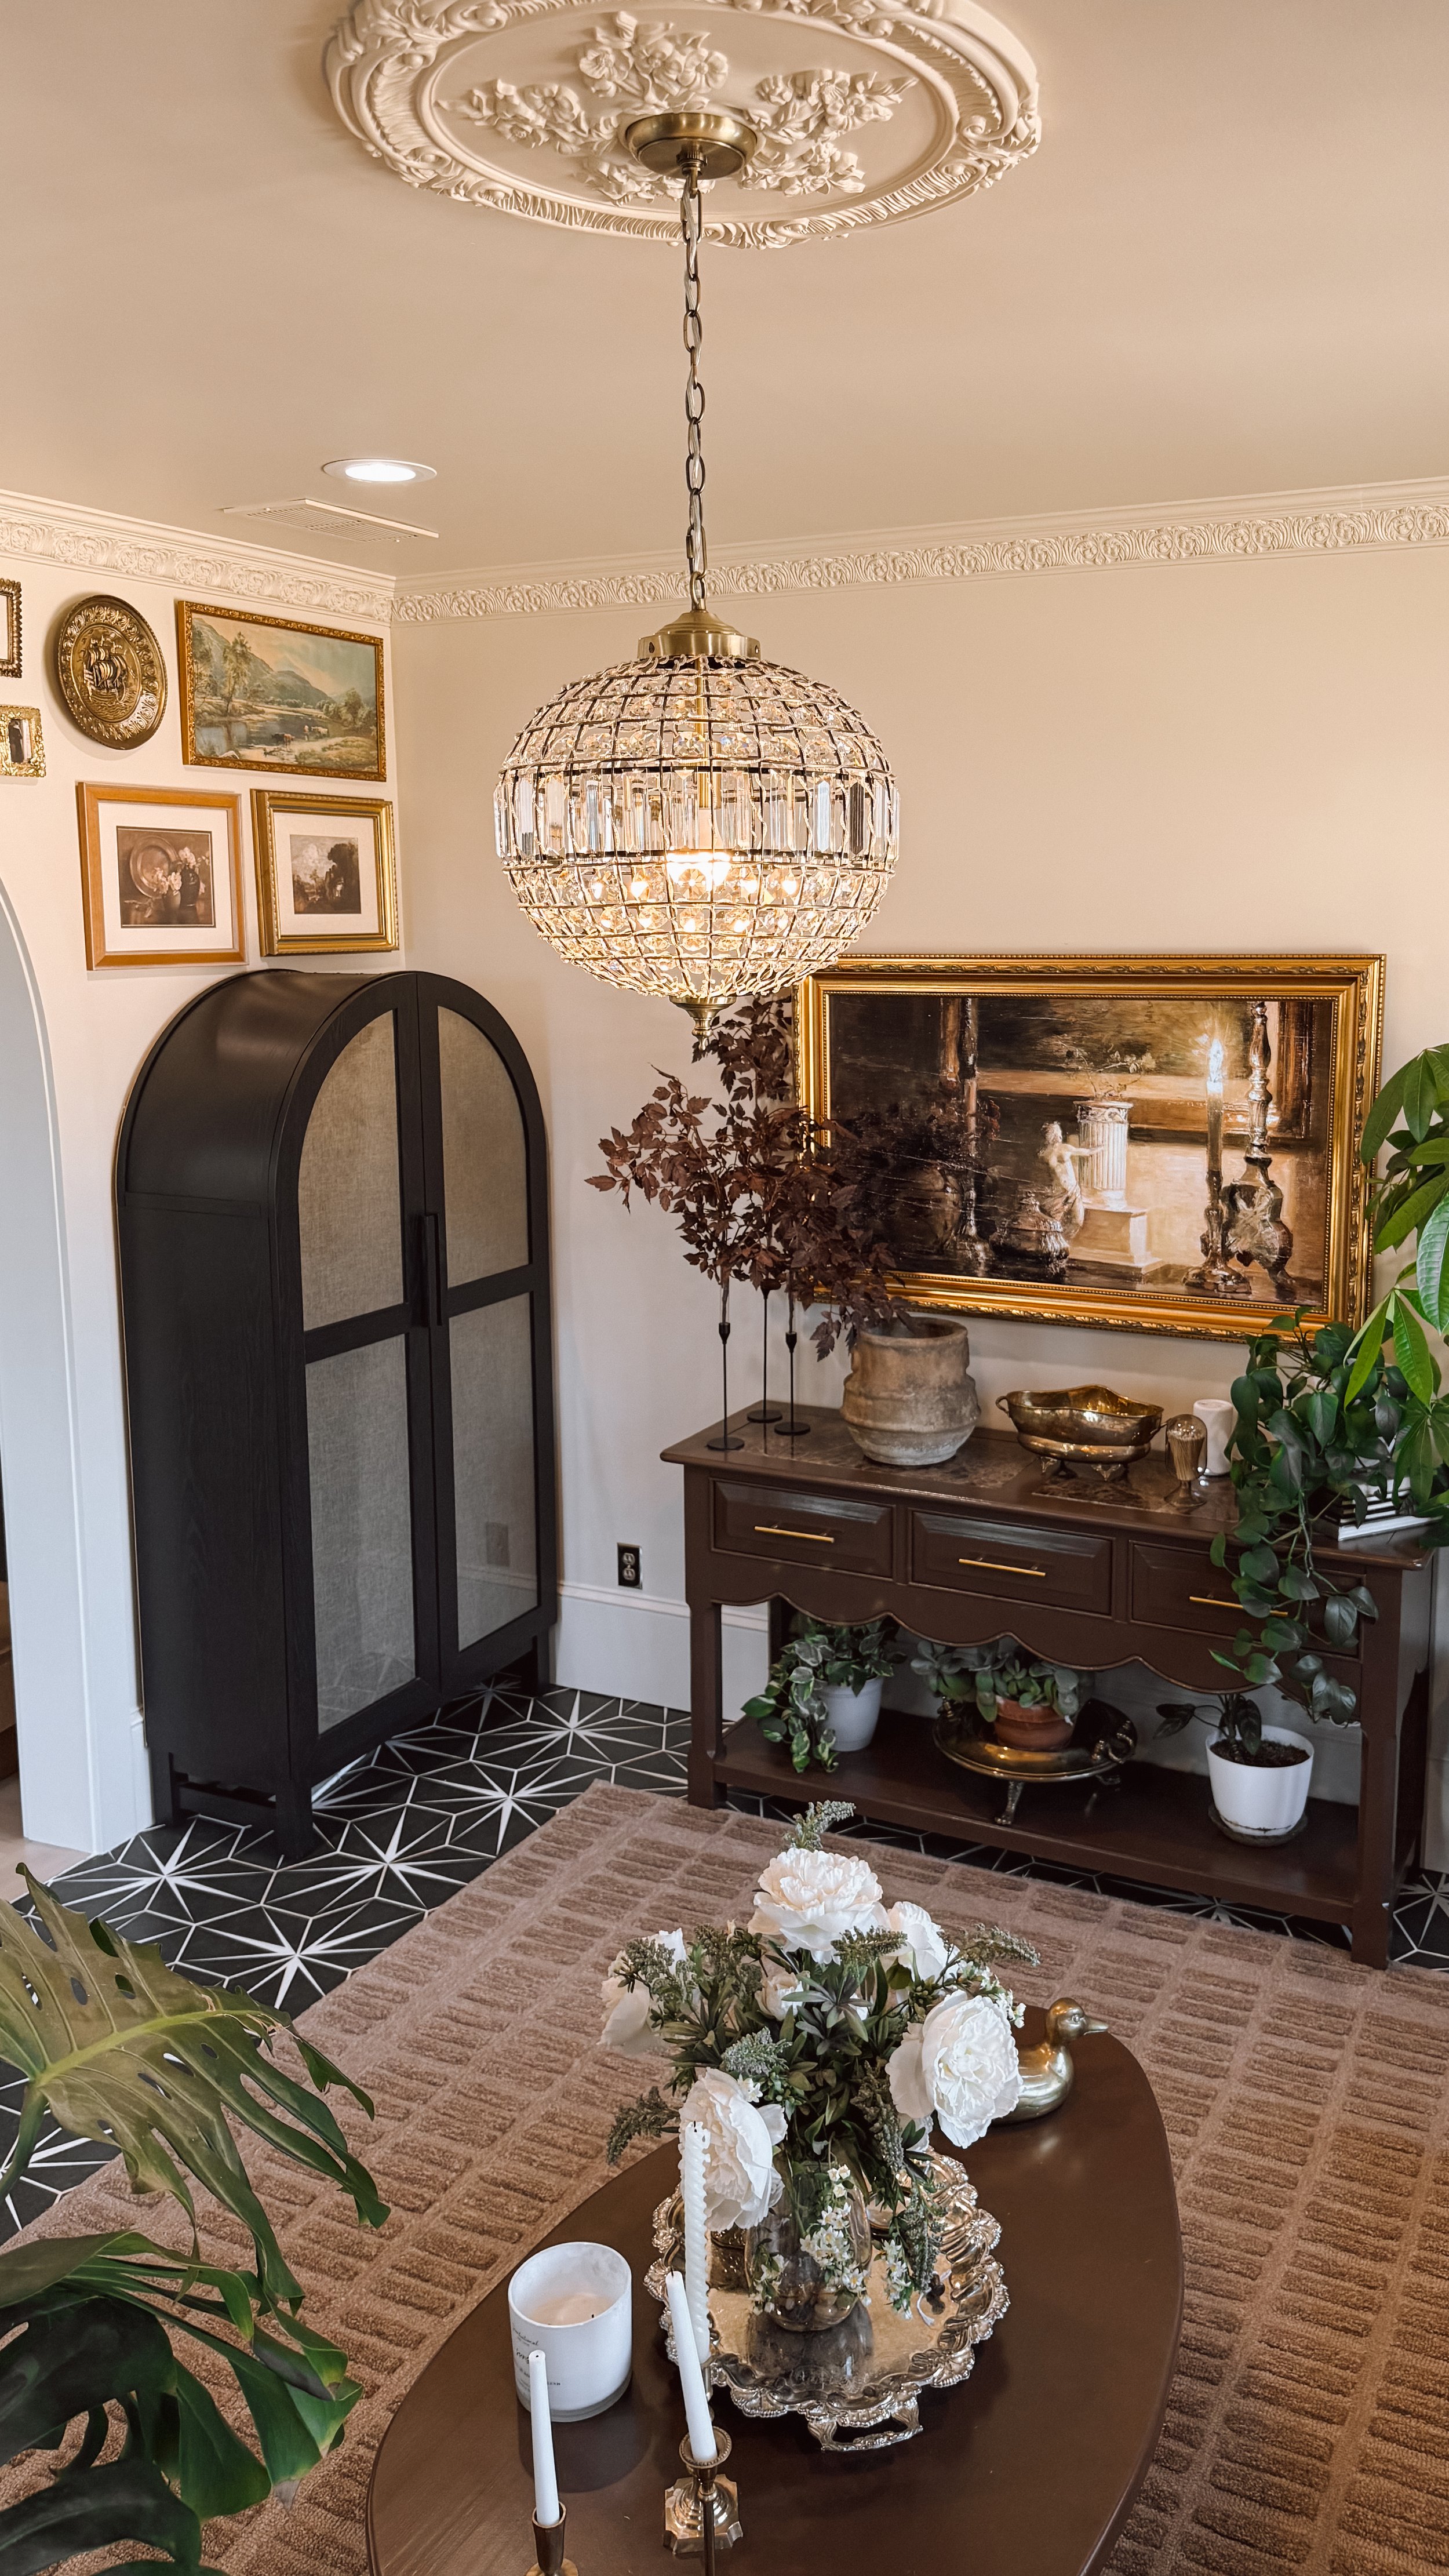
Ceiling Medallion & Chandelier
Next up was painting and hanging the gorgeous ceiling medallion! I used the paint sprayer again to get into all the intricate details, and it paired perfectly with a beautiful chandelier I found on Amazon. It instantly took the space to the next level! I also painted the arch leading into the dining room to create a smoother, more seamless color transition.


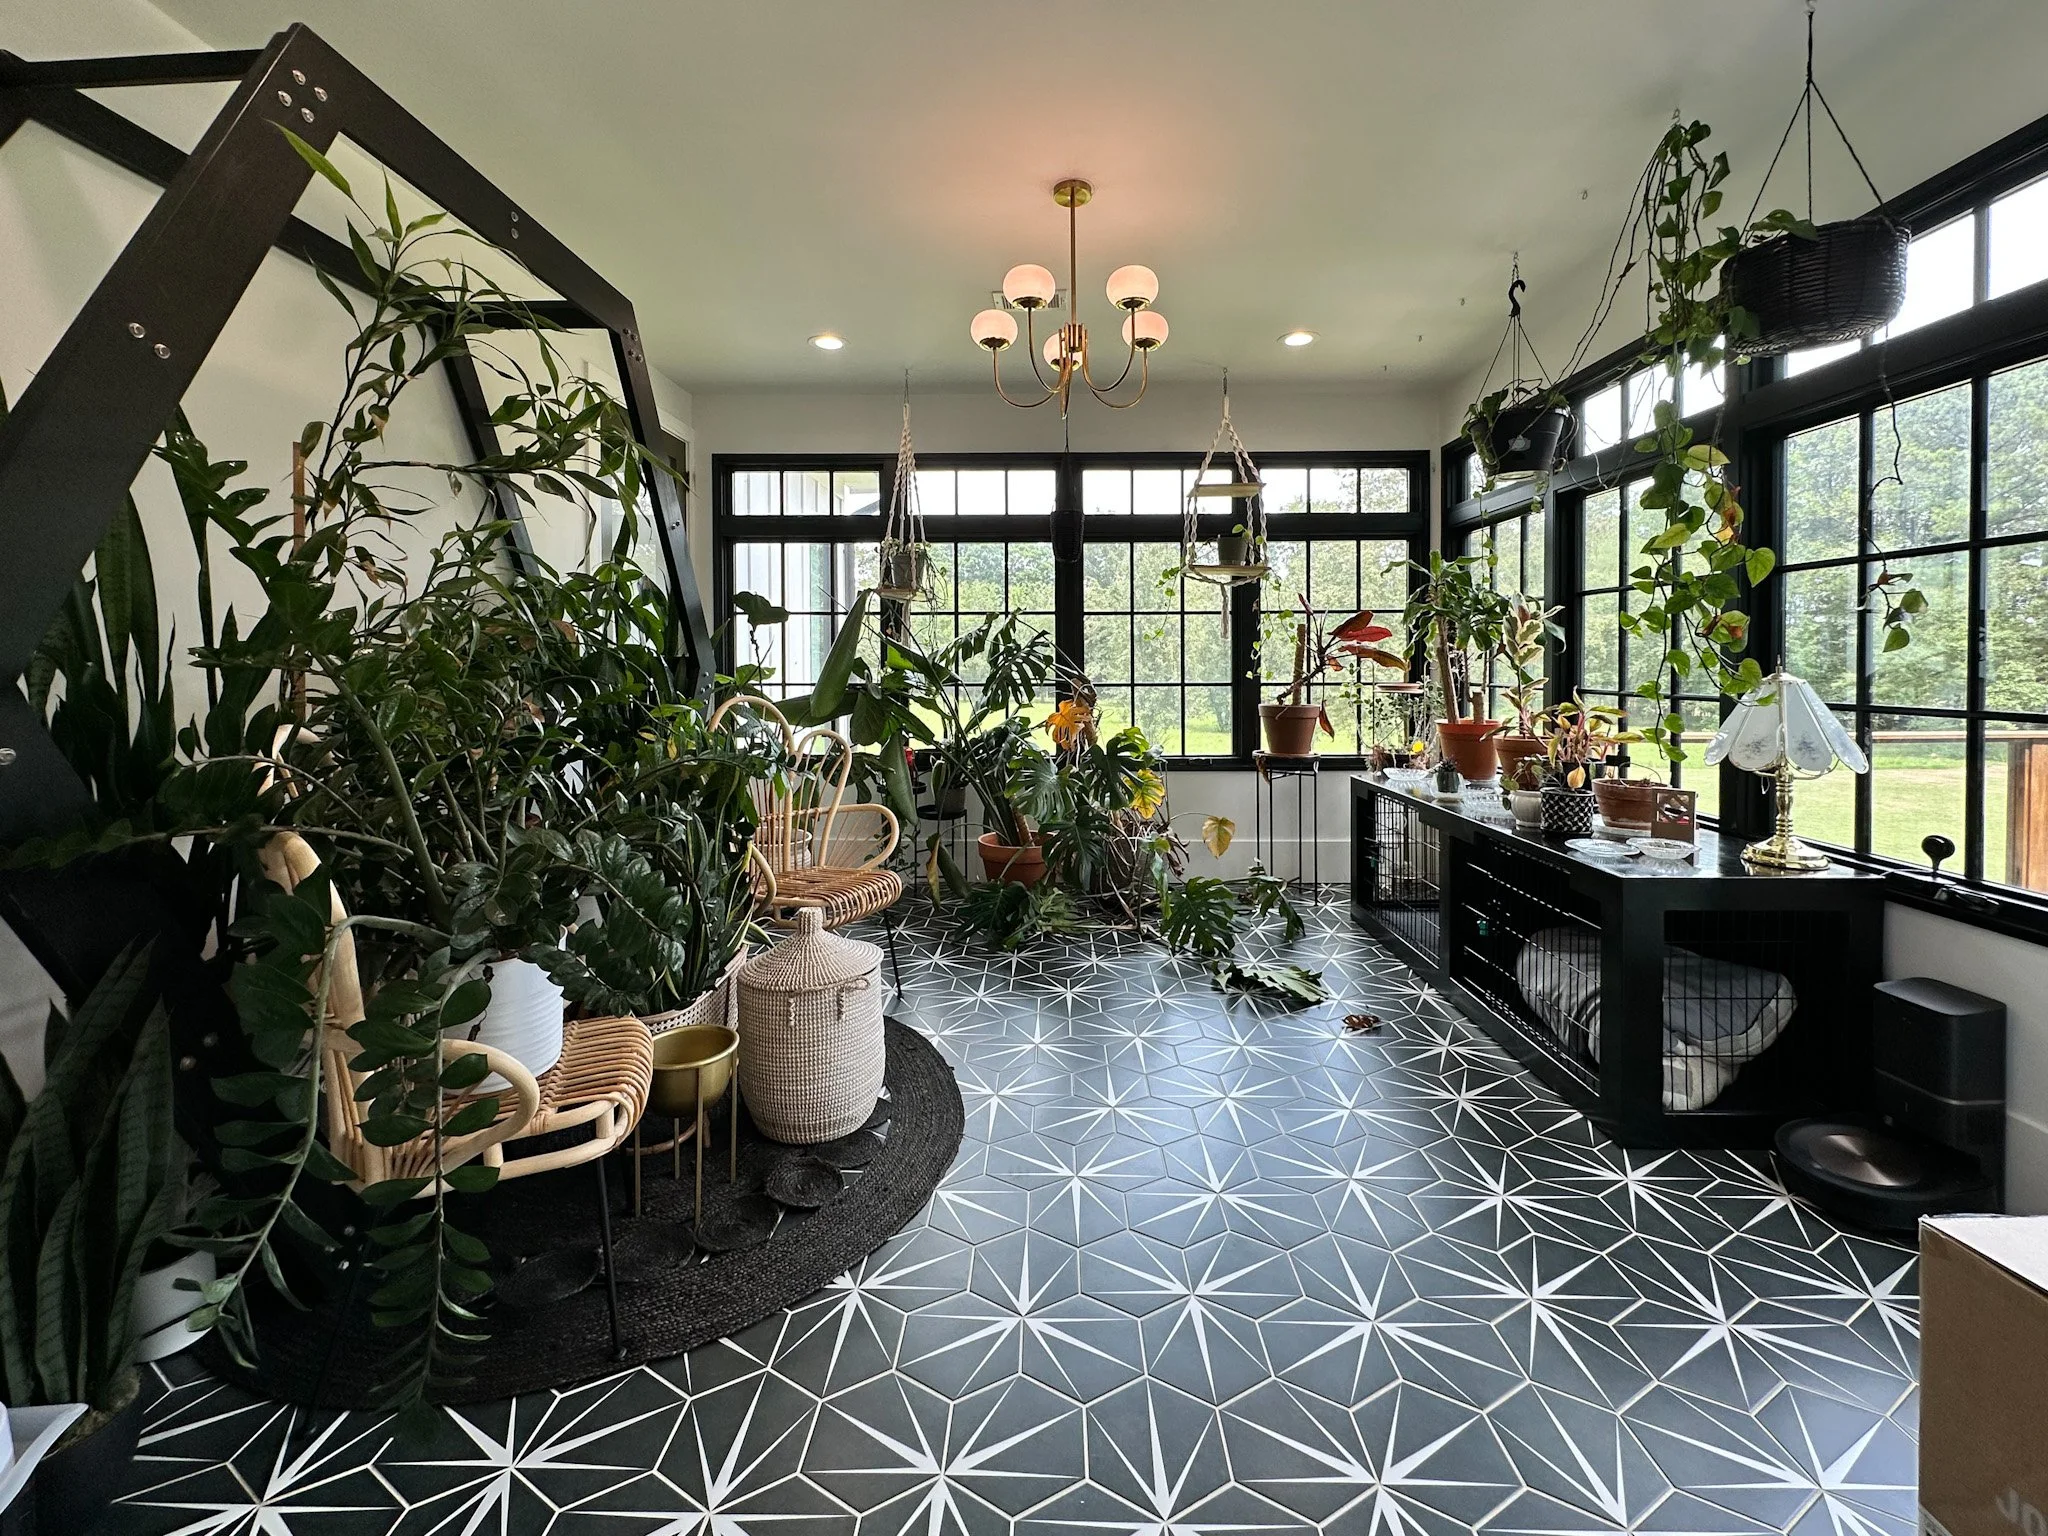
Time to Decorate!
Once the painting was done, it was time for my favorite part—decorating!
First, I rolled out this stunning brown rug that I am still completely in love with.
Then, I created a gallery wall on the arched wall—if you want to see my step-by-step method, check out this blog post!
I even built my first-ever piece of furniture—a DIY coffee table! (Check out this blog post to see how I did it!)
I found the perfect arched cabinet but decided to add fabric to the inside of the doors to hide the clutter—see the transformation here!
I painted both my DIY coffee table and a beautiful scalloped console table (a Facebook Marketplace find! Check out that blog post here!) using Cabinet and Furniture Paint in Otter by HGTV Home by Sherwin Williams. The deep brown looked stunning against the creamy walls!
To finish it off, I swapped out the knobs on the console table’s drawers for a little extra charm.
I also added brown pinch pleated blackout curtains on gold rods with gold eyelets, which added such a luxurious and cozy touch to the space. The warm tones complemented the creamy walls perfectly and tied everything together beautifully!


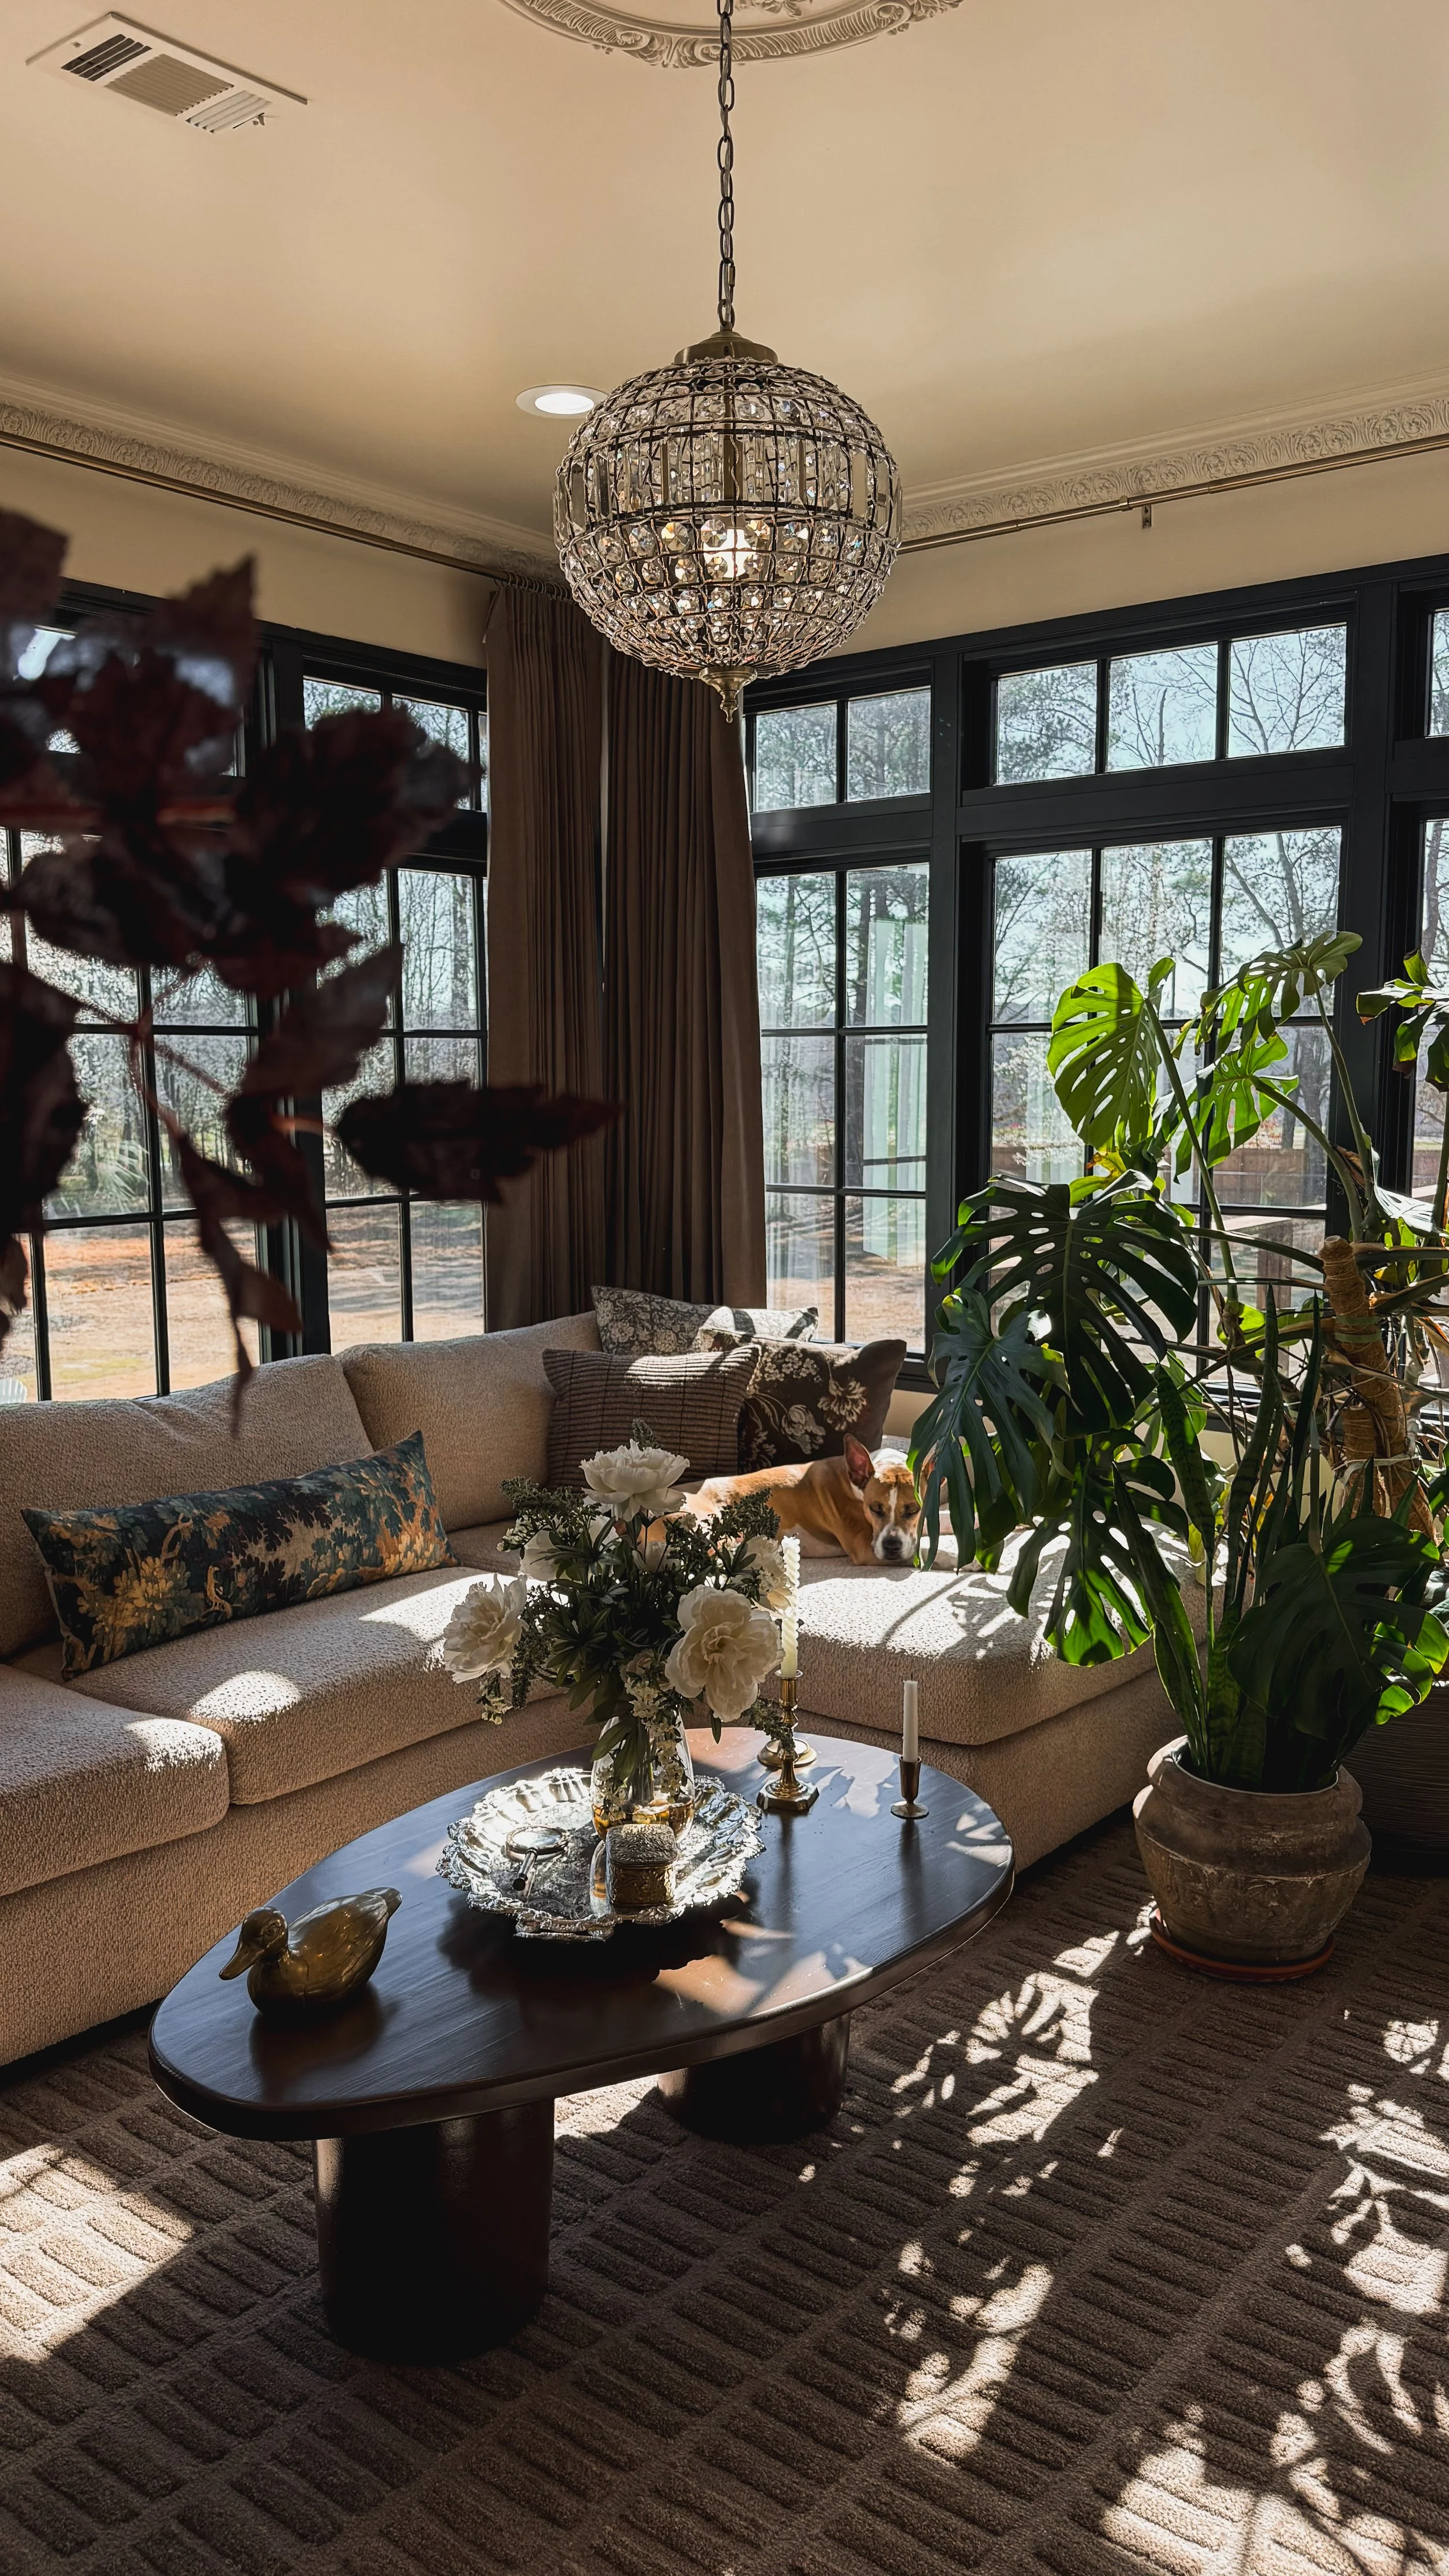
The Finishing Touches
One of my best finds was the bouclé couch in the color Alabaster with washable cushions—SO comfy and practical! After adding the final decor touches and bringing back some of my plants (while redistributing the rest throughout my home), I thought the room was finished... but of course, I wasn’t quite done yet!


The Final Addition: A Frame TV
Since this sunroom quickly became our go-to lounging space, adding a TV just made sense. We installed our second Frame TV, and instead of DIY-ing a frame, this time I simply bought one. To keep things sleek, my husband cut a hole in the drywall and installed a recessed box, running the power through the wall to keep the cords completely hidden. Now, the TV sits flush against the wall and looks just like a piece of art!
And that’s a wrap! My sunroom is now the coziest spot we hang out in all the time—without sacrificing my plants’ happiness. Hope you loved following along with this makeover! Let me know what you think in the comments!


Links at a glance
Cabinet and Furniture Paint: Otter by HGTV Home by Sherwin Williams
Console Table: Facebook Marketplace
IF YOU ENJOYED THIS POST, YOU MIGHT BE INTERESTED IN MY DIY: Cabinet cover-up POST.
FOLLOW ME ON MY SOCIALS!

How To: Crown Moulding
DIY Crown Moulding: Upgrade Your Space Like a Pro!
Looking to add a touch of elegance to your home? Installing your own crown moulding is a game-changer, and guess what? You can totally do it yourself! Let me walk you through the process so you can transform your space with confidence.
Step 1: Finding the Right Crown Moulding
I found this amazing brand called Orac Decor on Amazon a few years ago when we gave our bedroom a makeover (linked here). Back then, I hired someone for the job, but now I’ve installed this crown in my blue guest bathroom and my sunroom.
This crown moulding is made from high-density polyurethane foam, which means it's super lightweight and easy(ish) to work with.
Step 2: Plan Before You Buy
Order samples to see which design suits your space best. Hold them up against your ceiling to visualize the final look.
Measure your space carefully.
Add 15% extra to your measurement to account for mistakes and waste.
Once you’ve chosen your design and confirmed your measurements, place your order and get ready for install.


Step 3: Tools & Materials You’ll Need
Before you start, gather your tools and materials to make installation smoother:
🛠 Tools and Materials
Crown Moulding Pieces (I used Orac Decor Crown Moulding)
Adhesive (I used Orac Decor Adhesive by Outwater: Pro and Extra)
Baby Wipes


Step 4: Installation Time!
This video is my go-to because the creator explains measuring and installation SO well. Installing crown is a little complicated and writing it all out would be very wordy, so for a very detailed explanation, I HIGHLY recommending watching the video from Home RenoVision DIY. Note: I use a different adhesive than he does.
✅ Mark the studs using a stud finder. I use brad nails to hold the crown up while the adhesive dries so I pencil on the wall where my studs are so I know where to put in my brad nails.
✅ Measure twice, cut once. Seriously, this will save you a ton of frustration. Take your time to double-check your measurements before cutting.
✅ Practice first! Before making final cuts, use scrap pieces to get comfortable with the cutting angles.
✅ Cutting crown moulding is the biggest hurdle.You need to cut it upside down and backwards on the miter saw—this ensures it fits properly at the correct angle. If your crown isn’t too chunky, you can use a jig, but I’ve only been able to use a jig with the smaller crown I used in my sunroom. The crown in my bedroom and blue bathroom was too thick for the jig. Again, I highly recommend this video to learn cutting techniques.
✅ Apply the adhesive to all of the touch points. I recommend using the Orac Decor adhesive by Outwater—it’s designed specifically for polyurethane mouldings and creates a strong bond.
I use “Pro” to adhere the moulding pieces to the wall and “Extra” to connect the corners and edges of the moulding pieces together!
✅ Secure the crown to the wall with brad nails into the studs. These help hold the moulding in place while the adhesive dries.


Step 5: The Finishing Touches
This is where your project really shines! Take your time with these final steps:
Caulk the gaps to give a seamless finish. Run a thin bead of paintable caulk along the edges and smooth it out. I like using cheap baby wipes for this, but you can also use your finger and a damp paper towel.
Fill nail holes with wood filler, let it dry, then sand it smooth.
Paint your crown. Use a high-quality brush or sprayer for an even coat.


Step 6: Step Back & Admire Your Work!
And just like that—bada boom, bada bam—your space looks luxurious! 🎉 Crown moulding instantly elevates any room, giving it a refined, custom feel.
If you’ve been intimidated by crown moulding, I promise it’s doable. Take your time, be patient with the cuts, and enjoy the transformation. You got this—happy DIY-ing!