Facebook Marketplace Reveal

Facebook Marketplace Console Table Makeover
One of my favorite parts of any room makeover is finding those special pieces that tie everything together – and this time, Facebook Marketplace came through in a big way! I stumbled upon the most adorable console table and instantly knew it had to be part of my sunroom refresh. It was listed for $100, but I offered $80 and got it!

FBMP Listing photo

The first thing that caught my eye? The gorgeous scallop details. They added such a charming touch that I just couldn’t resist. Of course, I had to put my own spin on it, so a little DIY magic was in order.
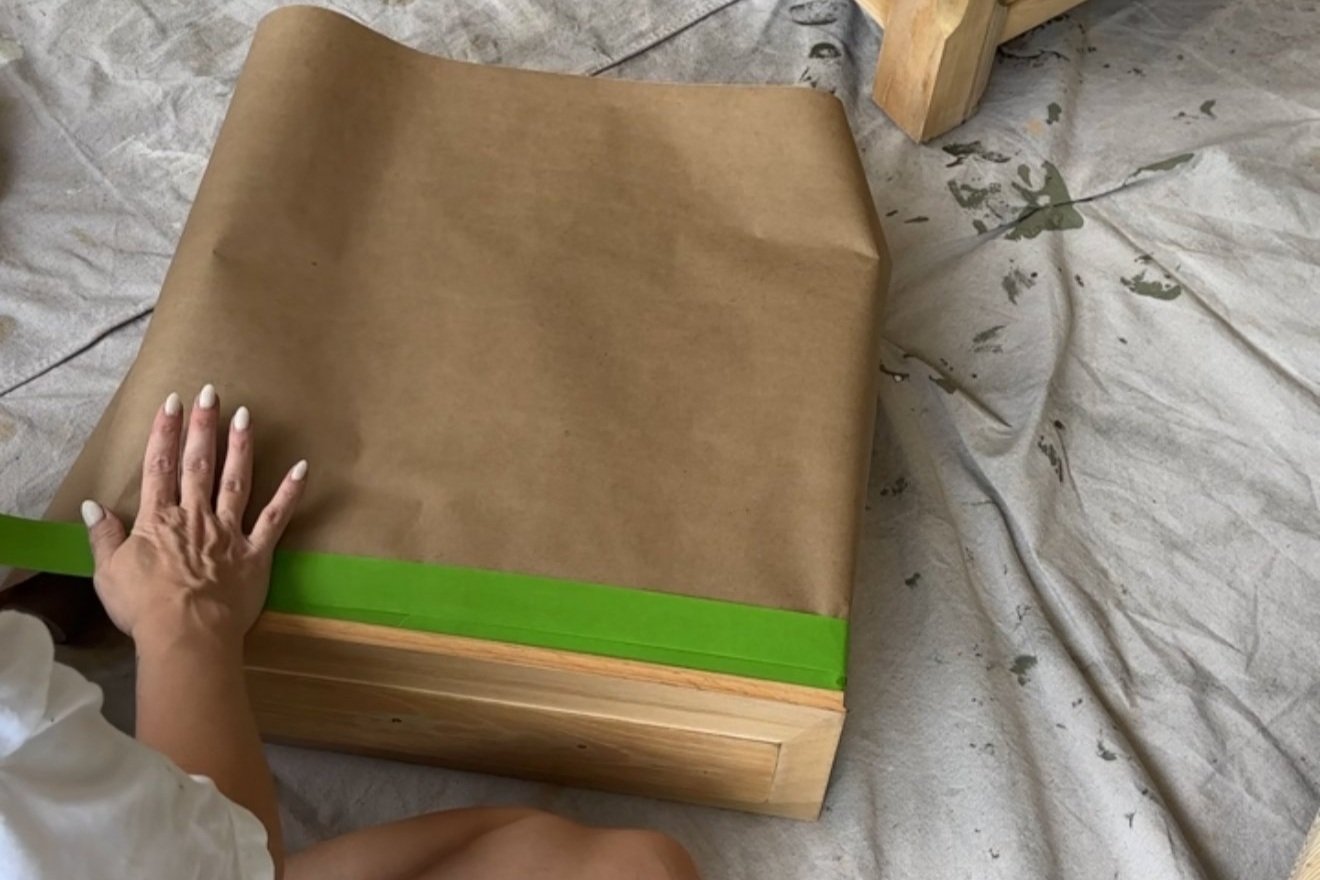
Step 1: Prepping for paint - After giving it a good clean, I removed the drawers, took off the knobs, and taped the inside of the table as well as the boxes of the drawers.
Step 2: Prime and sand – I started by applying one coat of HGTV Home by Sherwin-Williams Cabinet and Furniture Primer with my paint sprayer, ensuring smooth, even coverage. Once dry, I lightly sanded the surface with fine-grit sandpaper for a flawless finish. To remove any residual dust, I wiped everything down with a clean towel.


Step 3: Paint! Using my paint sprayer, I applied HGTV Home by Sherwin-Williams Cabinet and Furniture Paint in the shade "Otter." This paint is available in both satin and semi-gloss sheens, but I chose satin. Between each coat of paint, I lightly sanded with fine-grit sandpaper and wiped everything down to ensure a smooth finish.
Fun fact: I also used this same paint to transform my DIY coffee table, which now sits proudly in the sunroom alongside the console table.


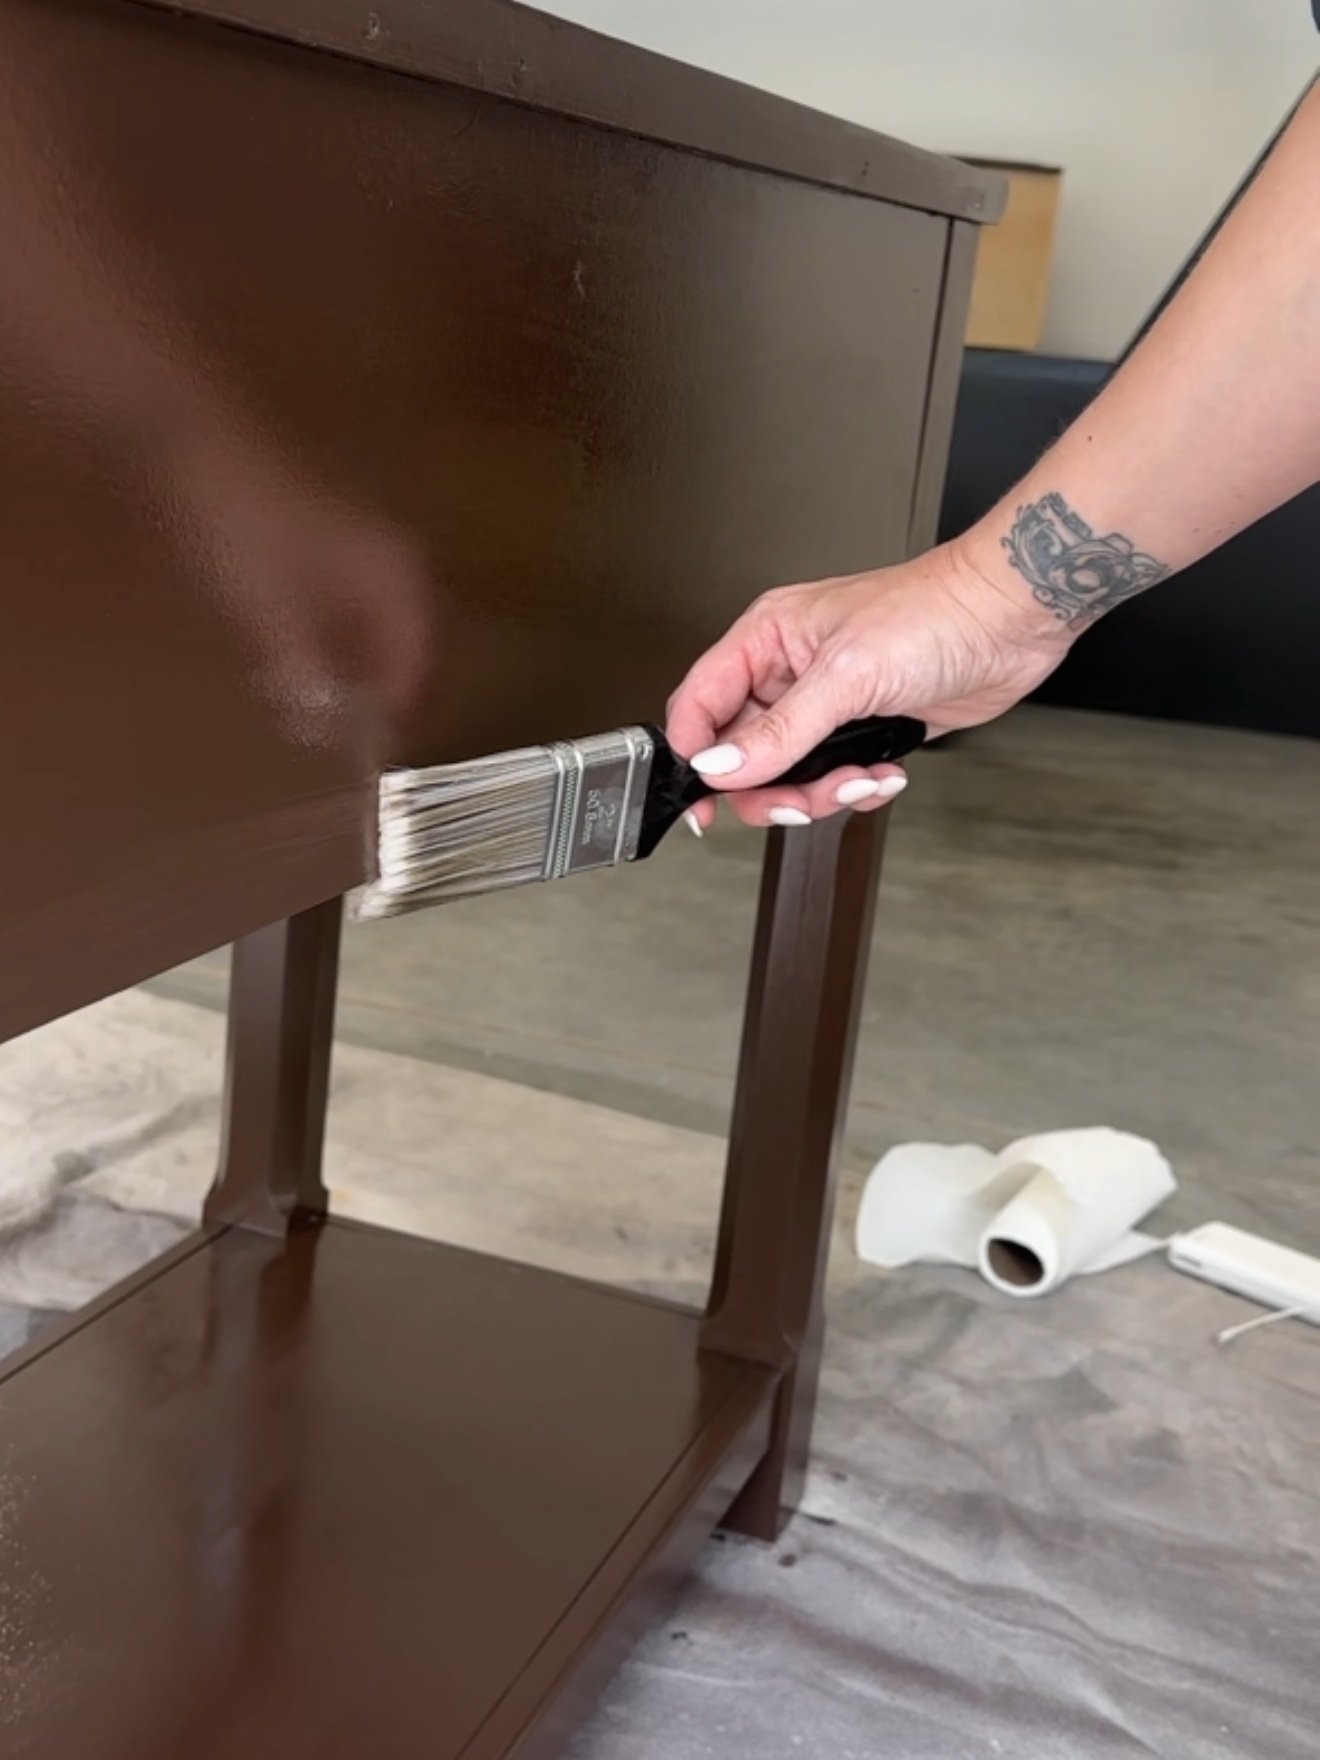
Step 4: Clear Coat (Optional): To add extra durability (because I have a rambunctious toddler), I finished the piece with a coat of Minwax Fast-Drying Polyurethane in Satin. Since it’s oil-based, be sure to use a disposable brush—do not use your paint sprayer! It dries quickly, so work fast, and make sure your space is well-ventilated because the fumes are strong. Honestly, the poly coat ended up a bit glossier than I wanted, so if you prefer a more matte look, you can totally skip this step. The cabinet paint is durable enough on its own!

Step 5: Finishing Touches - Once the piece was completely dry, I swapped out the old knobs for some new ones that better fit my style. This small change made a big impact and really pulled the whole look together. Finally, I slid the drawers back into place, and just like that – my console table was complete!


This project was so simple but made such a big difference in the space. The new color and updated hardware were the perfect addition to my sunroom makeover. I couldn’t be happier with how it turned out.

Want to shop this room? Links here!
What do you think of the transformation? Have you ever scored a hidden gem on Facebook Marketplace? Let me know in the comments – I’d love to hear about your favorite finds and DIY projects!