
DIY Flower Bar
How to Create a DIY Flower Bar for Your Next Event
A flower bar is a fun and interactive way to let guests create their own bouquets to take home as a party favor. It’s a beautiful addition to any event, from birthdays to bridal showers. Here's a step-by-step tutorial, complete with a price breakdown, to help you set up your own flower bar with ease.

Materials Needed for 20 guests
Fresh flowers/greenery in a cohesive color palette (purchased from Trader Joe’s)
Buckets and/or vases for flowers (we used the free buckets from Trader Joe’s and several clear vases)

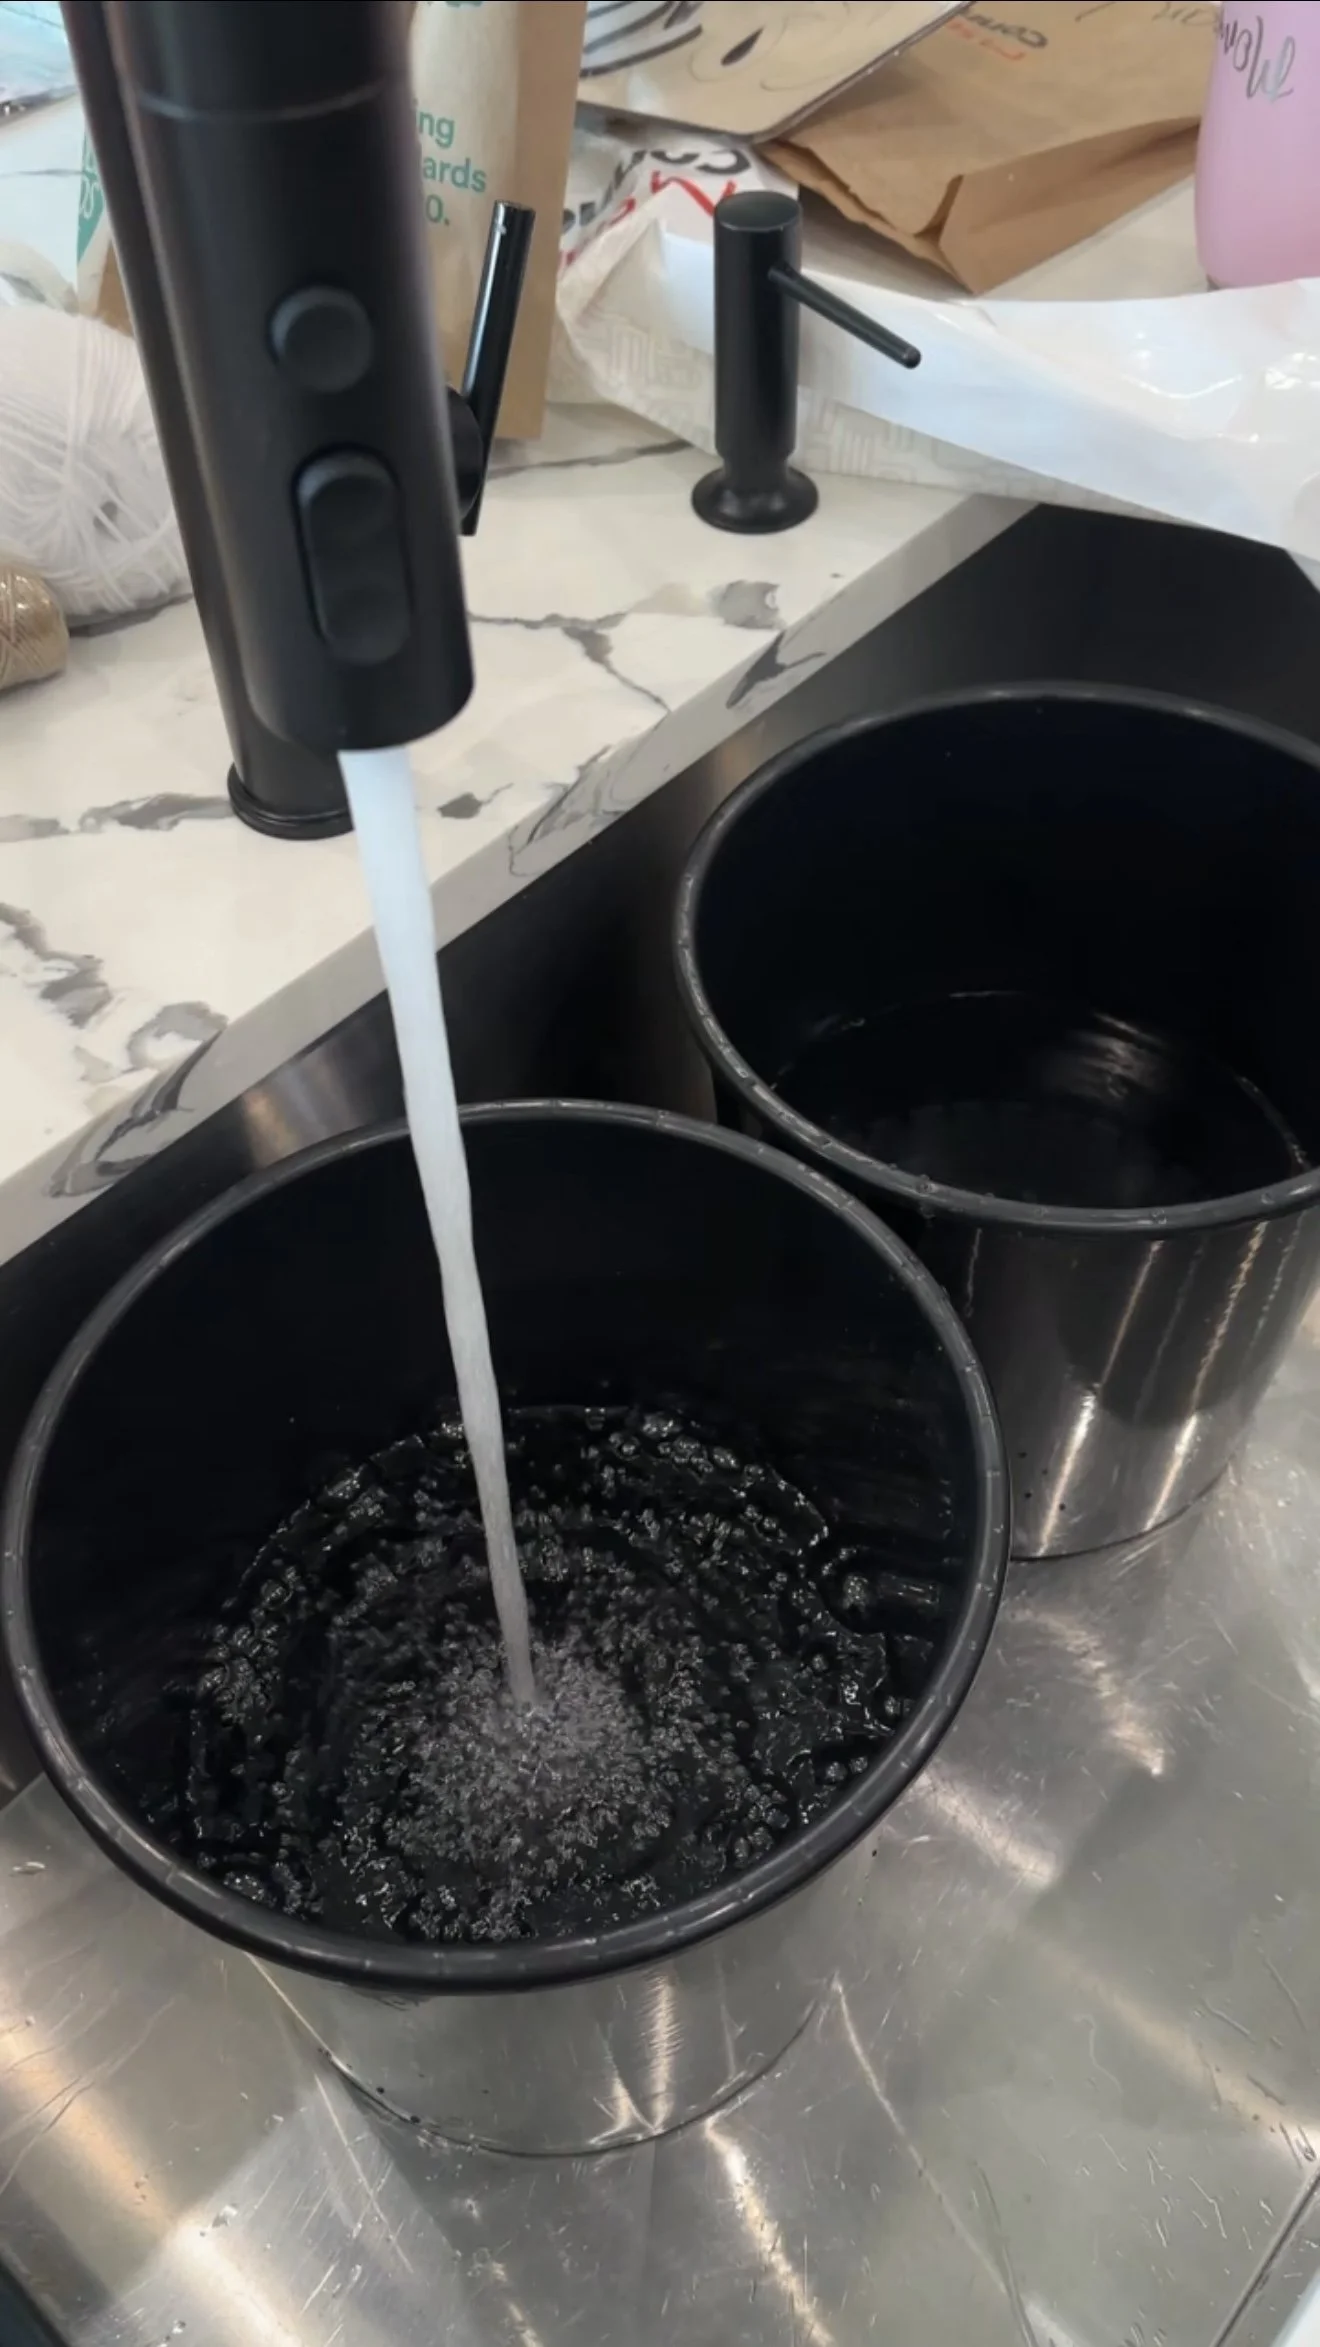
Step 1: Buying the Flowers
I purchased my flowers from Trader Joe’s at opening the day before the event. There was already a line of people, all there for flowers, and the best selections go fast! I highly recommend arriving at opening to get the best options.
Since I had 20 guests RSVP, I calculated how many flowers I needed based on the recommended 8-10 stems per person including a “thriller, some filler, and a spiller of greenery” guideline. This ensured I had enough for everyone while preventing guests from taking too many stems and leaving others without enough options. Planning this way made budgeting easier and kept the flower bar fair for all attendees. I also recommend using a cohesive color palette so no matter what each guest chooses or what is left towards the end of the event, all of the flowers are usable together.
I would also recommend buying more “thriller” flowers than I did, as people will gravitate to them first.
Flower Selection & Cost (Spring 2024):
Premium Assorted Greens – $3.99 each (bought 7) → $27.93
Eucalyptus – $3.99 each (bought 3) → $11.97
Raffine Dianthus – $4.99
Tulips (Seasonal, Big Bunch) – $9.99 each (bought 2) → $19.98
Rose DZ Yellow/Orange – $9.99
Chrysanthemums (Big Bunch) – $4.99
Carnation Mini Novelty – $4.99
Rose DZ Pink/Purple/Bicolor – $9.99
Baby’s Breath (Gypsophila) – 4 @ $3.99 → $15.96
Jumbo Mum Balls – $4.99 each (bought 2) → $9.98
Lily Calla Mini – $5.99 each (bought 2) → $11.98
Total flower cost: $131.75


Step 2: Setting Up the Flower Bar
Prep the Flowers – Trim the stems at an angle and place them in buckets of water to keep them fresh.
Organizing the Table – Arrange the flowers in separate vases or buckets, grouping them by type to make selection easy.
Precut Materials – Cut kraft paper and twine in advance to make wrapping easy.
Display & Signage – I purchased a themed sign from Etsy to guide guests. The sign suggested:
Choose 8-10 stems, including a thriller, some filler, and a spiller of greenery.
Wrap in paper and tie your bouquet up.
Take it home to enjoy!
Wrapping Station – Set up a space with kraft paper, twine, and scissors so guests can wrap their bouquets.
Again, I loved that the 8-10 stem recommendation on the sign helped guide people on how many to take, preventing anyone from making oversized bouquets and ensuring there were enough flowers for everyone to enjoy.


Step 3: Assembling Bouquets
Guests can mix and match stems, following the signage suggestion for how many stems to take.
Suggested Bouquet Formula :
2-3 focal flowers (like roses or peonies)
2-3 filler flowers (like daisies or carnations)
3-4 greenery stems (like eucalyptus or ferns)
After picking their flowers, guests can wrap them in kraft paper and secure them with twine or ribbon
Final Tips
Buy flowers a day in advance and keep them in water overnight.
Use an Etsy sign to guide guests on the amount of flowers to use.
Have plenty of scissors and twine so multiple guests can wrap their bouquets at once.
Buy more “thriller” flowers and less greenery than I did. No matter what your sign says, people gravitate to the prettiest flowers first.


This DIY flower bar was such a hit at my event and added a special touch. Have you ever tried a flower bar? Let me know in the comments!
IF YOU ENJOYED THIS POST, YOU MIGHT BE INTERESTED IN my Dining room refresh post.
FOLLOW ME ON MY SOCIALS!

Hallway Makeover
What was once a plain, white hallway has now become a rich and dramatic space, thanks to wall trim, paint, new lighting and a lot of second hand finds.

Architectural Details & Moulding Upgrades
Before painting, I wanted to enhance the walls with architectural details. I added:
Chair rail (2 styles stacked) and box moulding (basecap) to the lower third of the walls for depth and texture.
Basecap moulding to the tops of my existing baseboards for an upgraded, built-in look.
Basecap trim to my 3-panel doors to add extra interest and cohesion.
These small additions made a huge difference in making the hallway feel elevated and custom. I would love to add crown moulding soon!
Paint
Color drenching was my go-to in this space using a bold coat of Reddened Earth by HGTV Home by Sherwin-Williams in a satin sheen. This warm, dusty pinky-brown hue completely transformed the area, adding depth and character while making it feel both inviting and intentional. I love how this color brings a sense of coziness while still making a statement.

Gold Details
I swapped out standard hardware for vintage-inspired solid brass doorknobs, which instantly elevated the charm of each doorway. To keep the look cohesive, I also installed solid brass light switch covers, gold outlets, and gold door hinges. These small but impactful details add a polished, timeless feel and complement the overall moody aesthetic of the space. The richness of the brass contrasts beautifully with the deeper tones in the hallway, making everything feel thoughtfully curated.
Vintage Lighting & DIY Conversions
Lighting played a big role in this makeover. I swapped out the old can lights for three vintage-inspired pendant lights that I found on Amazon (affordable and such a great find!). To make this switch, I used a can light converter, which made it super easy to install the new fixtures without an electrician and add that charming, collected feel.
DIY Gallery Wall
The focal point of the hallway is undoubtedly the collected gallery wall. I spent months sourcing the pieces from estate sales and thrift shops, and I love how each one tells a story. The mix of art, frames, and vintage finds adds so much character and makes the space feel curated and personal. (Shop my gallery wall essentials here!)

Statement Artwork & Decorative Finds
On the adjacent wall, I created a large square artwork piece using leftover wood and beautiful fabric I found at Queen of Hearts, an antique store here in Georgia. The size and floral pattern make it such a unique, personal piece.
Another standout is the bell tapestry in the center of the wall, an estate sale treasure that brings a hint of old-world charm. The brass bow plate hanger (also from Queen of Hearts) holds vintage plates I sourced from an estate sale, adding a whimsical, elegant touch. And that big red mirror? Another $30 estate sale find that ties in perfectly with the new wall color.
Finishing Touch: The Washable Rug
The hallway still features the same washable rug I’ve had for a while, and I love that it still complements the new color scheme beautifully. It adds a layer of coziness and practicality without clashing with the bold walls.
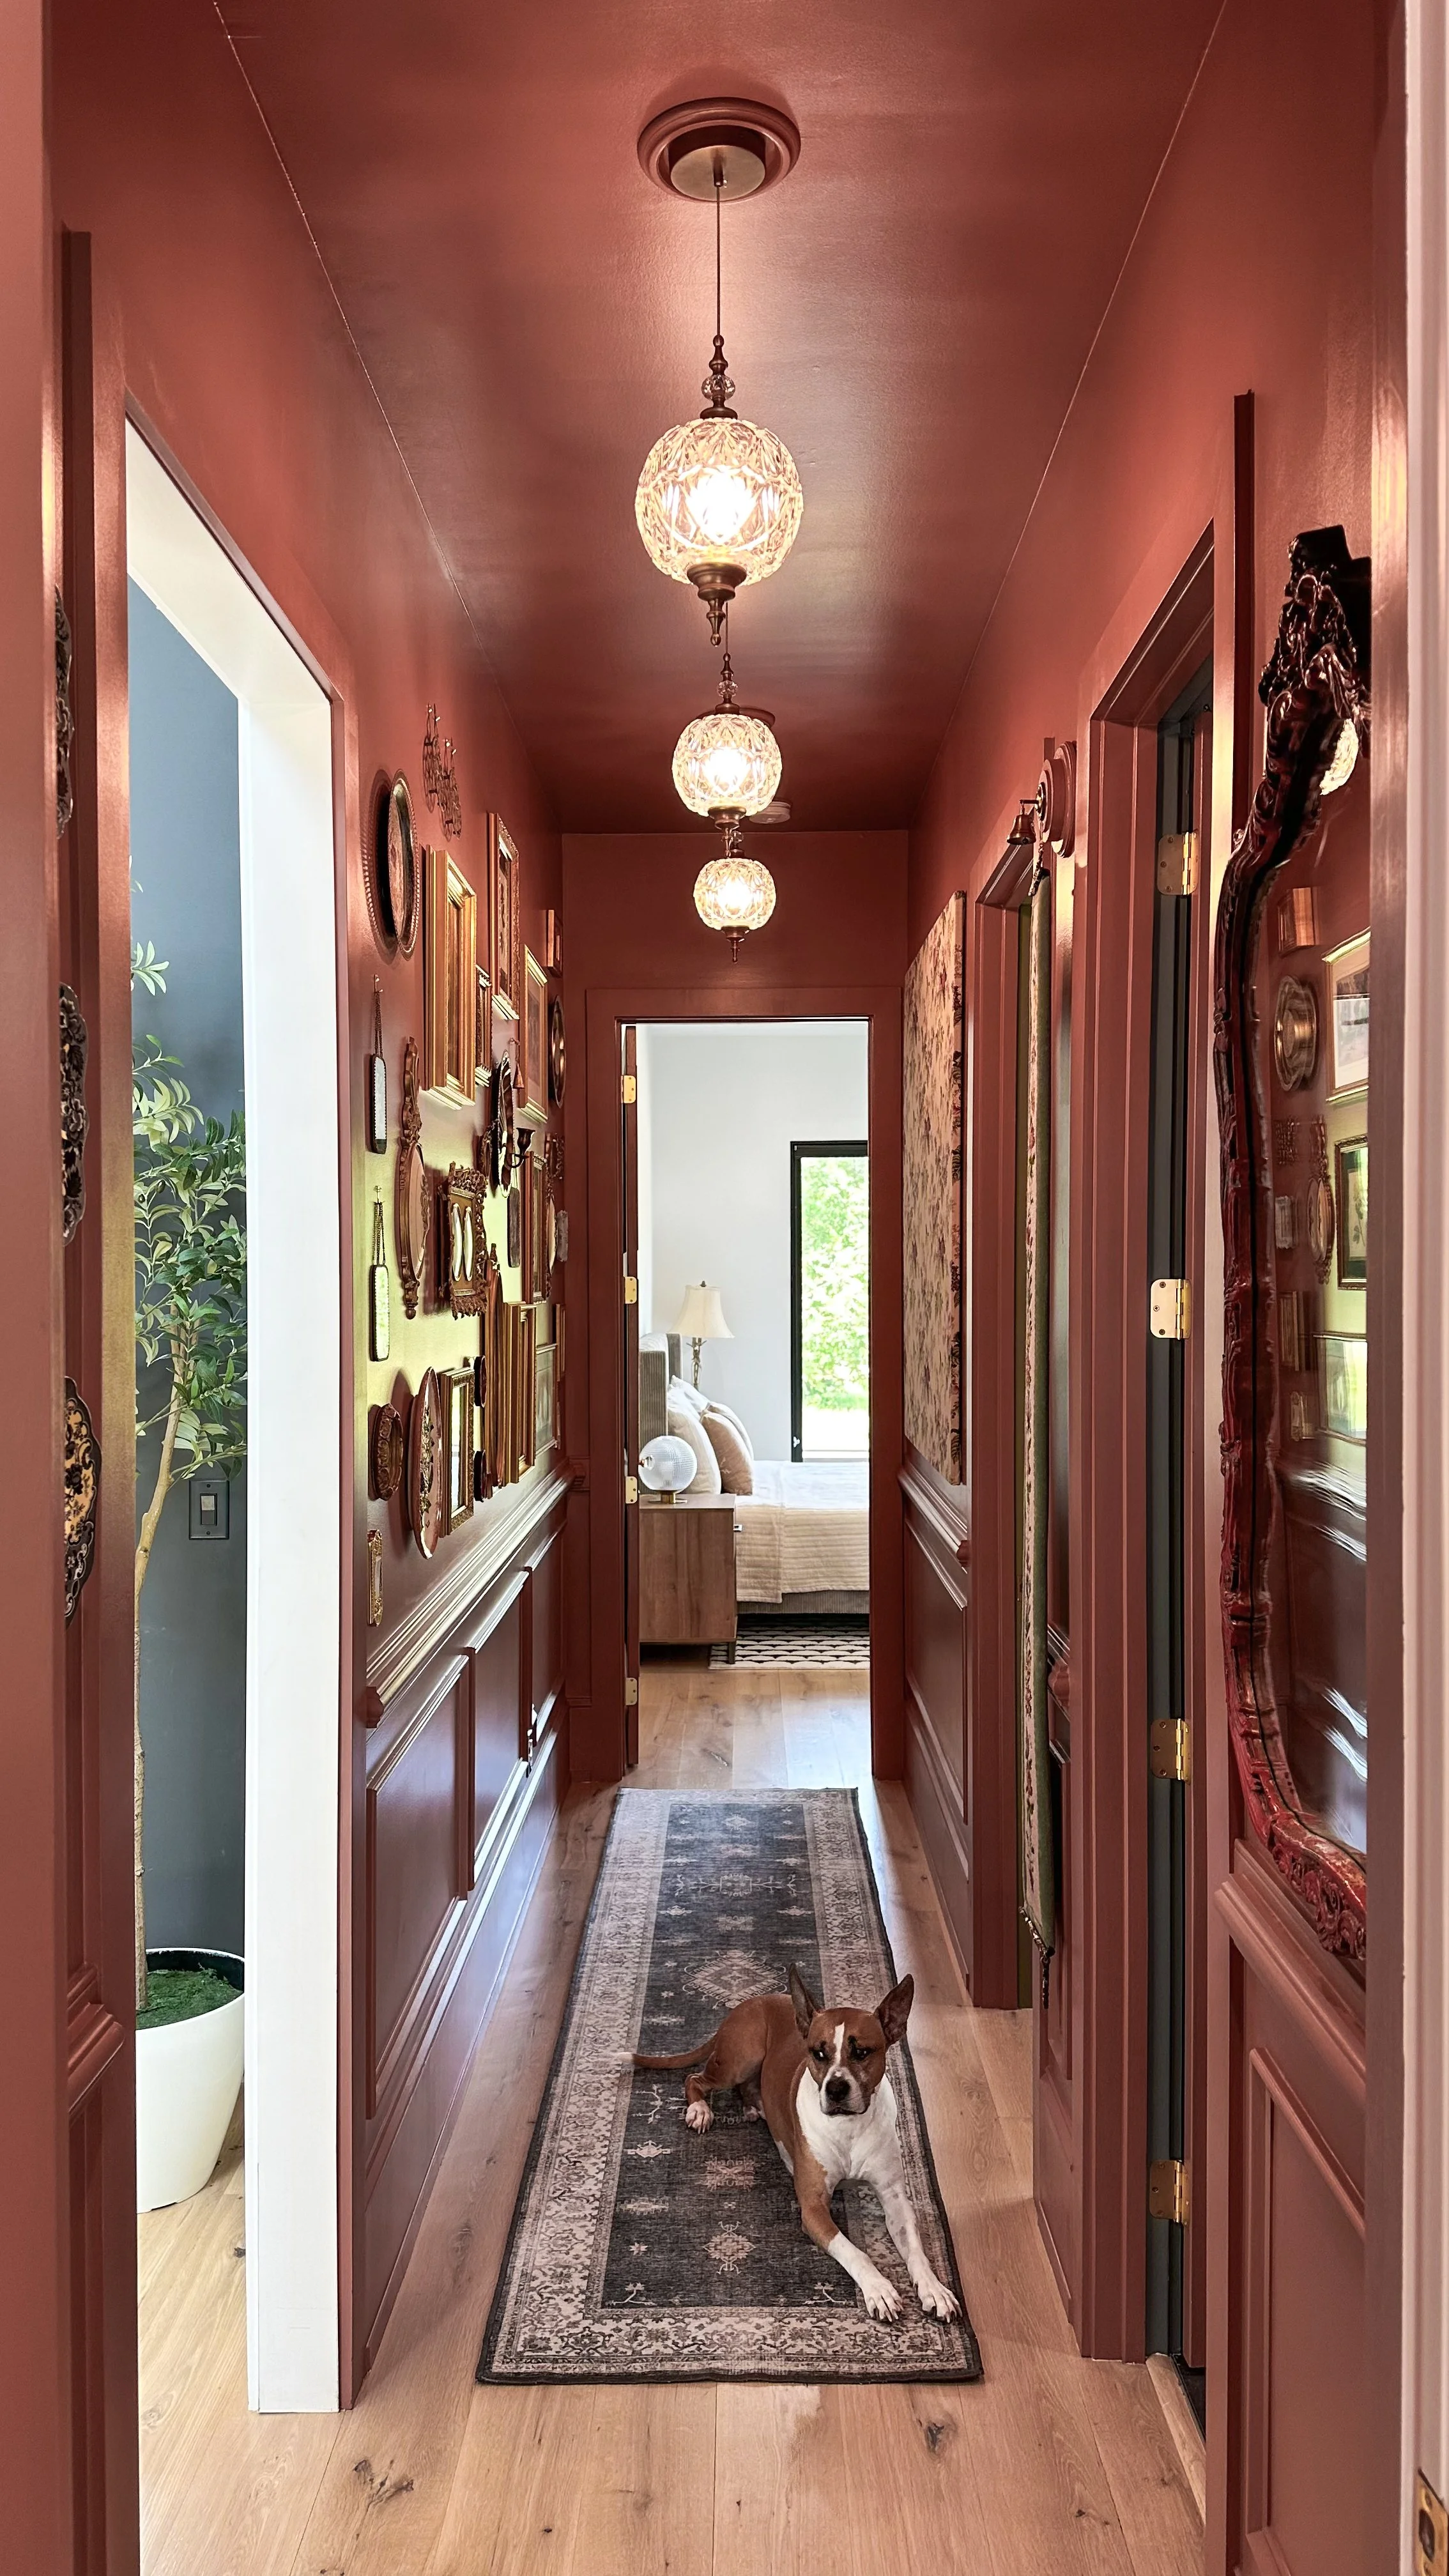

This hallway makeover proves that small spaces can have big impact when you embrace color, texture, and thoughtful details. The mix of vintage finds, DIY elements, and rich color truly makes it feel intentional, curated, and full of personality. I’m so happy with how it turned out!