DIY: Big Wall Art
How to Make Your Own Large-Scale Art on a Budget
Big art can be pricey, but that doesn’t mean you can’t have a statement piece in your home! I wanted a large-scale art piece without the hefty price tag, so I got creative and made one myself. Here’s how you can do it too!
Finding the Perfect Fabric
I stumbled upon a roll of upholstery fabric at an antique store for just $21—score! If you’re on the hunt for fabric, check out thrift stores, antique shops, or even repurpose curtains or shower curtains.
Building the Frame
I figured out the measurements for the size I wanted and luckily had some scrap 1x4s lying around, so I used those to create the frame. If I were to redo this, I’d add a center support piece for extra stability, but it worked out just fine!
To assemble the frame, I connected my 45-degree cuts using wood glue, brad nails, and a LOT of heavy-duty staples—seriously, like five staples per joint. It might look a little Frankenstein-ish, but hey, no one will see that part!


Attaching the Fabric
Once my frame was solid, I draped the fabric over the non-stapled side and flipped it over to make sure the pattern was straight. I started by stapling a row at the top to keep the fabric in place, then trimmed off the excess.
For the best results, I pulled the fabric tight, stapled a few spots, moved to the next side, and repeated—just working my way around to keep everything straight and even.


Hanging It Up
To hang the piece, I attached two D-ring hooks. I don’t remember the exact measurements, but I made sure to place them evenly (for example, 3 inches from the side and 2 inches from the top).
Then came the moment of truth—flipping it over for the big reveal!
I use a laser level to make sure it was on the wall perfectly straight, used toothpaste on the D-rings so I knew exactly where to put in my screws, and used anchors where there were no studs.


I absolutely love how this turned out, and it was such a budget-friendly way to get a large art piece! If you’re thinking of making your own, you can use all kinds of fabric—curtains, shower curtains, or whatever catches your eye. Give it a try and let me know how yours turns out!
If you enjoyed this post, you might be interested in my hallway makeover.
Follow me on my socials!

DIY Fringe Backdrop

Ready for a super easy and super cheap DIY that will take FOREVER?! haha! This is definitely one of those show stopper pieces for a party, but you will spend many nights tying lots and lots of knots!
SUPPLIES:
$1 plastic table cloths. I got mine from the Dollar Tree and Walmart.
Cutting mat and rotary cutter with extra blades (you can use scissors, but wow it will take a lot longer)
Optional : something to hang the backdrop on until you’re ready to install it. I used an old backdrop stand, but I would assume you could work directly on the wall using Command Hooks.
DIRECTIONS
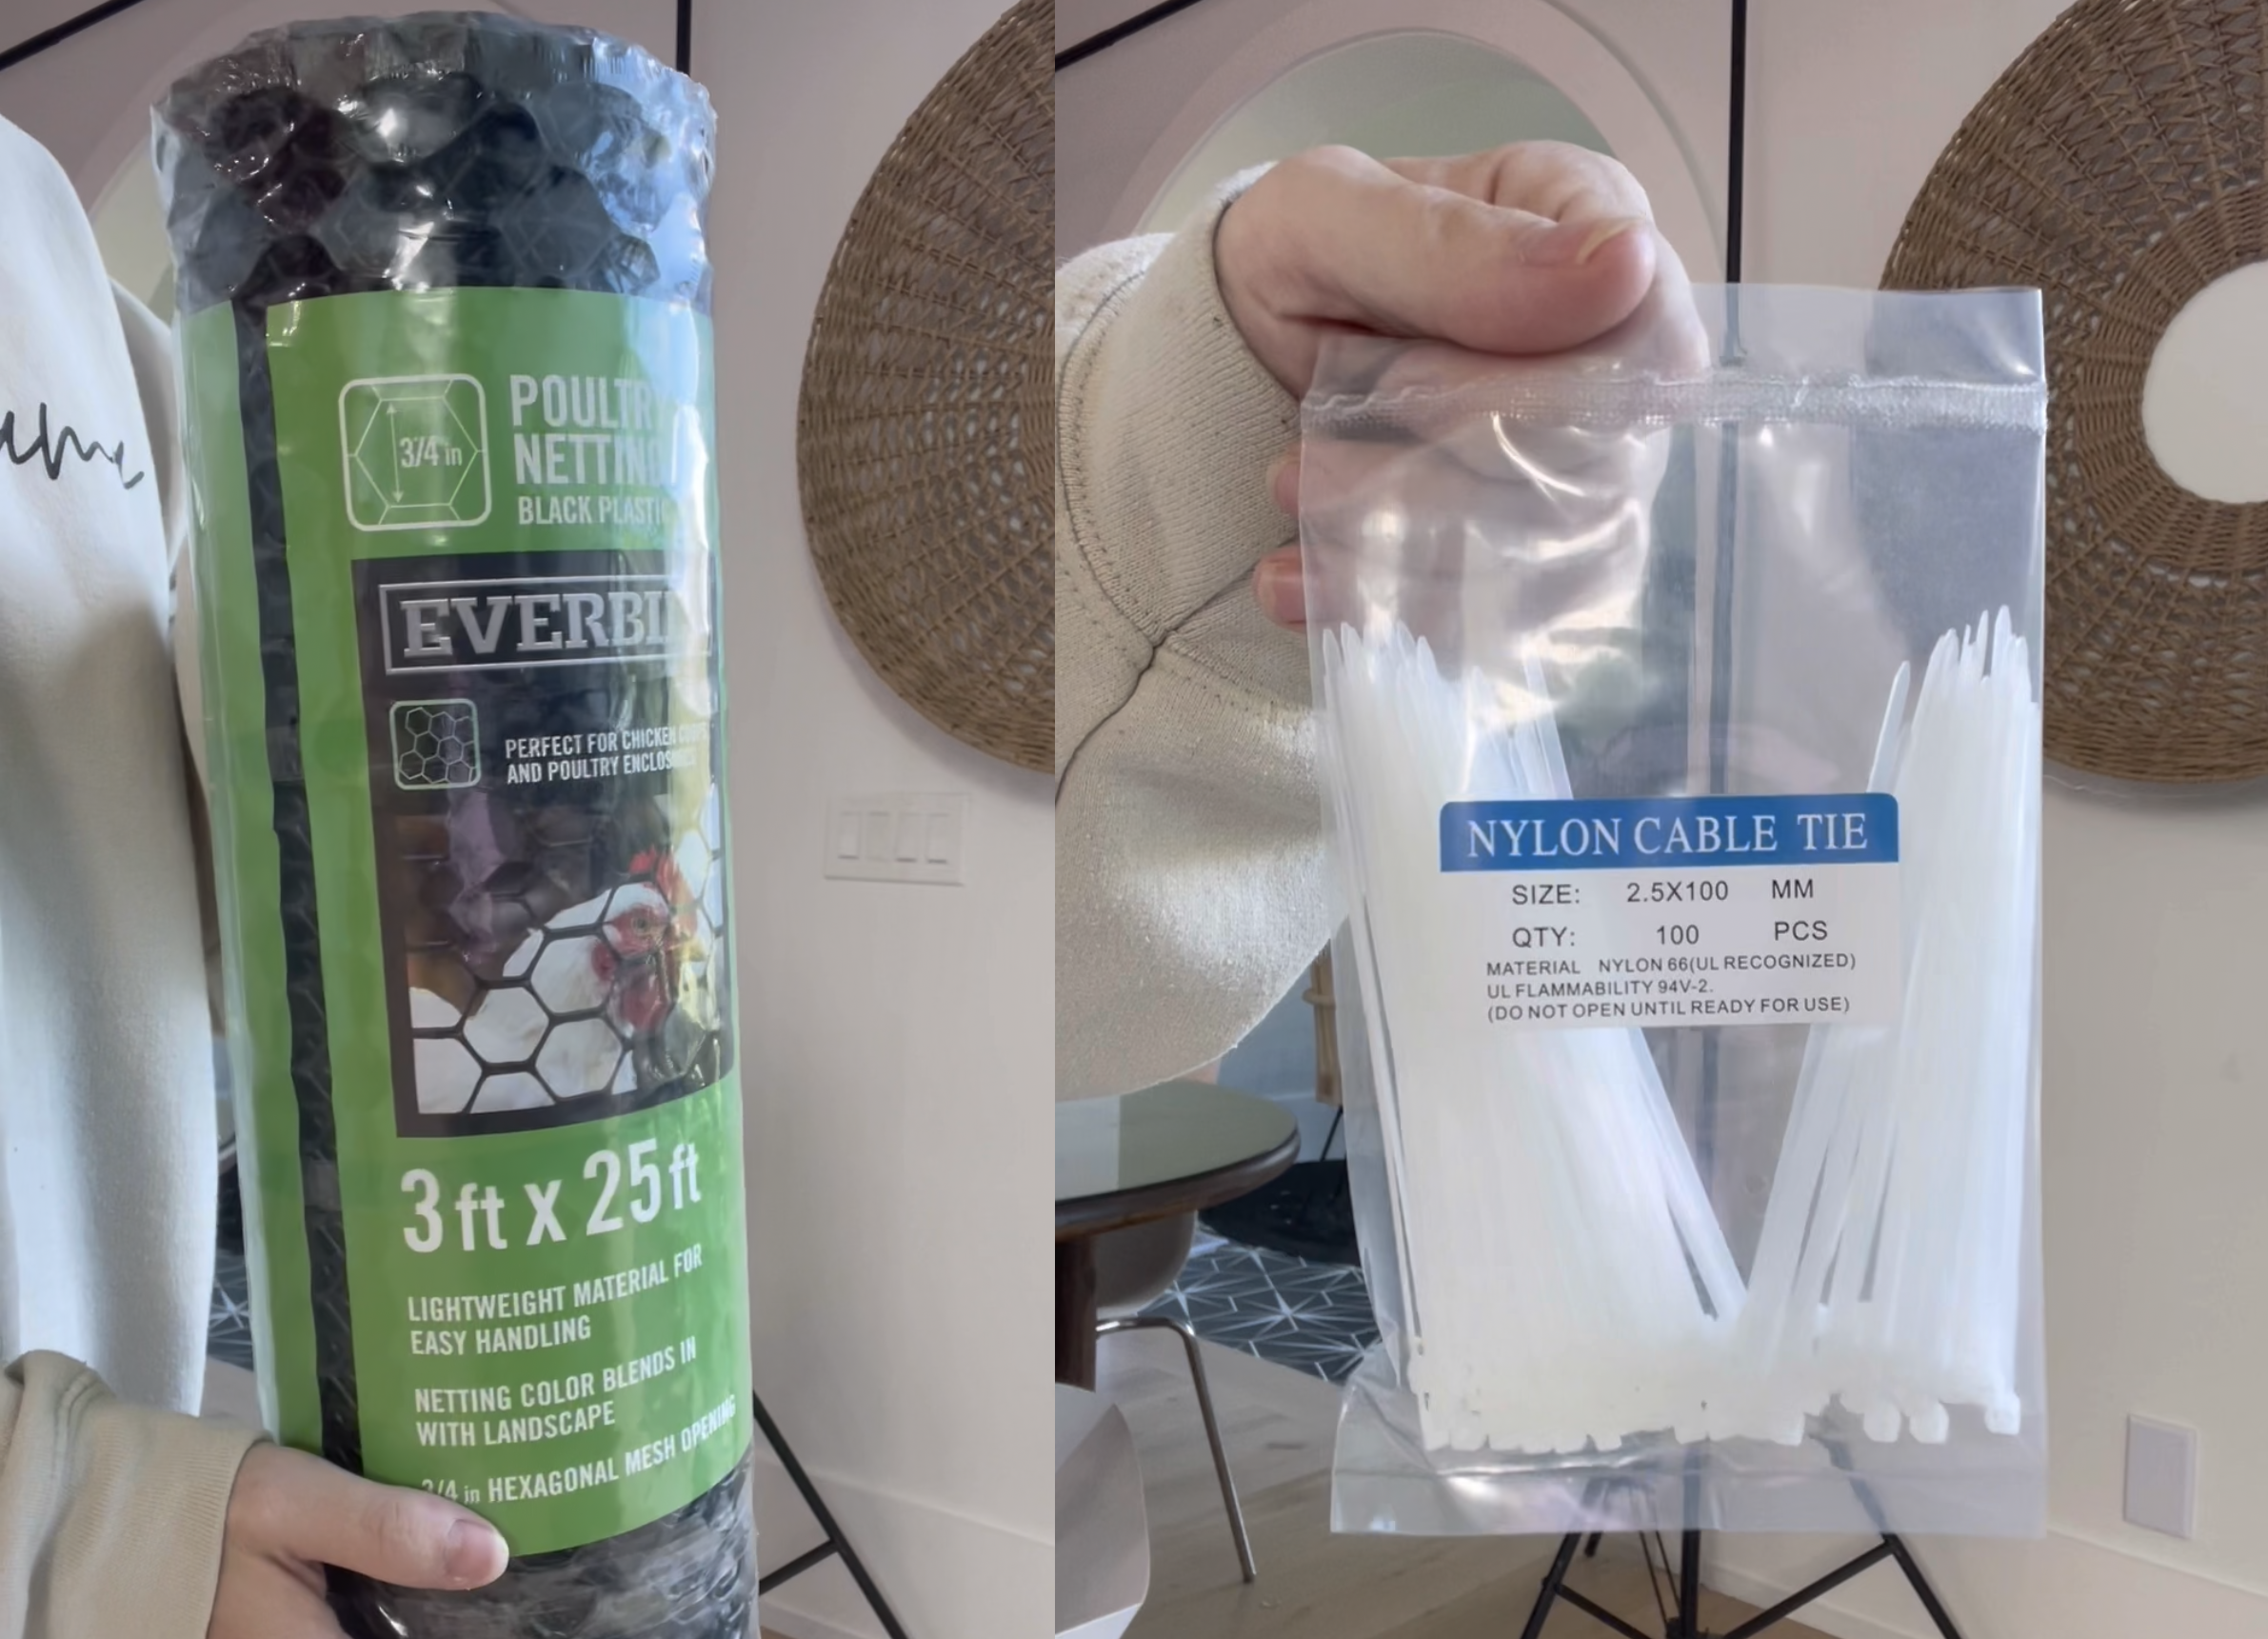
Decide how big you want your backdrop to be. I cut the poultry netting into large pieces and fastened them together with zip ties. I also zip-tied the poultry netting to an old backdrop stand.
Cut roughly 1-2” strips of plastic table cloths. No need to measure or unfold them. You can literally just use a rotary cutter and cut strips very quickly.
Unfold each individual strip until you have A LOT. I would recruit someone to help you.
Tie one strip at a time to the poultry netting by folding the strip in half and feeling the tail end through the loop. (example below)
Continue until you achieve the desired look you want.
Trim any pieces as necessary.
Use several 5lbs command hooks to install the backdrop to the wall.
TA-DA! Admire your work!
FAQ:
How big is your backdrop? Mine is roughly 8x8ft
How many tablecloths did you use? I didn’t count but I estimated that I used about 60.
How long did this take? Roughly 10 hours for one person.
Can I use scissors instead of a rotary cutter? Yes! It will just take a little longer.