How To: Crown Moulding
DIY Crown Moulding: Upgrade Your Space Like a Pro!
Looking to add a touch of elegance to your home? Installing your own crown moulding is a game-changer, and guess what? You can totally do it yourself! Let me walk you through the process so you can transform your space with confidence.
Step 1: Finding the Right Crown Moulding
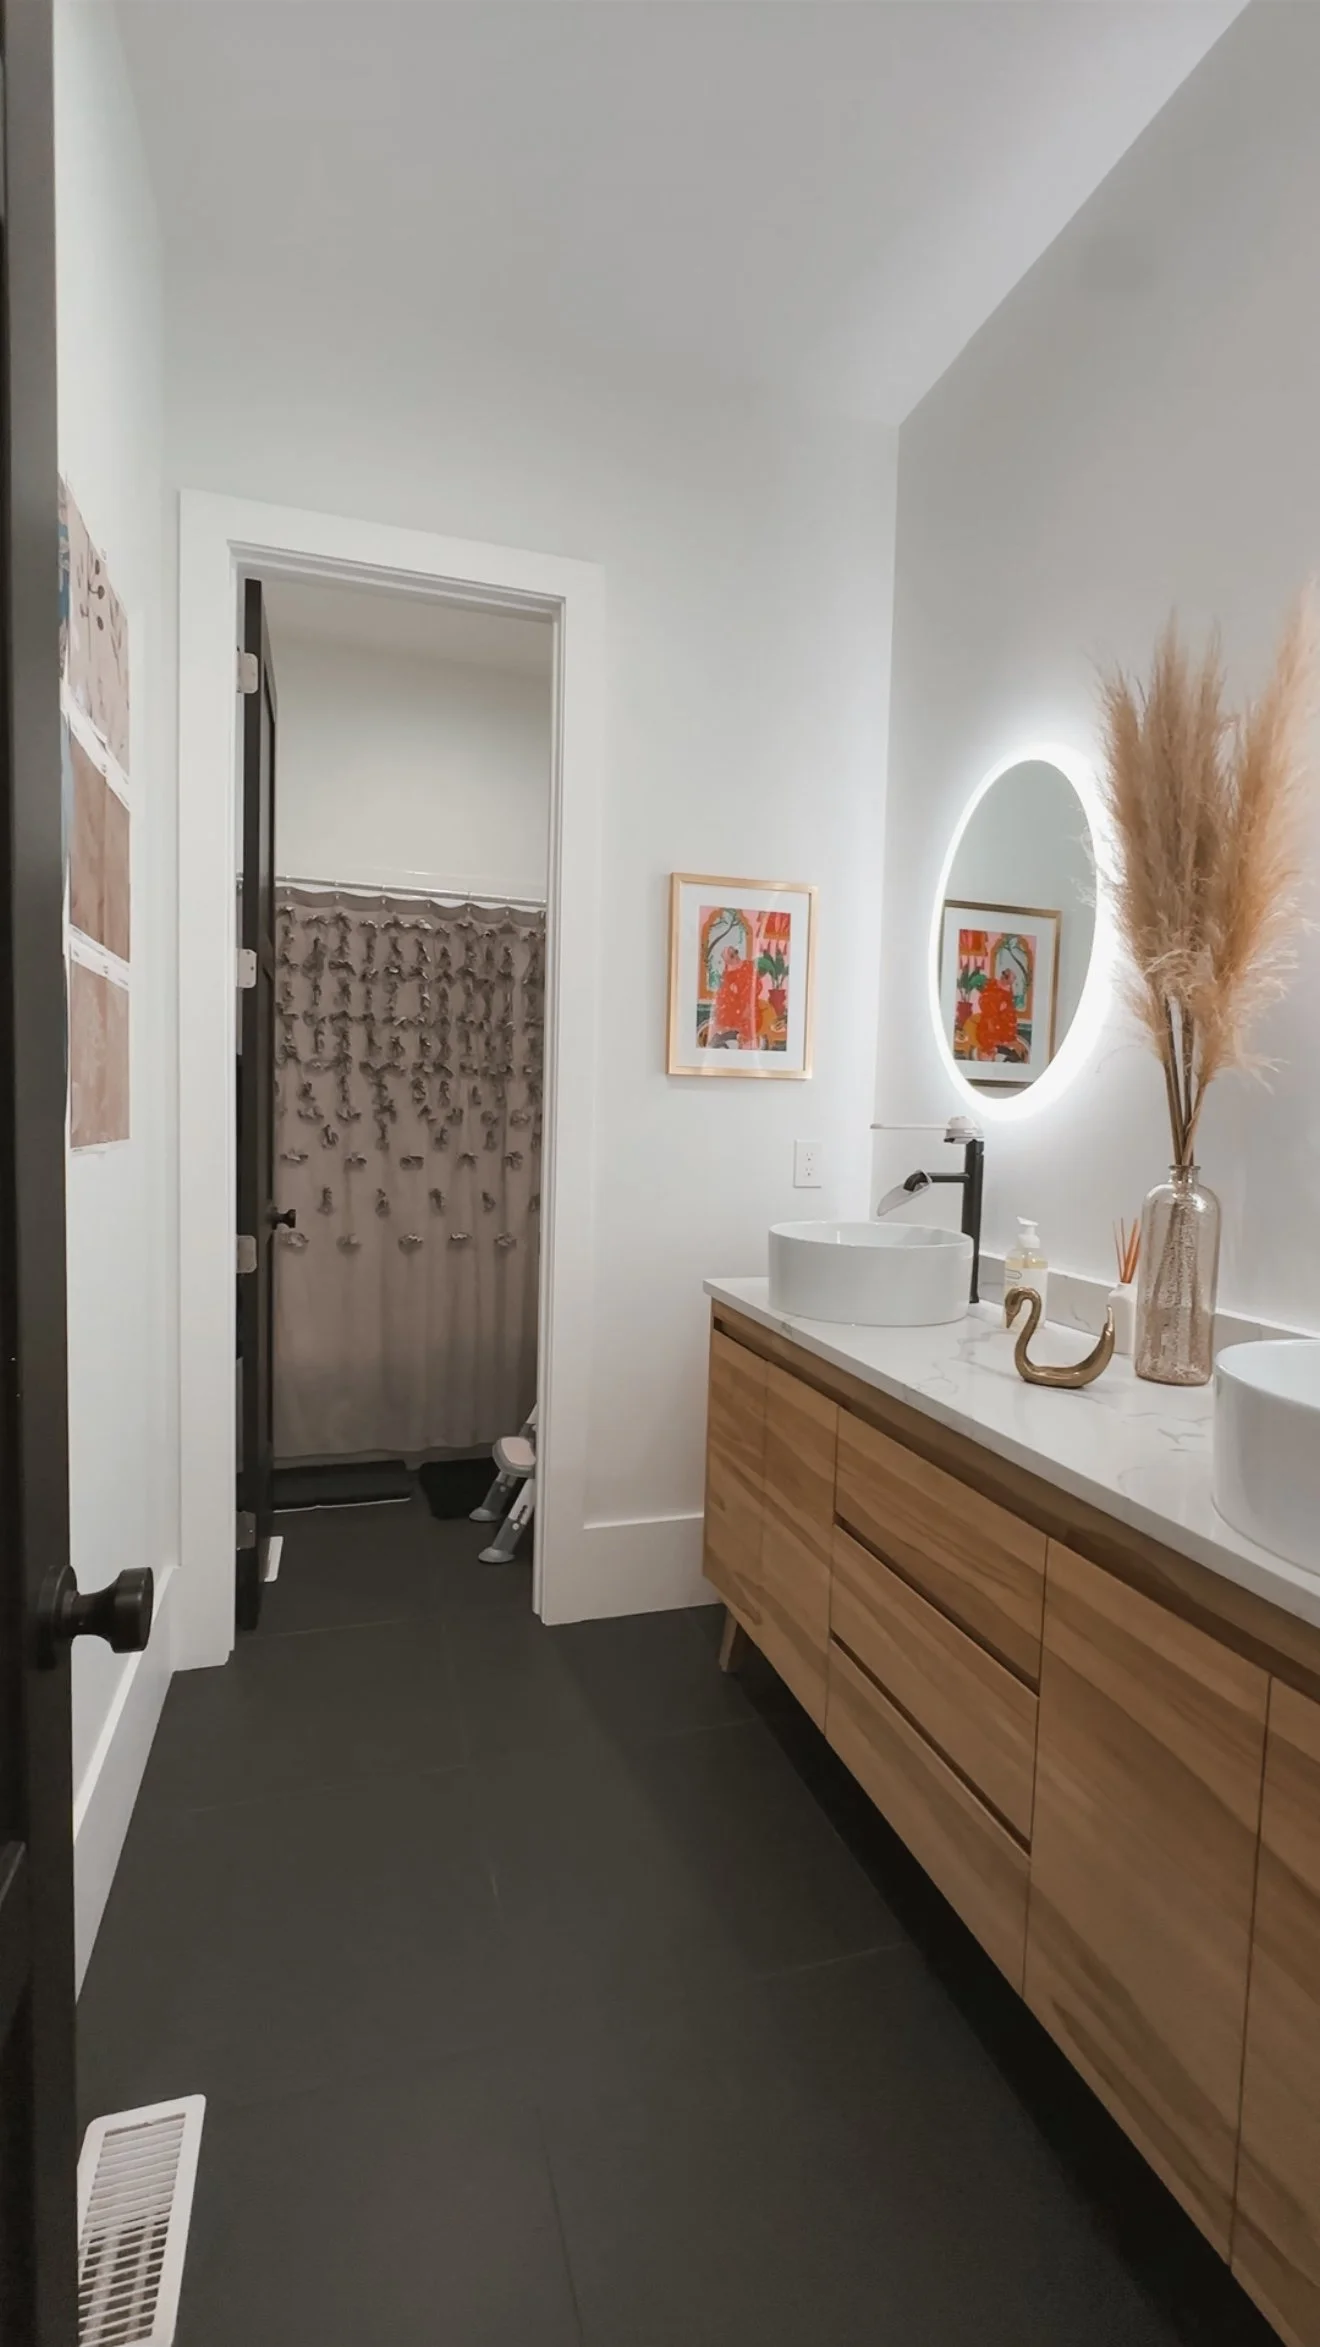
I found this amazing brand called Orac Decor on Amazon a few years ago when we gave our bedroom a makeover (linked here). Back then, I hired someone for the job, but now I’ve installed this crown in my blue guest bathroom and my sunroom.
This crown moulding is made from high-density polyurethane foam, which means it's super lightweight and easy(ish) to work with.
Step 2: Plan Before You Buy
Order samples to see which design suits your space best. Hold them up against your ceiling to visualize the final look.
Measure your space carefully.
Add 15% extra to your measurement to account for mistakes and waste.
Once you’ve chosen your design and confirmed your measurements, place your order and get ready for install.
Step 3: Tools & Materials You’ll Need
Before you start, gather your tools and materials to make installation smoother:
🛠 Tools and Materials
Crown Moulding Pieces (I used Orac Decor Crown Moulding)
Adhesive (I used Orac Decor Adhesive by Outwater: Pro and Extra)
Baby Wipes
Step 4: Installation Time!
This video is my go-to because the creator explains measuring and installation SO well. Installing crown is a little complicated and writing it all out would be very wordy, so for a very detailed explanation, I HIGHLY recommending watching the video from Home RenoVision DIY. Note: I use a different adhesive than he does.
✅ Mark the studs using a stud finder. I use brad nails to hold the crown up while the adhesive dries so I pencil on the wall where my studs are so I know where to put in my brad nails.
✅ Measure twice, cut once. Seriously, this will save you a ton of frustration. Take your time to double-check your measurements before cutting.
✅ Practice first! Before making final cuts, use scrap pieces to get comfortable with the cutting angles.
✅ Cutting crown moulding is the biggest hurdle.You need to cut it upside down and backwards on the miter saw—this ensures it fits properly at the correct angle. If your crown isn’t too chunky, you can use a jig, but I’ve only been able to use a jig with the smaller crown I used in my sunroom. The crown in my bedroom and blue bathroom was too thick for the jig. Again, I highly recommend this video to learn cutting techniques.
✅ Apply the adhesive to all of the touch points. I recommend using the Orac Decor adhesive by Outwater—it’s designed specifically for polyurethane mouldings and creates a strong bond.
I use “Pro” to adhere the moulding pieces to the wall and “Extra” to connect the corners and edges of the moulding pieces together!
✅ Secure the crown to the wall with brad nails into the studs. These help hold the moulding in place while the adhesive dries.
Step 5: The Finishing Touches
This is where your project really shines! Take your time with these final steps:
Caulk the gaps to give a seamless finish. Run a thin bead of paintable caulk along the edges and smooth it out. I like using cheap baby wipes for this, but you can also use your finger and a damp paper towel.
Fill nail holes with wood filler, let it dry, then sand it smooth.
Paint your crown. Use a high-quality brush or sprayer for an even coat.
Step 6: Step Back & Admire Your Work!
And just like that—bada boom, bada bam—your space looks luxurious! 🎉 Crown moulding instantly elevates any room, giving it a refined, custom feel.
If you’ve been intimidated by crown moulding, I promise it’s doable. Take your time, be patient with the cuts, and enjoy the transformation. You got this—happy DIY-ing!
IF YOU ENJOYED THIS POST, YOU MIGHT BE INTERESTED IN my February best sellers post.
FOLLOW ME ON MY SOCIALS!
DIY: Big Wall Art
How to Make Your Own Large-Scale Art on a Budget
Big art can be pricey, but that doesn’t mean you can’t have a statement piece in your home! I wanted a large-scale art piece without the hefty price tag, so I got creative and made one myself. Here’s how you can do it too!
Finding the Perfect Fabric
I stumbled upon a roll of upholstery fabric at an antique store for just $21—score! If you’re on the hunt for fabric, check out thrift stores, antique shops, or even repurpose curtains or shower curtains.
Building the Frame
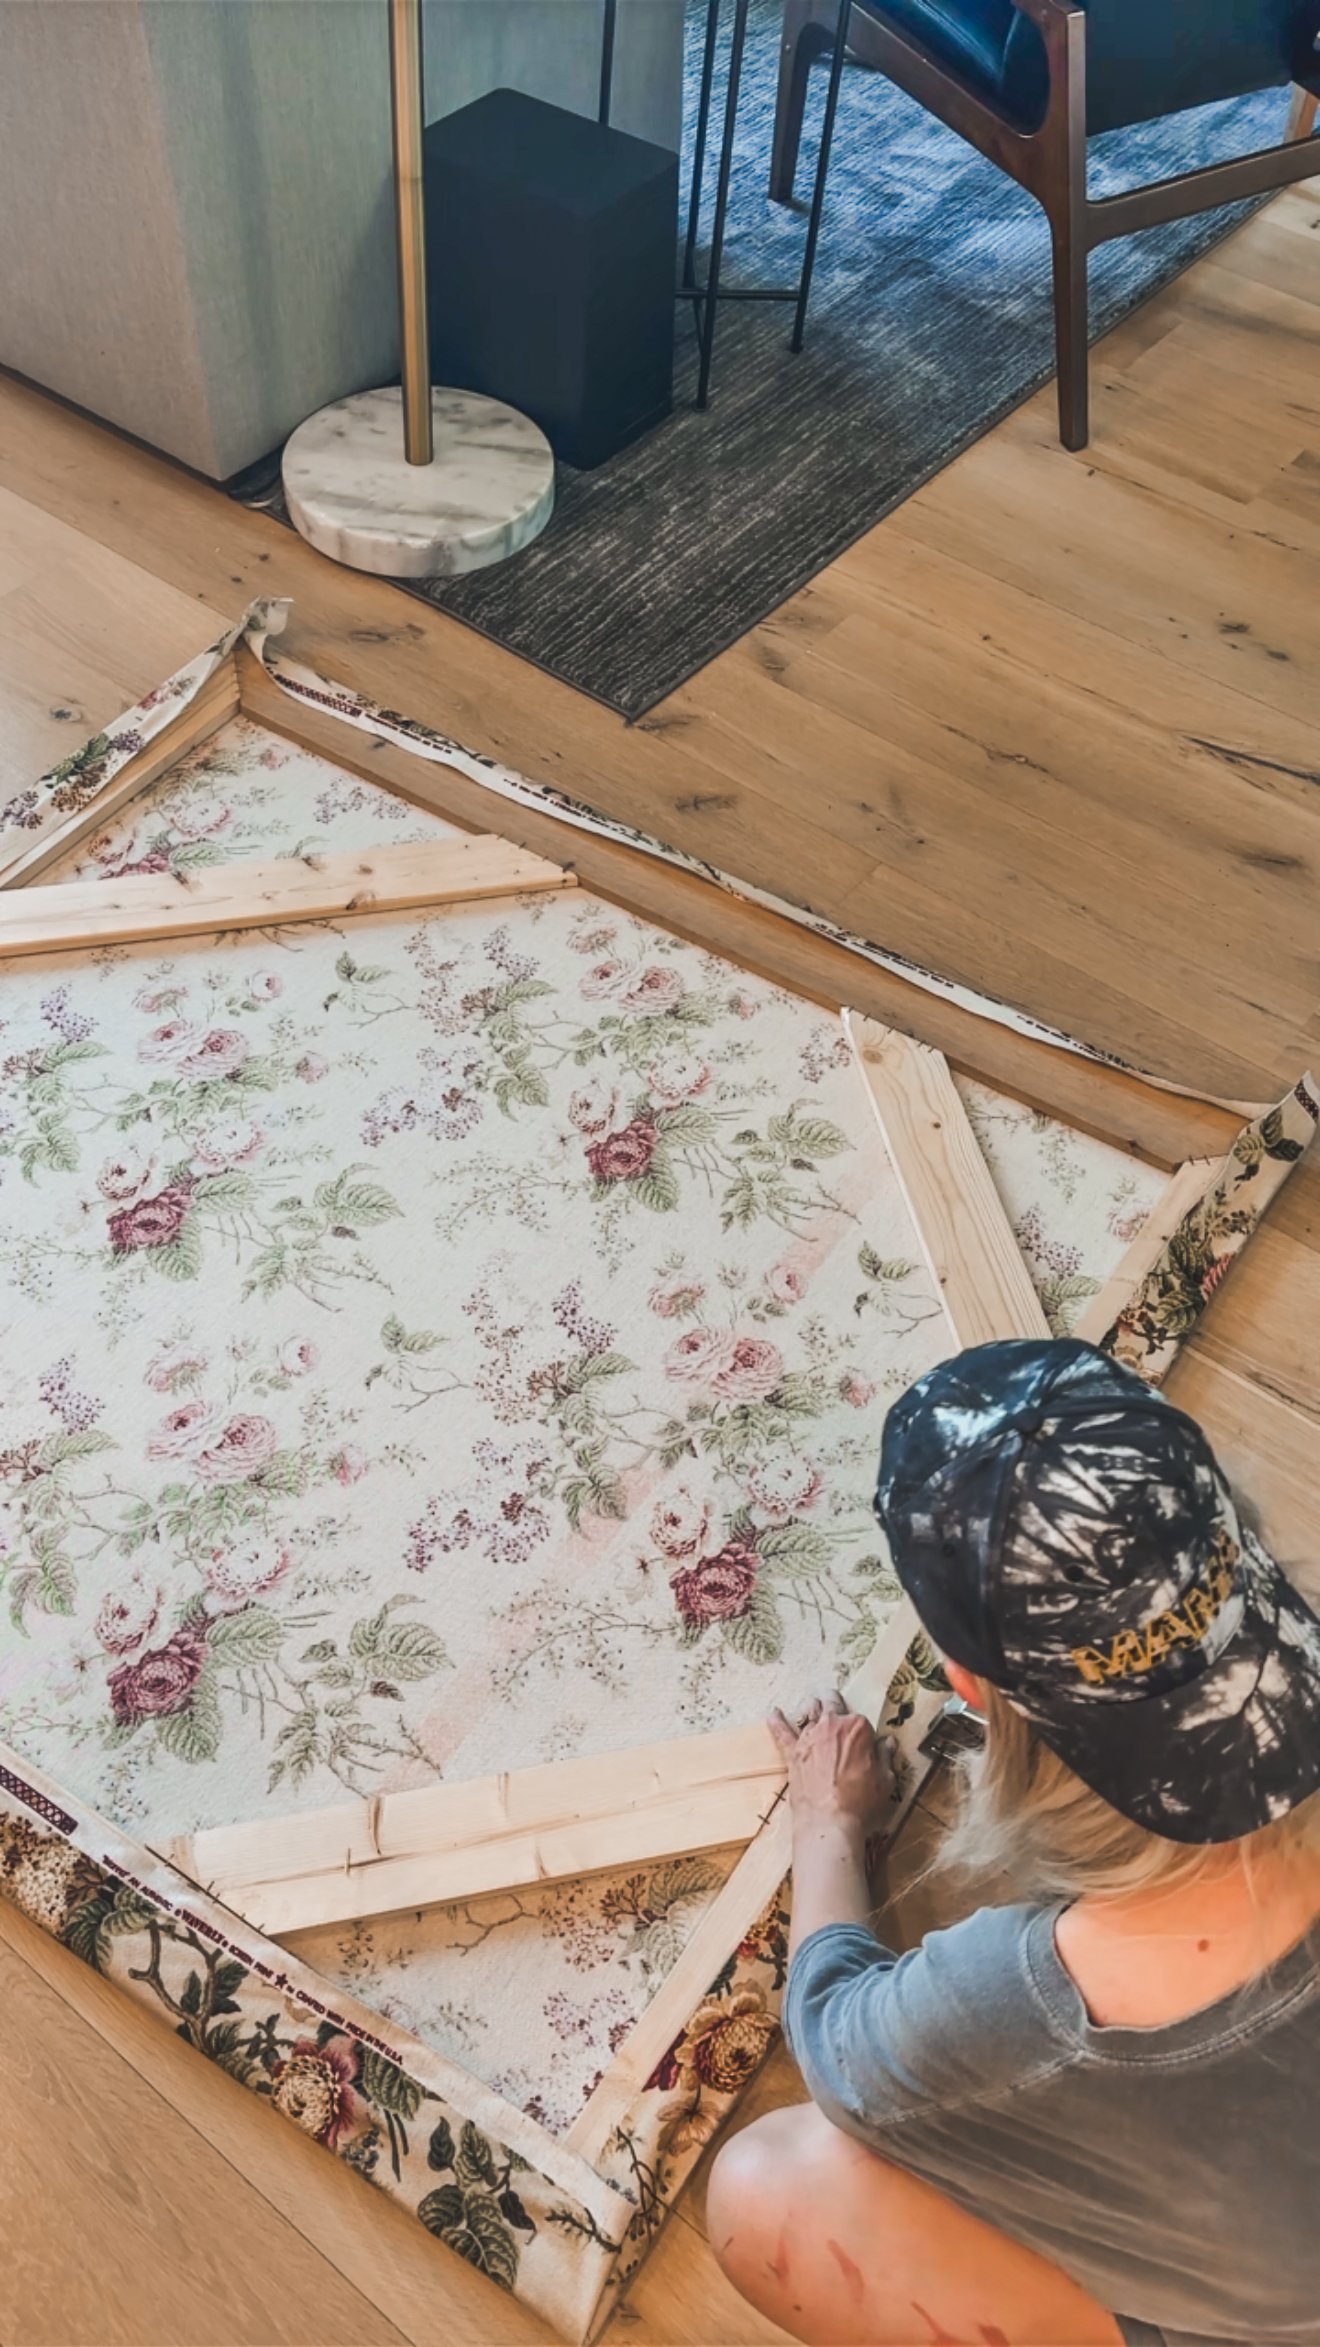
I figured out the measurements for the size I wanted and luckily had some scrap 1x4s lying around, so I used those to create the frame. If I were to redo this, I’d add a center support piece for extra stability, but it worked out just fine!
To assemble the frame, I connected my 45-degree cuts using wood glue, brad nails, and a LOT of heavy-duty staples—seriously, like five staples per joint. It might look a little Frankenstein-ish, but hey, no one will see that part!
Attaching the Fabric
Once my frame was solid, I draped the fabric over the non-stapled side and flipped it over to make sure the pattern was straight. I started by stapling a row at the top to keep the fabric in place, then trimmed off the excess.
For the best results, I pulled the fabric tight, stapled a few spots, moved to the next side, and repeated—just working my way around to keep everything straight and even.
Hanging It Up
To hang the piece, I attached two D-ring hooks. I don’t remember the exact measurements, but I made sure to place them evenly (for example, 3 inches from the side and 2 inches from the top).
Then came the moment of truth—flipping it over for the big reveal!
I use a laser level to make sure it was on the wall perfectly straight, used toothpaste on the D-rings so I knew exactly where to put in my screws, and used anchors where there were no studs.
I absolutely love how this turned out, and it was such a budget-friendly way to get a large art piece! If you’re thinking of making your own, you can use all kinds of fabric—curtains, shower curtains, or whatever catches your eye. Give it a try and let me know how yours turns out!


